easy guide
Please r
ead car
efully befor
e using your
cleaner
. Always fully extend mains
cable befor
e use.
V
-056TT
Cylinder range
V-056TT D1 10/25/05 3:46 PM Page 1
Страница 1: ...easy guide Please read carefully before using your cleaner Always fully extend mains cable before use V 056TT Cylinder range V 056TT D1 10 25 05 3 46 PM Page 1...
Страница 2: ...ool log on to www vax co uk to buy on line 3 Cord rewind button 11 Crevice tool 4 Hose connection socket 12 Combination floor head 5 Dust container 13 TurboTool TM V 056TT only 6 Top cover release but...
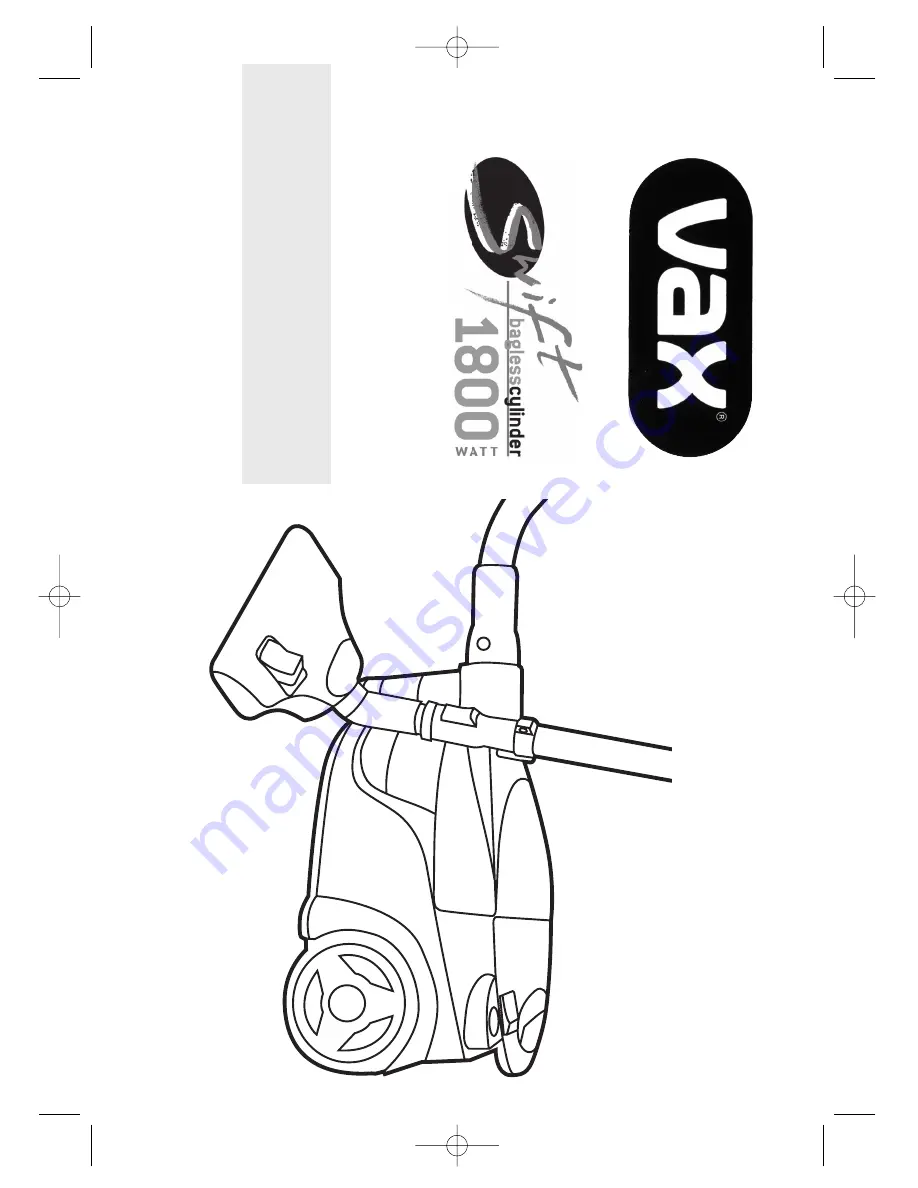
Страница 3: ...exible hose into the hose connection socket on the vacuum cleaner by pressing the two buttons on either side of the hose connection fig 2 The telescopic extension tubes can be lengthened or shortened...
Страница 4: ...lease follow these instructions fig 3 The tool storage system fixing bracket is already in place on the extension tube Insert the holding tubes as shown until the tubes click into place fig 4 Place th...
Страница 5: ...and hard floors Flick the rocker switch to the appropriate position as detailed below fig 5 Hard floor position tiles parquet floors etc the brushes must be in the lower position Press on the rocker s...
Страница 6: ...utton again fig 8 Press the cable rewind button to recoil the power lead fig 9 The hose grip has a bleed valve that allows control of suction power To reduce suction for example for use on soft furnis...
Страница 7: ...To release the handle slide the release catch fig 10a towards the hose end of the machine fig 11 For storage you can position the vacuum cleaner as shown Note the carry handle must be locked see fig...
Страница 8: ...he dust container fig 14 15 Remove the dust container by lifting it out as shown fig 16 Press the release button over a rubbish bin so that the dirt can be emptied fig 16 After emptying close the bott...
Страница 9: ...st container and protects the motor from dust To access this filter open the lid remove the filter and clean by brushing lightly with the dusting brush Exhaust filter fig 19 The exhaust filter is hous...
Страница 10: ...gged Clean or replace filters fig 17 20 Dust escaping from cleaner Dust container not installed properly Re install dust container Dust container is full See How to empty the dust container fig 13 16a...
Страница 11: ...s and all parts of the body away from openings and moving parts Do not vacuum any glowing burning or smoking particles Do not use without the dust container and filters in place Turn off all controls...
Страница 12: ...ified by 93 68 EEC EMC 89 336 EEC Electromagnetic Compatibility Directive as modified by 93 68 EEC Waste electrical products should not be disposed of with household waste Please recycle where facilit...