background image


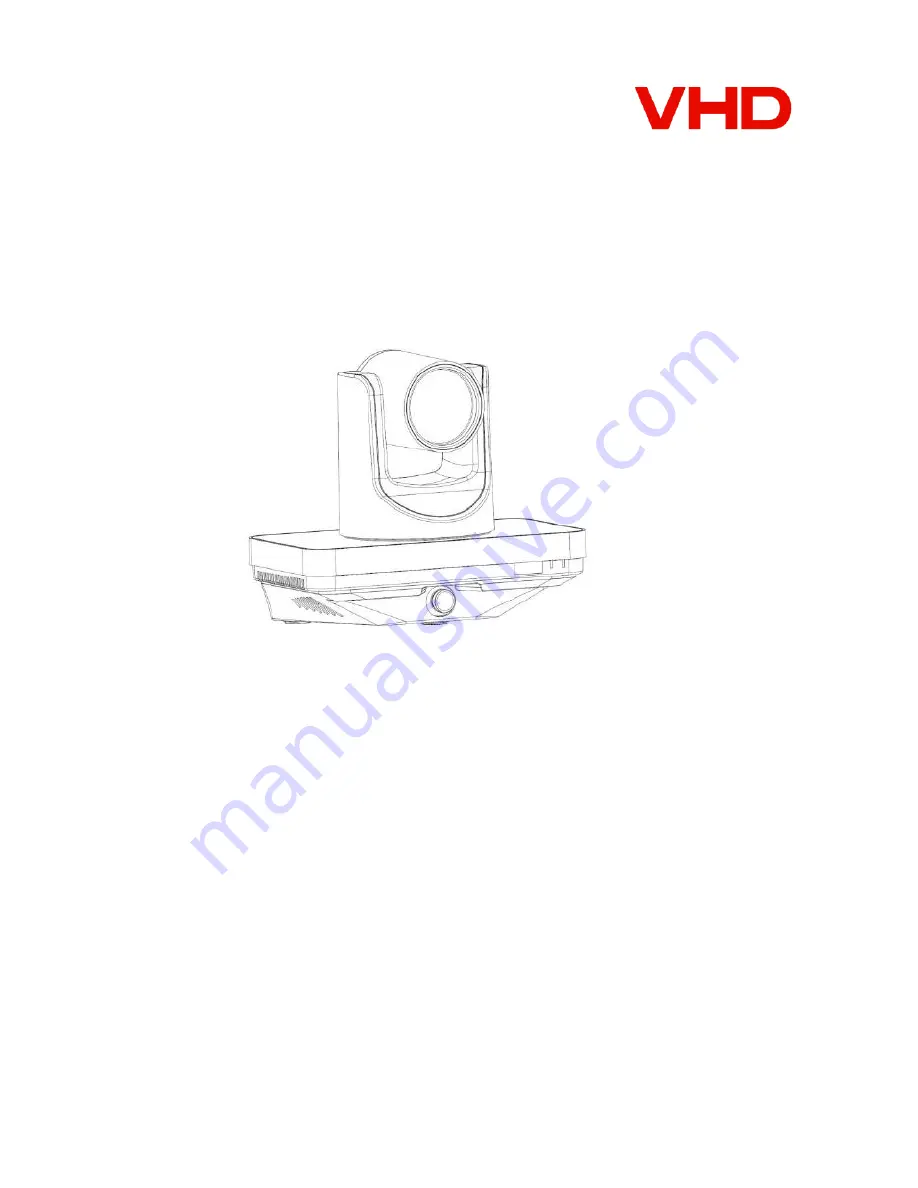
VHD-V800


User manual V1.2


ValueHD Corporation


Copyright:


All  contents  of  this  manual,  the  copyright  belongs  to  ValueHD  Corporation,  without  the 

permission of the Company, shall not be arbitrary imitation, copy, family copy or translation. 

This manual does not have any form of warranty, position, or other implication. The product 

specifications and information mentioned in this manual are for informational purposes only 

and are subject to change without notice.


Содержание VHD-V800

Страница 1: ...n without the permission of the Company shall not be arbitrary imitation copy family copy or translation This manual does not have any form of warranty position or other implication The product specif...

Страница 2: ...t fire or electric shock do not subject the unit to rain or moisture Note This is a Class A product In the home environment this product may cause radio interference in this case the user needs to tak...

Страница 3: ...ke er ikke defineret Rotation Switch Setting Fejl Bogm rke er ikke defineret Quick Installation Fejl Bogm rke er ikke defineret Auto Tracking Fejl Bogm rke er ikke defineret Network Function Fejl Bogm...

Страница 4: ...era s head otherwise it may cause the machine Mechanical failure This product should be placed on a smooth desktop or other level the product can not be tilted to install The product is made of organi...

Страница 5: ...ose up machine using the same image processing program to ensure that the two image output brightness color style etc consistent Configuration is simple Simple tracking configuration directly through...

Страница 6: ...n no NVR can be realized U disk local direct recording tracking video Low illumination Ultra high noise ratio of the new CMOS image sensor can effectively reduce the low noise in the case of image noi...

Страница 7: ...ng Progressive Lens 12x f3 5mm 42 3mm F1 8 F2 8 Digital Zoom 32x Optional Low Light 0 5Lux F1 8 AGC ON Shutter 1 30s 1 10000s White Balance Automatic indoor outdoor one button manual Backlight Support...

Страница 8: ...0K 3 One Push Manual Day Night Mode ICR Digital noise reduction 2D 3D Digital noise reduction BLC Support Image Freeze Support Ceiling Installation Support Newwork Feature Video Compression H 265 H 26...

Страница 9: ...Distance 30m Protocol VISCA Pelco D Pelco P for close up camera 1xRS232 Out 8pin Min DIN Max Distance 30m VISCA network use only for close up camera 1xRS232 Out 8pin Min DIN Max Distance 30m use for...

Страница 10: ...r supply x1 RS232 serial cable connecting the camera and computer x1 Wall mount fixed tracking machine x1 1 4 inch screw fixed tracking machine x1 Allen wrench adjust the panoramic lens x1 User Manual...

Страница 11: ...eturn to the previous menu 7 zoom key Zoom slow slow the lens wide angle or pull the narrow angle 8 set the left and right keys PTZ left and right steering set to use with the number 1 key and the num...

Страница 12: ...press the backlight ON OFF button To cancel this function press the backlight ON OFF key again 17 PTZ reset button Press the head after the start of self test 18 image freeze function Manual freeze Pr...

Страница 13: ...em selects the rotary switch 6 RS232 OUT interface 7 RS232 OUT interface 8 RS232 IN interface 9 LAN Network interface 10 LINE IN interface 11 RS485 interface 12 Reset 13 SDI OUT interface 14 SDI inter...

Страница 14: ...to connect your camcorder to a camcorder or computer for cascading 9 LAN Connect the camera to the network using the network cable to connect the camera to the network 10 LINE IN 3 5mm audio input int...

Страница 15: ...ValueHD Corporation 14 17 NET Network interface providing a network connection for the camera 18 DC 12V Connect the power adapter to provide a 12V power supply for the camera...

Страница 16: ...deo port video format VIDEO SYSTEM Switch position Video format Switch position Video format 0 1080p60 8 720p30 1 1080p50 9 720p25 2 1080i60 A 3 1080i50 B 4 720p60 C 5 720p50 D 6 1080p30 E 7 1080p25 F...

Страница 17: ...ed to the walls Step 2 Place the alignment holes of the camera at the mounting brackets on the wall mounts Step 3 Rotate the camera at the appropriate angle and fasten the camera s fastening screws to...

Страница 18: ...lation location Description Teacher installed close to the classroom axis height of 2 2 meters student machine installed in the classroom before any position height of 2 2 meters installed in the reco...

Страница 19: ...t machine board computer video recorder between the network mode and serial mode support network mode support protocol UDP TCP serial mode baud rate 9600 Teacher machine panorama teacher tracking stud...

Страница 20: ...between the network mode and serial mode support network mode support protocol UDP TCP serial mode baud rate 9600 Teacher machine panorama teacher tracking student machine panorama student machine tr...

Страница 21: ...ValueHD Corporation 20...

Страница 22: ...he tracking configuration tool 1 2 Tracking Configuration Interface 2 Tracking parameter configuration 2 1 Tracking parameter configuration selection 1 Teacher side tracking interface selection Enter...

Страница 23: ...erface 2 2 Language selection Choice of Chinese or English 2 3 Teacher side tracking parameter configuration 1 Teacher side close up machine IP address Enter the IP address of the teacher s special ma...

Страница 24: ...r to trigger the action range and tracking response speed optional range 0 to 4 the default value of 2 Tracking Screen Size Sets the viewing angle range of the close up tracking screen The setting ran...

Страница 25: ...n the menu mode select Close or Panorama and click the Menu button you can set the special machine s OSD menu in PTZ mode you can manually control the PTZ Target lost action Set the action of the spec...

Страница 26: ...complete the mask settings cancel close the mask to enable and hide the shield area shield area support 8 7 Turn on tracking Click Application display as Application the configuration parameters take...

Страница 27: ...Refer to the teacher side configuration 4 Student side basic parameter configuration Camera mounting height Student camera distance from the ground vertical height set the range 1 0 5 0 the default va...

Страница 28: ...ly configured tracking area and mask area in the preview image Select the masked area check the open mask area enable select the mask area to be set cancel close the mask to enable and hide the shield...

Страница 29: ...t Click Get to get the current camera configuration parameters Click Default to restore the default configuration parameters Click Open Tracking the camera enters the automatic tracking state you can...

Страница 30: ...a IP address Panorama IP address 4 the basic parameters of the board configuration Tracking sensitivity Detection of the sensitivity of the blackboard action set the range 0 4 the default value of 0 T...

Страница 31: ...parameters please refer to the teacher side configuration 6 Set the shield area Refer to the teacher side configuration 7 Turn on tracking Click Application display as Application the configuration pa...

Страница 32: ...to configure the communication parameters between the teacher and the host computer Command and so on 1 Communication settings Camera communication address setting Teacher address Show the IP address...

Страница 33: ...ble only send once repeat three times continue to send Broadcasting strategy You can choose external broadcasting and internal broadcasting one of them the default is internal broadcasting Outside Bro...

Страница 34: ...iguration parameters take effect Click Get to get the current configuration parameters Click Default to restore the default configuration parameters prompt Set the parameters of the pilot side select...

Страница 35: ...ValueHD Corporation 34 Method 2 In the Division I camera upgrade software configuration items to modify and then click Settings 3 After changing the camera IP need to restart the camera...

Страница 36: ...remote Operation tips Teacher machine factory default IP 1 Close up machine 192 168 100 81 2 Panorama machine 192 168 100 82 Student machine factory default IP 1 Close up machine 192 168 100 91 2 Pano...

Страница 37: ...in the main menu and press home button EXPOSURE menu appears as shown in the following figure Exposure Mode Can be set Auto Manual Shutter Priority Aperture Priority Brightness Priority Exposure Comp...

Страница 38: ...close up machine without this menu 3 Colour Move the cursor to Color in the main menu and press the HOME key to enter the color page as shown in the following figure White balance mode close up machin...

Страница 39: ...machine without this menu Note 1080p60 and 1080p50 do not support distortion correction 5 P T Z Only have a special machine Move the cursor to P T Z in the main menu and press the HOME key to enter th...

Страница 40: ...D noise reduction Optional items Off 1 8 D HotPixel Dynamic bad points Optional items Off 1 5 Close up machine has no that option 7 SETUP Move the cursor to the Setup item in the main menu and press h...

Страница 41: ...ing mode can be set items teachers students close up machine without this menu 8 Communication settings only Zoon Move the cursor to Communication Settings in the main menu and press the HOME key to e...

Страница 42: ...the Restore Default page as shown in the following figure Restore Default Confirm Restore factory settings set items Yes No Note Press HOME key to confirm Note Restore factory settings will restore a...

Страница 43: ...CD 2 DSR 2 RXD 3 TXD 3 TXD 4 GND 4 DTR 5 RXD 5 GND 6 GND 6 DSR 7 IR OUT 7 RTS 8 NC 8 CTS 9 RI Camera Mini DIN 1 DTR 1 DTR 2 DSR 2 DSR 3 TXD 3 TXD 4 GND 4 GND 5 RXD 5 RXD 6 GND 6 GND 7 IR OUT 7 NC 8 NC...

Страница 44: ...of the camera follows the standard VISCA Pelco D Pelco P protocol For secondary development the camera can be controlled according to the standard protocol To provide a detailed list of VISCA Pelco D...

Страница 45: ...power such as TV stations or radio transmitters etc Fault phenomena and treatment Image failure The display shows no image 1 The display shows no image 2 Closed power switch camera is a normal self t...

Страница 46: ...n the tracking area Small range of mobile tracking 1 May be appropriate to reduce the tracking sensitivity Tracking screen is not ideal 1 Change the tracking screen size No track video output in the m...

Страница 47: ...Check that the control cable is well connected Network fluent but cannot control 1 Check whether the network is on the same network segment 2 Check if the IP camera has been duplicated ValueHD Corpora...

Отзывы: