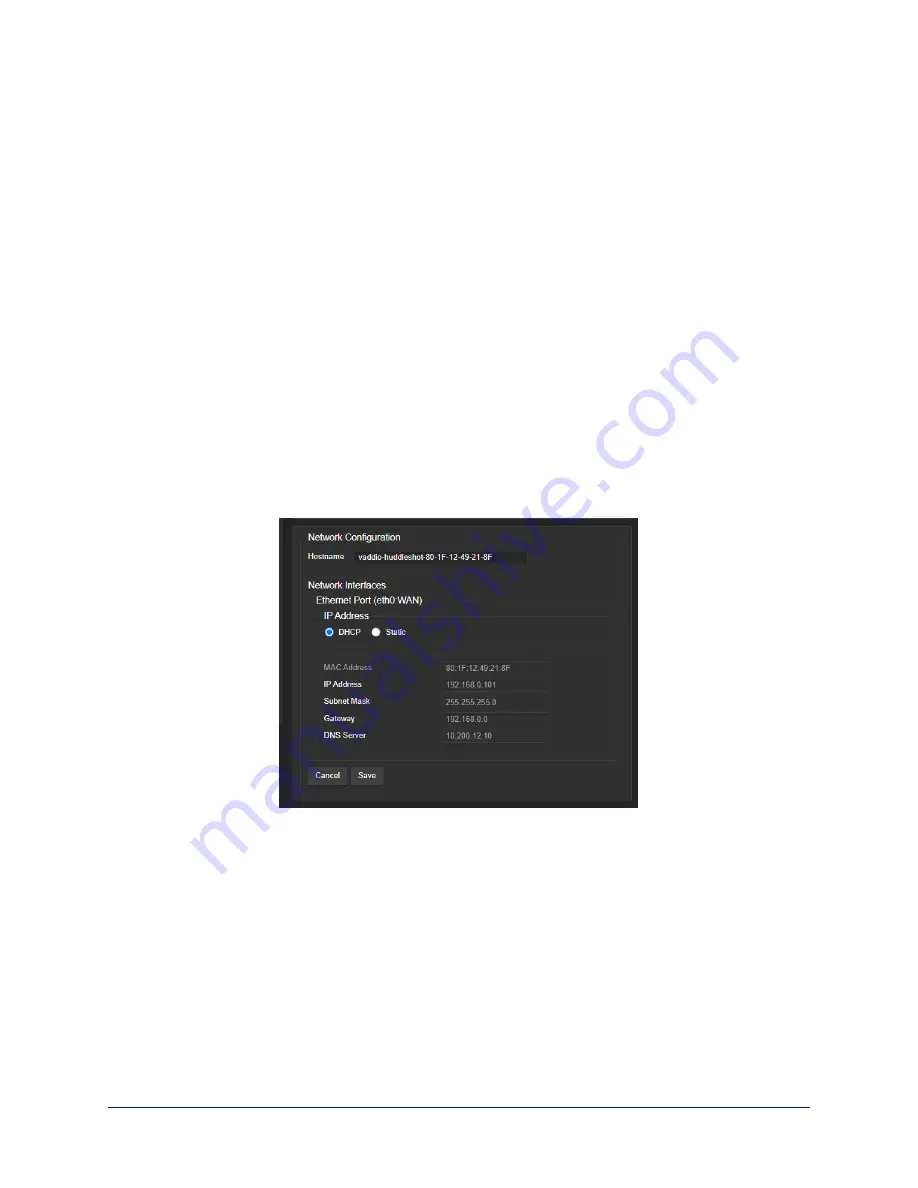
Configuring the Camera for Your Network
By default, the camera is set to DHCP, and will receive an IP address automatically if your network
assigns IP addresses. Work with your network specialist to ensure that the camera is configured to comply
with the organization's network policies.
Caution
Consult your IT department before changing network settings. Errors in network configuration can make
the camera inaccessible from the network.
Configuring the Device with a Static IP Address
N
ETWORKING PAGE
If no DHCP server is available to automatically assign an IP address, the camera uses its default IP
address (169.254.1.1).
If you install more than one camera or other device on this network, you must follow this procedure to
prevent IP address conflicts.
If the camera is currently at 169.254.1.1:
1. Work with your IT department's network specialist to determine the correct network settings.
2. Connect your computer's network port to the camera's network port.
3. Set IP Address to Static. Then enter the IP address, subnet mask, and gateway. DNS Server is
optional; ask the network specialist.
If the camera is currently at an IP address other than 169.254.1.1:
Work with your IT department to determine whether the device's current IP address is suitable.
If it is, set IP Address to Static. If not, follow the steps for a device at 169.254.1.1.
Changing the Camera's Hostname
N
ETWORKING PAGE
If your network supports hostname resolution, you can change the camera's hostname. Work with your IT
department to ensure that the new hostname conforms to the organization's naming conventions.
Note
You may need to log in to the web interface again after changing the hostname.
16
Complete Manual for the HuddleSHOT All-in-One Conferencing Camera


