background image

                                  
Wet/Dry Vacuums 


Operator’s Manual 


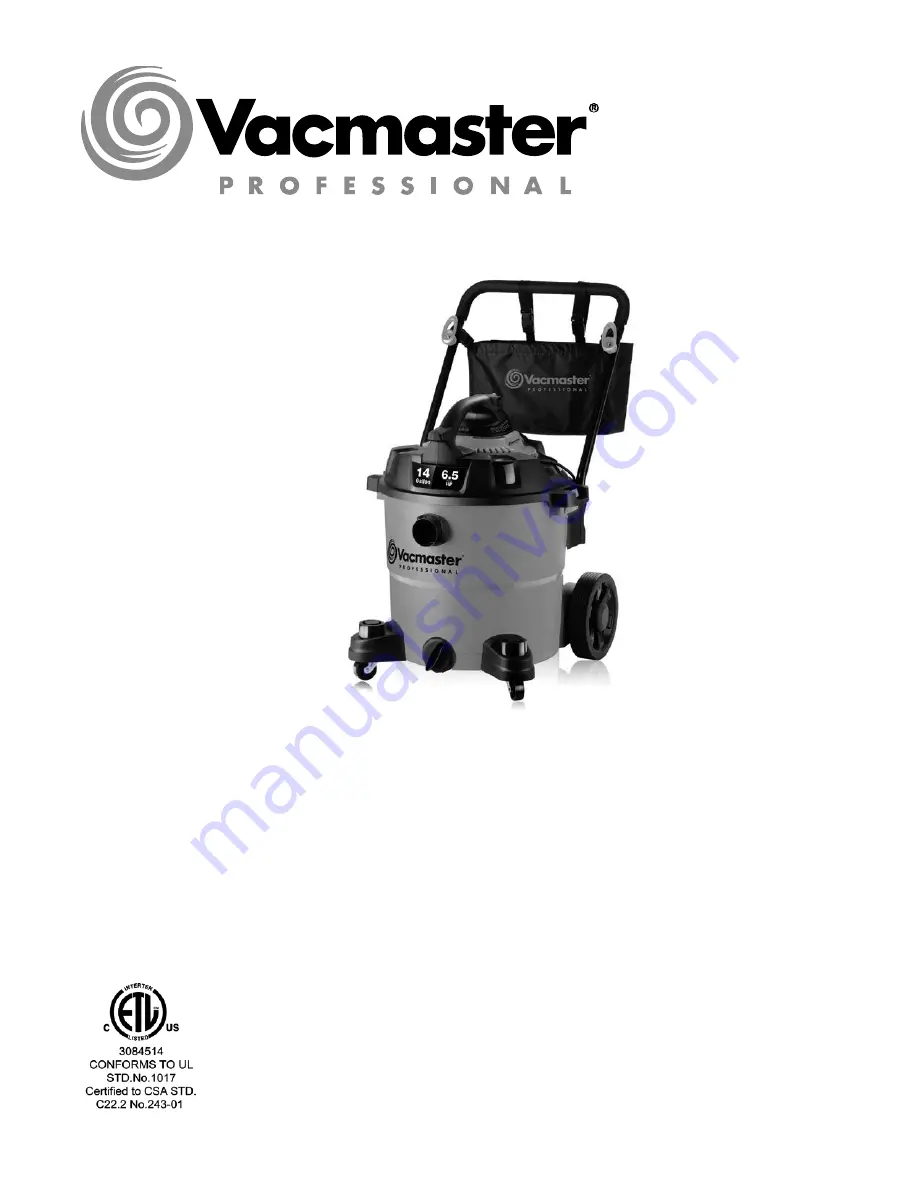
Wet/Dry Vacuum 

Detachable Blower 

14 Gallon


Model No. 

VBV1412P 


FOR YOUR SAFETY 

Read and understand this manual before use. 

Keep this manual for future reference. 


www.vacmaster.com 
Cleva North America  
44 Parkway Commons, Greer, SC 29650


Part No. VR09BZ.20.00.01 

Содержание VBV1412P

Страница 1: ...cuum Detachable Blower 14 Gallon Model No VBV1412P FOR YOUR SAFETY Read and understand this manual before use Keep this manual for future reference www vacmaster com Cleva North America 44 Parkway Com...

Страница 2: ...y gives you specific legal rights For product service call Customer Service at 866 384 8432 IMPORTANT SAFETY INSTRUCTIONS READ AND UNDERSTAND ALL INSTRUCTIONS BEFORE USING THIS VACUUM Read and underst...

Страница 3: ...ut the filter installed except when vacuuming liquids as described in the operation section of this manual Do not allow to be used as a toy Close attention is necessary when used by or near children T...

Страница 4: ...QUALIFIED SERVICE PERSONNEL REPLACEMENT PARTS FOR A DOUBLE INSULATED WET DRY VACUUM MUST BE IDENTICAL TO THE PARTS THEY REPLACE YOUR DOUBLE INSULATED WET DRY VAC IS MARKED WITH THE WORDS DOUBLE INSUL...

Страница 5: ...evice Nozzle J Floor Squeegee K Cartridge Filter L Filter Retainer M Foam Sleeve N Dust Collection Bag O Rear Wheel P Hub Cap Q R Lock Pin R Washer S Wheel Shaft T Accessory Pouch U Push Pull Handle V...

Страница 6: ...ws Verify that they are mounted correctly Do not over tighten screws fig 6 7 Insert the wheel shaft R into the rear support block U Insert washer Q onto the shaft followed by rear wheel N and insert w...

Страница 7: ...that the power cord is disconnected from the outlet fig 1 2 In order to prepare your vacuum for dry vacuuming verify that the cartridge filter is securely mounted With power head removed and in upside...

Страница 8: ...T VACUUMING 3 Fit the desired nozzle to the vacuum hose fig 3 4 Verify that the switch is in the O OFF position before plugging the power cord into the outlet fig 4 5 Turn the motor on by flipping the...

Страница 9: ...the blower port fig 2 3 While squeezing the locking lever lift the detachable blower from the vacuum lid fig 3 4 4 Insert the adaptor into the blowing port and fit it the desired extension wands and...

Страница 10: ...until it stops against the power head g 2 3 4 Place filter retainer on top of cartridge filter over the raise lip and tighten down by turning retainer Clockwise do not over tighten fig 4 5 Removing a...

Страница 11: ...e container Cleaning Foam Sleeve Filter 1 With the removed power head in the upside down position carefully remove foam sleeve filter fig 4 2 Use a mild soap and water solution to wash foam sleeve fil...

Страница 12: ...12 PARTS EXPLODED VIEW...

Отзывы: