Memory card settings & editing
49
Changing memory card names
This operation is used to change the name of memory cards
attaching during card formatting (p.25). You can select a new
card name up to eight characters in length.
During phrase recording, the card name and the phrase
number are combined to form the phrase name.
The names of phrases recorded prior to the card name
change are not changed automatically.
Setting procedure
1. Press the MODE button.
The MODE indicator light comes on.
2. Turn the SELECT dial to '4.5 CARD NAME' then
press the SELECT dial.
3. Turn the SELECT dial to designate the memory
card you wish to rename then press the SELECT
dial.
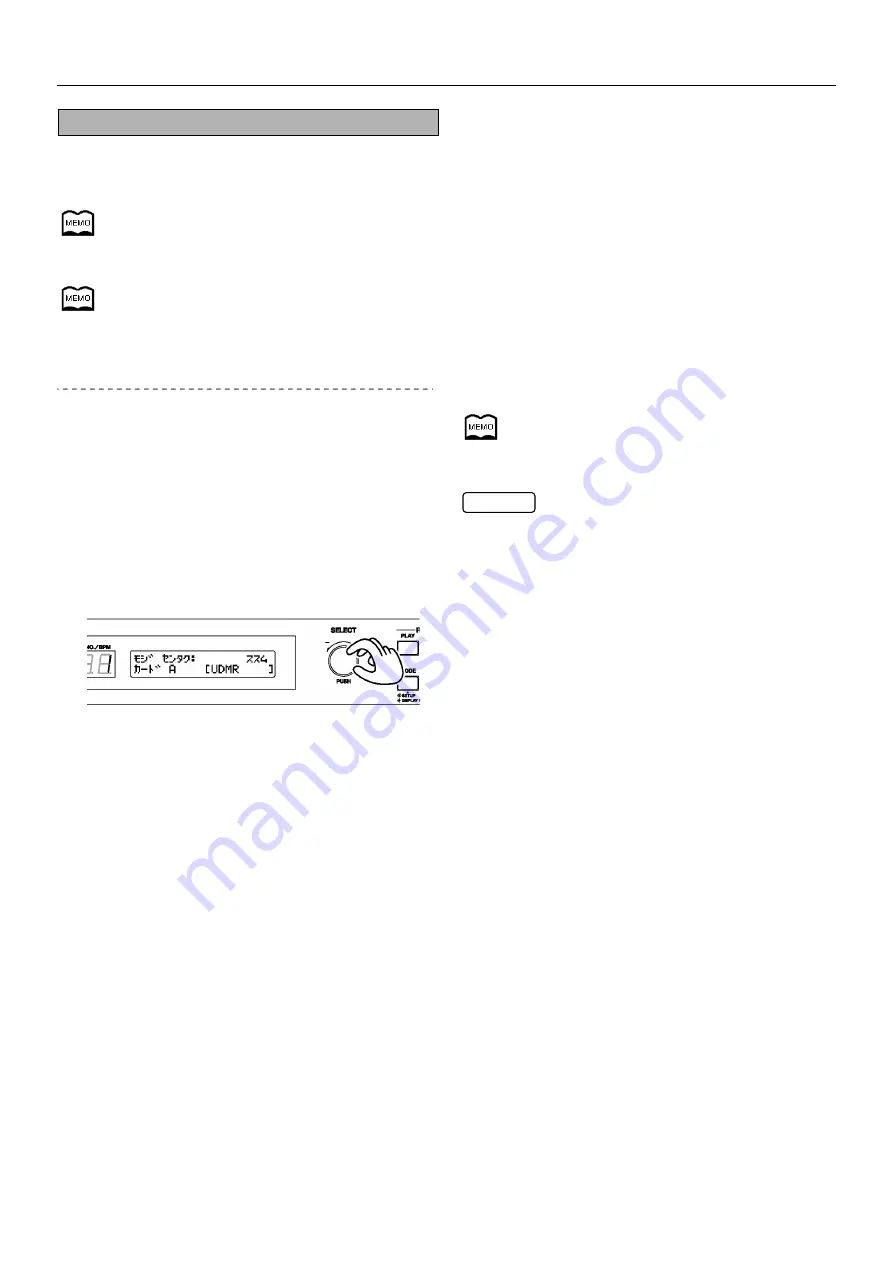
4. Turn the SELECT dial to select characters.
Press the SELECT dial to confirm your selected character.
Available characters:
Alphabet letters (capitals); numerals; katakana
characters; sonant marks (i.e. dots & circles added to
kana symbols to indicate voiced consonants and 'p'
sounds); spaces; and the following symbols.
-
!
# $ % & ' ( ) @ ^ _ { }
、
。
「
」
・
NEXT:
Moves the cursor position forward one
space. Press the SELECT dial to execute.
BACK:
Moves the cursor position back one space.
Press the SELECT dial to execute.
INSERT: Inserts a single space. Press the SELECT
dial to execute.
DELETE: Deletes a single character. Press the
SELECT dial to execute.
END:
Completes the character input and confirms
the phrase name.
5. Once you have finished inputting the card name,
turn the SELECT dial to 'END' then press the
SELECT dial.
6. The confirmation screen is displayed. To
execute the name change, select 'SET' then
press the ENTER button.
To cancel the operation, turn the SELECT dial to
'CANCEL' then press the ENTER button.
Once the task is complete, the display returns to the
settings selection screen.
7. Press the MODE button.
The setting is completed and the display returns to the
default screen.
You can go back one cursor position by pressing the STOP
button in mid-setting.
* Pressing the MODE button mid-setting displays a
confirmation screen asking you whether or not to cancel the
setting. Please note that selecting 'YES' and pressing the
ENTER button returns you to the default screen and cancels
all settings made up to that point.
CAUTION


