8
Version 1.612
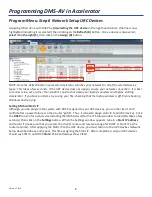
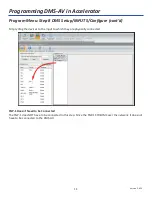
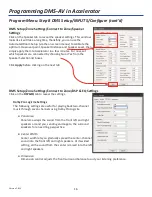
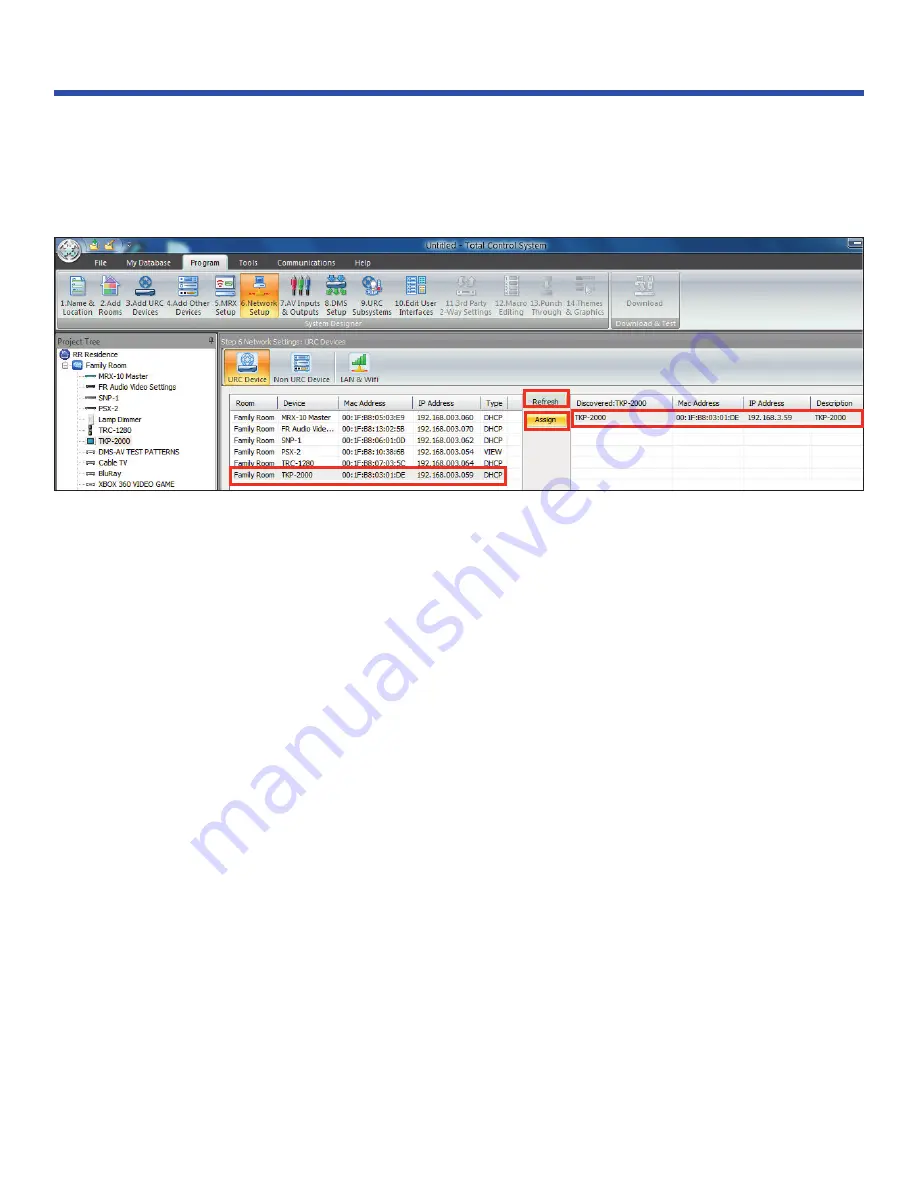
Assigning is first done with DHCP by
(A) selecting the URC device
in the right hand column (the line is now
highlighted indicating it is selected), then clicking on the
Refresh (B)
button. Once a device is discovered,
select it on the right (C)
, then click on the
Assign (D)
button.
NOTE: Once the Refresh button is pressed, Accelerator searches your network for all of the selected device
types. This takes a few seconds. If the URC device does not appear, ensure your network connection. It is best
to connect via a wire, rather than via Wi-Fi, and to shut down your laptop’s wireless card before starting
Accelerator. If you have problems, try saving your file, checking that the laptop wireless is off, then rebooting
Windows and retrying.
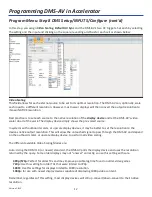
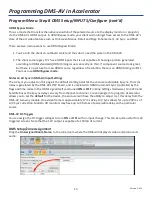
Setting DMS-AV Static IP
Although you can program the system with DHCP assigned to your URC devices, you run the risk of an IP
conflict after a power failure or other router “glitch”. Thus, it is best to assign static IP to all URC devices. Click
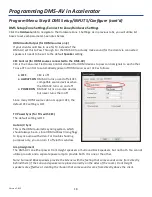
the
DHCP
column for each device including the DMS-AV, wait for the IP Status window to load (this takes a few
seconds), then click on the
Settings
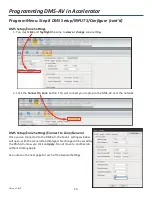
button. When the Settings window appears, type in a
Static IP address
and record it (make sure that you access the client’s router and reserve a range for DHCP or Static IP as the
router requires). After applying the Static IP to the URC device, you must return to the URC Devices Network
Setup described above and repeat, this time assigning the Static IP. After completion, all your URC devices
should say STATIC, not DHCP.
Note:
PSX-2 will always show VIEW.
A
C
B
D
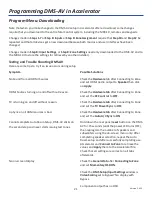
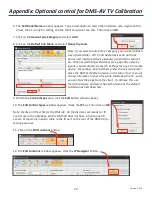
Programming DMS-AV in Accelerator
Program Menu: Step 6 Network Setup URC Devices


