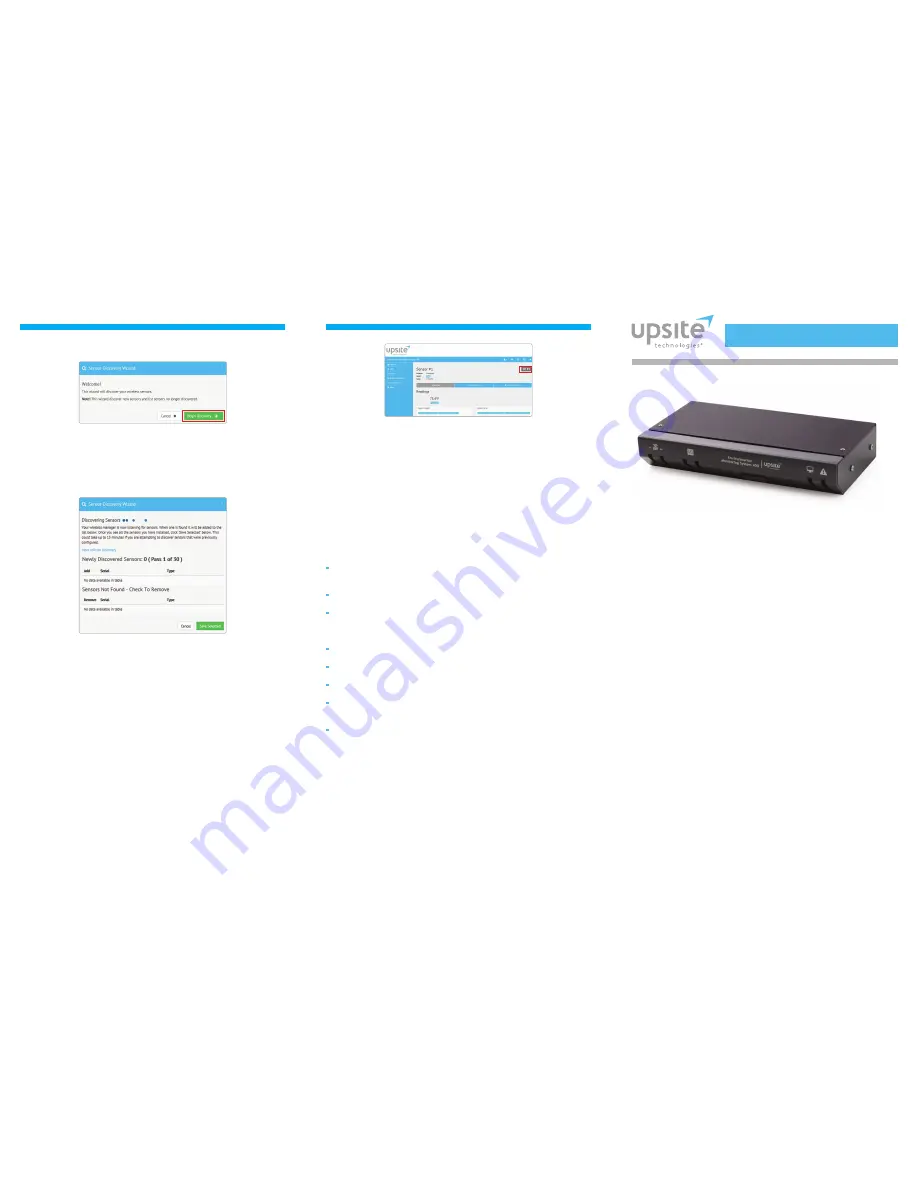
Environmental Monitoring System 400
TM
Thank you for purchasing the Environmental Monitoring System (EMS) 400
TM
from
Upsite Technologies
®
. This guide describes how to install and configure your unit.
If you need further assistance, please contact us via email at [email protected]
or call us at 1.888.982.7800.
Installation Supplies
Included with the EMS 400
TM
EMS 400
TM
device
24VDC power adapter
CAT 6 crossover network cable
Three 900MHz antennas
Available from Upsite, sold separately
Rack mount bracket
Rack mount tabs
Wall mount bracket
WireFree sensors as necessary for your application
Additional Supplies
18 – 22 AWG ground wire
18AWG shielded twisted pair stranded copper wire — no more than 2000 ft (610 m)
(Modbus RTU communication via EIA-485 port)
Straight-through CAT5 cable
Straight-through, nine-pin serial cable
Network Communications Information
Consult your IT administrator and determine the following network settings
for your EMS 400
TM
:
IP Address ___________________________________________________________________
Subnet Mask _________________________________________________________________
Default Gateway ______________________________________________________________
Q U I C K S T A R T G U I D E
8. Once you have assigned data and saved your changes for every page, your sensor
discovery is complete. Be sure to save a copy of your system configuration in a safe
location, should you ever need to reinstall it on this or another EMS 400
TM
.
Troubleshooting
Basic EMS 400
TM
troubleshooting information is included here. More in-depth
troubleshooting is available in the EMS 400
TM
User Guide, which can be found online at
www.upsite.com.
Sensors Are Not Automatically Discovered by the EMS 400
TM
If an installed WireFree sensor is not detected by the EMS 400
TM
, it is either too far
away from the EMS 400
TM
, or there is an obstruction in its path. To determine the
source of the problem, remove the sensor from its installed location and place it near
the EMS 400
TM
. If it’s then discovered by the EMS 400
TM
:
Its desired location may be too far away. Move the sensor away from the
EMS 400
TM
in small increments. This will help you determine the distance
threshold of the sensor.
An obstruction is blocking the signal. Find another suitable location for the
sensor that avoids the obstruction.
If it’s a single sensor application, installing a 900MHz sensor may be more
cost-effective than a repeater.
If the sensor is still not discovered by the EMS 400
TM
:
Verify the sensor’s serial number. Make sure you’re looking for the correct sensor at
that position.
Remove the sensor’s cover and make sure the battery pull tab has been completely
removed.
Check to see that the heartbeat LED is blinking, once every 10 seconds. You’ll find
the red LED in the bottom right corner of the circuit board.
If the red LED is not blinking, ensure there is not a gap between the battery clips
and the side of the battery. Remove the battery, gently squeeze the clips in, and
replace the battery.
Check the battery’s voltage. If the battery is reading a low voltage (lower than
3.4VDC), replace the battery with a 3.6V lithium AA battery.
Sensor Battery Issues
When you replace the battery, replace it with a 3.6V lithium battery. WireFree sensors
will NOT operate with a standard alkaline AA cell.
Make sure you replace the battery with the terminals facing the correct direction.
The sensor will not function if the battery is inserted backwards.
3. The sensor discovery wizard will launch. Click the Begin Discovery button.
4. The EMS 400
TM
will locate all sensors within its antenna range. They will all list in the
modal window. Note each sensor has a check box next to it. If you would like the
sensor to be associated with this EMS 400
TM
, leave the checkbox checked. Uncheck the
boxes next to the sensors that should NOT be configured within this EMS 400
TM
at this
time. Once you’ve made your selections, click the Configure Selected Sensors link.
5. From this screen you have two options:
a. Configure the discovered sensors individually. Click the skip button and sensor
discovery is complete. Proceed to the Sensors page in the main left hand
navigation and use the links there to configure your sensors.
b. Assign the same alarm parameters to all the sensors you’ve discovered. Often,
alarm and warning thresholds will be the same for groups of sensors. The
wizard provides a quick way to assign the same parameters to all the sensors
you’ve discovered. Fill in the fields as necessary and click the Apply to All and
Continue button.
6. Whether you’ve configured parameters for all your sensors at once or wish to
configure them individually, you will want to proceed to the Sensors page, accessible
through the Sensors link in the left hand navigation bar. Confirm the placement of all
the new sensors in the sensor list.
7. From this page you can also finish configuring fields for each sensor, including the
sensor’s name and location. Note that the EMS 400
TM
assigns an index number
to each sensor. This is listed as the ID# in the upper right corner of each sensor’s
individual configuration page. The EMS 400
TM
uses this number for reference,
particularly for Modbus, BACnet, and SNMP communications. If you’d like, place
a label or other marking on the sensor case to show its index number.
6
5
84034A ©2015


