uno.
Uno International Ltd.
Stepper Control Board Manual
5/21
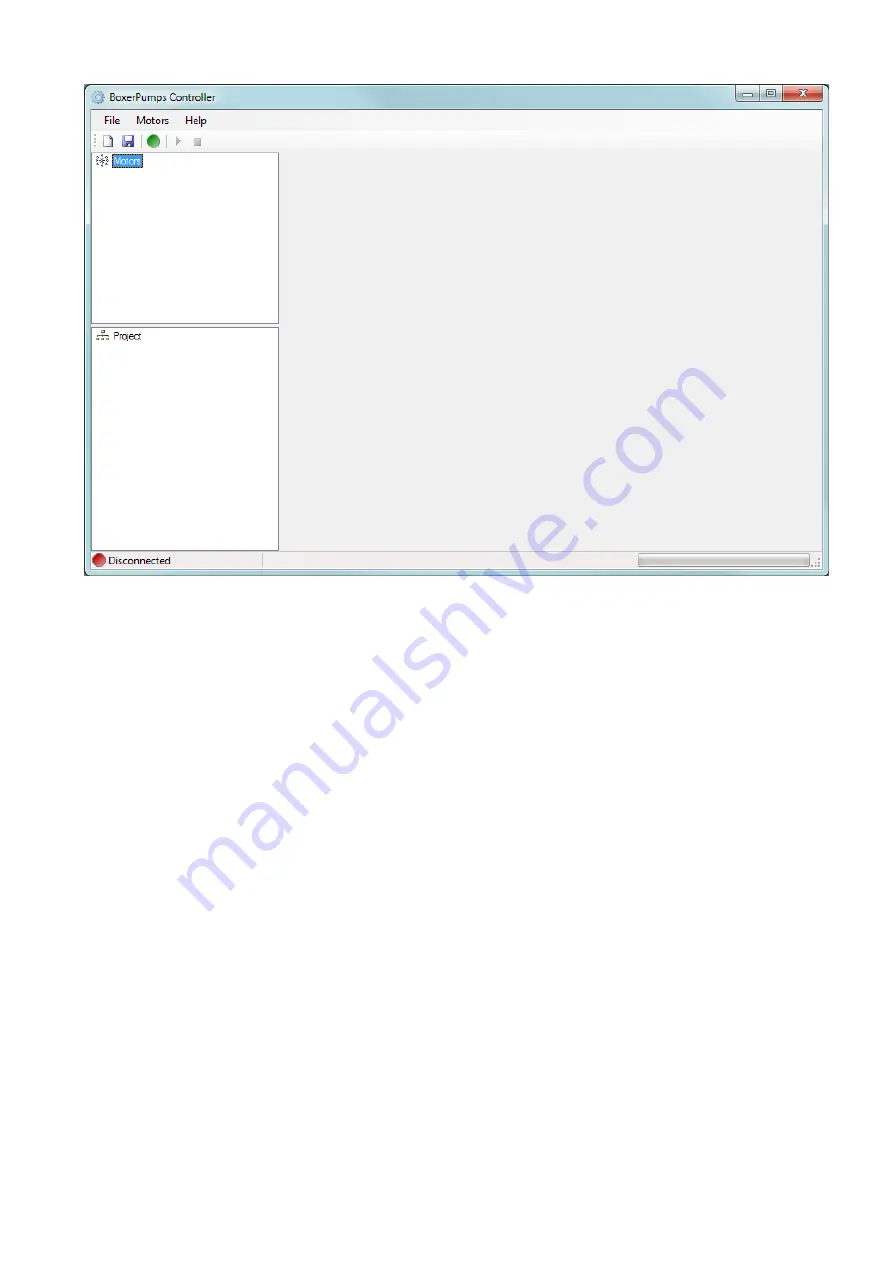
Double click on the BoxerPumps Controller to launch the application.
The software will prompt you to open an existing controller program. Controller programs have the extension
*.bpj. If no such program exists your computer press "Cancel". A new dialogue box called New Project will
prompt you to save a a new project under your chosen name. Substitute "New Project" with a name and in a
place of your choice and press "Save".
6. Software explanation
Press the round Green Connect button to create a link between the PC and the control board.
There are 2 main interface boxes:
1. Motors (top) - for motor configuration
2. Project (bottom)- for run configuration
The STOP button is a panic button. Whenever you want to terminate a movement of a motor, press this
button. The PCB has also a socket for a panic stop actuator.
1. Motor configuration
1. Right click "Motors" and choose "Configure". A new dialogue box pops up.
2. Press "Add" to add a new motor
3. Choose a snappy description for the motor (e.g. "Reagent 1") and insert it in the Description of the
motor.
4. If you are about to calibrate a pump then choose Steps. Otherwise assign the type of motor - whether a
pump, linear drive or a rotary drive
5. Set drive current: Small motors such as the one used Boxer 9600 run better on much lower current than
the large steppers which will run better at full current. If you are running the controller for example from
a 1.5A power supply, there is little point in entering 2500mA in the drive current box as the motor can
get a max of 1500mA.
6. Stepping: Full Stepping or Half Stepping. Choose half stepping if you intend to run the motor in low
speeds i.e. below 1000 steps/sec (below 300rpm).
7. For accurate operation always apply a hold current. A hold current of 400mA


