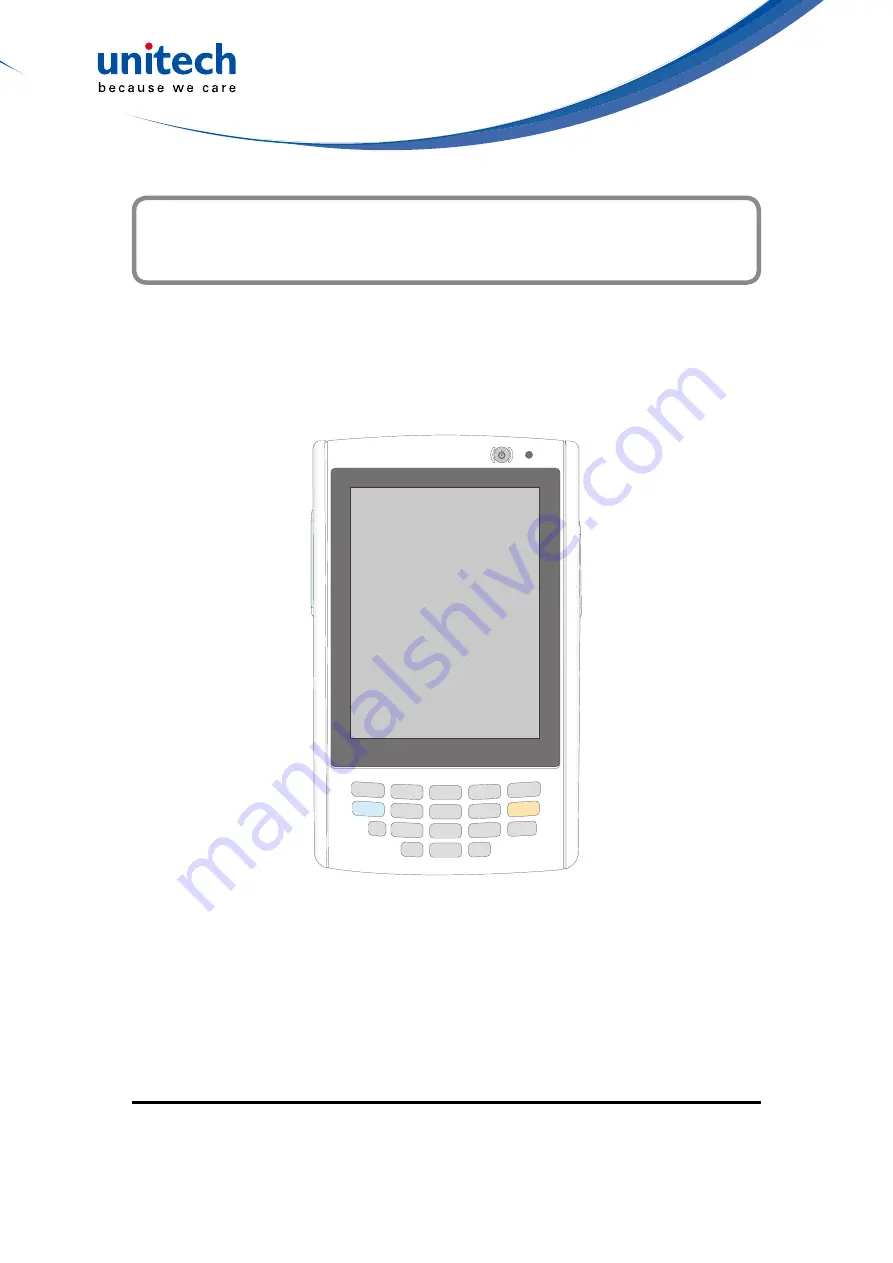
background image

Rugged Mobile Computer 

- PA520 -

User's 

Manual

400892G Preliminary

© 2014 unitech Electronics Co., Ltd. All rights reserved. unitech is a registered trademark of unitech Electronics Co., Ltd.

Содержание PA520BTNF

Страница 1: ...Rugged Mobile Computer PA520 User s Manual 400892G Preliminary 2014 unitech Electronics Co Ltd All rights reserved unitech is a registered trademark of unitech Electronics Co Ltd...

Страница 2: ......

Страница 3: ...ms The material in this manual is subject to change without notice Copyright 2014 Unitech Electronics Co Ltd All rights reserved Unitech global website address http www ute com Bluetooth is a register...

Страница 4: ...e equipment off and on the user is encouraged to try to correct the interference by one or more of the following measures Reorient or relocate the receiving antenna Increase the separation between the...

Страница 5: ...positions the handset a minimum of 0 mm from the body Use of other accessories may not ensure compliance with FCC RF exposure guidelines Operations in 5150 5250 MHz band is for indoor use only Canadia...

Страница 6: ...is designed so that there is no human access to harmful laser light during normal operation user maintenance or prescribed service operations The laser safety warning label required by the DHHS IEC fo...

Страница 7: ...batteries are advised to replace every year or when 500 charge discharge cycles achieved to guarantee optimal performance It is normal that the battery balloons or expands beyond one year or the maxi...

Страница 8: ...is essential that batteries are charged within the stated range of 0 C to 40 C Charging batteries outside of the specified range could damage the batteries and shorten their charging life cycle CAUTI...

Страница 9: ...gher temperature ranges It is recommended to store batteries within normal room temperature ranges Warranty The following items covered under Unitech Limited Warranty are free from defects during norm...

Страница 10: ...hapter 1 Getting Started 1 Introducing the PA520 1 PA520 Product Introduction Accessory Kit 2 Tour of the PA520 3 Setting up the PA520 5 Installing the Battery 5 Charging the PA520 6 Powering On the P...

Страница 11: ...WiFi Connection 15 Using the Summit Utilities 15 Chapter 4 Barcode Scanner Programs 19 Scanner Setting 19 Scan2Key 19 Barcode Symbologies 20 Barcode Symbologies 2D 21 Chapter 5 Advanced Settings 23 Pe...

Страница 12: ...X...

Страница 13: ...a compact mobile computing device designed for maximum durability Easy to Use The unit is equipped with a color display with touch screen a five way directional key and six application keys The PA520...

Страница 14: ...the region PA520 Product Introduction Accessory Kit After opening the box ensure the following accessories for the PA520 are present PA520 Terminal Power Adapter Battery Pack Stylus with bungee lanya...

Страница 15: ...is fired activated 3 Power button If the device is off press this button to turn it on Alternatively when the unit is on this key must be pressed and held down for about two seconds in order to turn t...

Страница 16: ...to reset your device 13 Main battery Removable and rechargeable 3 7 V 2200 mAh battery pack 14 Universal connector Connects your device to a USB charging communication cable This USB cable connects to...

Страница 17: ...loss when the removable battery pack is removed or completely discharged The backup battery will keep the data and system settings up to 1 hour if the main battery is removed NOTE To enable the inter...

Страница 18: ...t in loss of data stored in RAM memory NOTE Data you entered may not be properly stored until the internal backup battery has been fully charged To charge the device using the USB charging cable 1 Att...

Страница 19: ...the device will entera sleep mode and cannot be powered up until the battery is charged Windows Mobile 5 0 devices will retain installed applications and data when the main battery is completely drai...

Страница 20: ...at any time by tapping Start Settings System tab Screen The PA520 will prompt you to calibrate the unit by tapping a sequence of screen locations Tap gently but firmly When you have completed the seri...

Страница 21: ...the menu options and confirm your selection 7 Navigation key Use the up down left and right arrow keys to navigate through the menu options 8 OK Press the OK button to access the menu options and conf...

Страница 22: ...ice 4 To write data into a field on a form use the stylus to print the letters or numbers of on screen keyboard Use very light pressure Using the SDIO MMC Slot Your device has an expansion slot compat...

Страница 23: ...place and this will signal that the card is already properly seated in the slot The card is secure when it is not prot ruding from the slot To remove a storage card 1 Hold the device securely Push th...

Страница 24: ...12...

Страница 25: ...e device to your computer NOTE If you have a previous version of the Microsoft ActiveSync installed in your computer uninstall it first before installing the latest version of Microsoft ActiveSync To...

Страница 26: ...utomatically click Start Programs Microsoft ActiveSync NOTE If a message appears indicating that it is unable to detect a connection click the Cancel button and manually configure the communication se...

Страница 27: ...rmation Before following these instructions make sure if authentication in formation is needed Using the Summit Utilities You can use the Summit Client Utility tool to setup or change the WiFi setting...

Страница 28: ...n Available AP 1 Under Profile tab tap Scan for available AP 2 You may select a desired AP to create a new profile Tap Configure 3 Tap Yes to create the new profile 4 Enter the WEP key or network key...

Страница 29: ...ofile you want to activate 3 Under Status tab you can see the IP address signal strength and quality 4 Tap OK to exit the Summit Client Utility 5 Tap Start Boot Mode Tap Warm Boot to warm start the te...

Страница 30: ...18...

Страница 31: ...ty to change default symbology place delimiter characters behind scanned data and save the settings Tap Start Settings System Scanner The Scanner Control Panel appears NOTE Press Func key and 7 button...

Страница 32: ...YES For ASCII Transmit start stop char Append mode data length Code 93 YES data length Dutch KIX Post YES EAN 13 YES YES 2 digit addenda 5 digit addenda Addenda required Include addenda separator EAN...

Страница 33: ...uired Include addenda separator Send number system Expanded UPC E NOTE Value Adjustable Scanner Control Panel Version 5 14 Barcode Symbologies 2D Barcode Symbology Enable Disable Char Check Digit veri...

Страница 34: ...22...

Страница 35: ...open programs may be lost Performing a Warm Boot 1 Remove the stylus from its holder 2 Lightly press the tip of the stylus to the reset button located at the rear side of the terminal Performing a Co...

Страница 36: ...ardware 1 Remove the battery compartment cover and the main battery See the section of Installing the Battery 2 Turn the backup battery switch off 3 Turn the backup battery switch on 4 Cover the batte...

Страница 37: ...icator Dual Function LED Green Data scanning Red Charging status Communication USB USB1 1 Host Client WLAN IEEE 802 11 b g n PAN Bluetooth 2 1 EDR Audio 0 8 Watts Speaker Expansion Slot SD Memory with...

Страница 38: ...ration management Asset tracking remote diagnostics and performance measurement For more detailed information please visit http portal unitech eu RDM v2 v2login aspx Accessories USB cradle with batter...

Страница 39: ...tative For complete contact information please visit the Web sites listed below Region Web Site Global Operation Center http www ute com Unitech Taiwan http tw ute com Unitech Asia Pacific Middle East...

Отзывы: