UN-WPAMOUT
Two Way Wireless Outdoor Double PIR
Detectors with Anti-masking
INSTALLATION INSTRUCTIONS
&
USER MANUAL
Страница 1: ...UN WPAMOUT Two Way Wireless Outdoor Double PIR Detectors with Anti masking INSTALLATION INSTRUCTIONS USER MANUAL...
Страница 2: ...Pattern 6 5 1 Range Adjustment 6 5 2 Pet Immunity 7 6 Learning Installation 8 6 1 Select Mounting Location 8 6 2 Learning Procedure 9 6 3 Detector Installation 10 7 Settings Adjustments 11 7 1 Detect...
Страница 3: ...a reducing false alarms alerts to zero while maintaining high security standards for the detection of human intruders into protected area The detection sensitivity and range are controlled by optical...
Страница 4: ...ion Unique ID number 3 This UN WPAMOUT wireless outdoor detector transmits the following events SUPERVISION A periodical transmission every 7 min indicates detector s presence ALARM Alarm transmission...
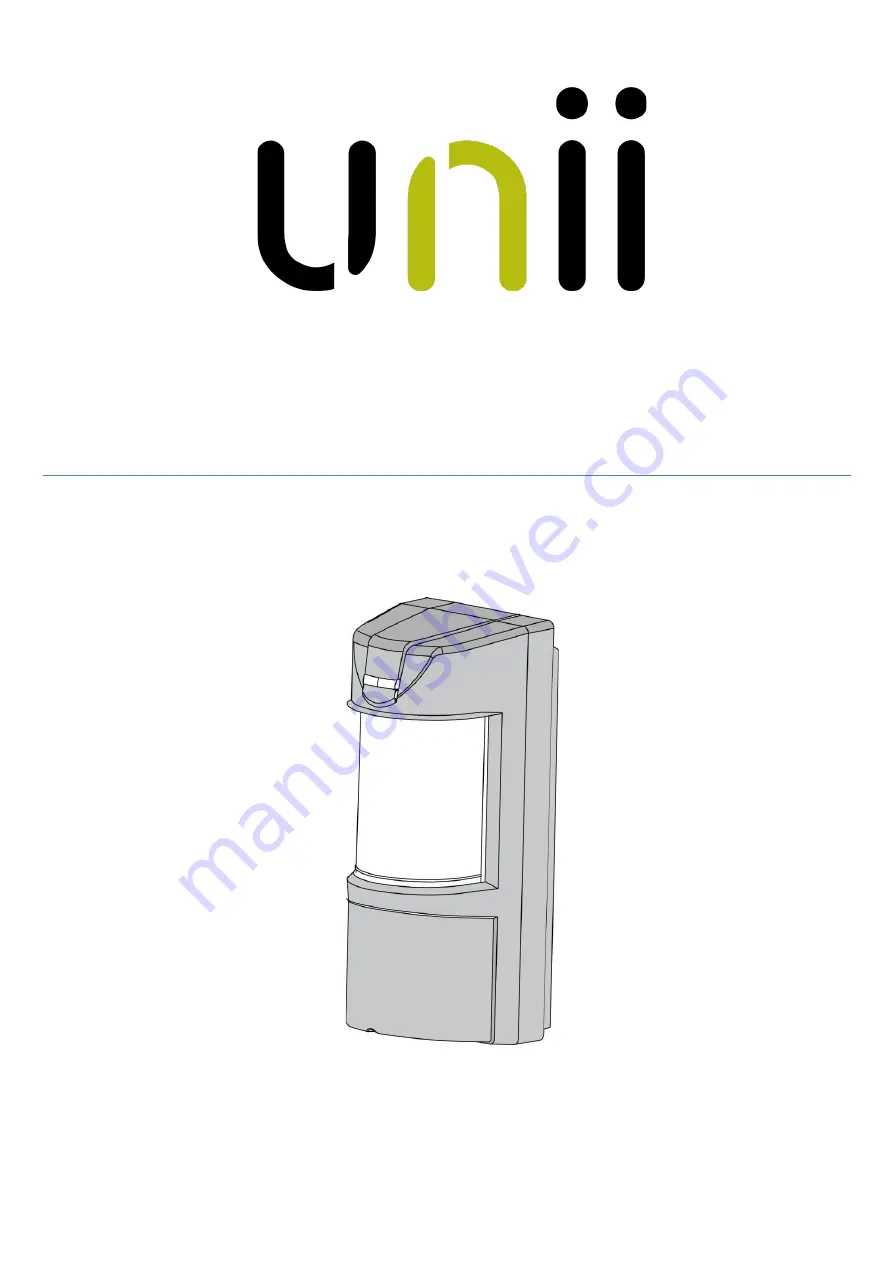
Страница 5: ...is a robust detector which includes indication LED prism that can be easily observed from long distance Having a back metal bracket the UN WPAMOUT can be easily mounted to walls and poles using mounti...
Страница 6: ...IR AM INSTALLATION INSTUCTIONS 5 Front view Back view with battery 2 LED Detector 9 Batteries Cover 4 Upper PIR Element 10 Back Tamper Switch Removal 5 Anti Mask Sensor 6 Lower PIR Element 7 Dip Switc...
Страница 7: ...detection distance when installed at 1 5m above the ground surface The UN WPAMOUT has an internal rotating housing which includes the 2 PIR elements that can be adjusted vertically so its 90 coverage...
Страница 8: ...alert accordingly by having PIR detection beams movement detection A Lower PIR element which is fixed to 12m range and 60 cm above ground level which helps avoiding pets detection over the entire are...
Страница 9: ...ture changes Wall angle of more than 10 from perpendicular line Mounting at more than 10 Deviation from horizontal line Facing metal doors Do not install near direct source of heat or air gust Clear a...
Страница 10: ...tector unit from the back metal bracket and remove it by tilting it Remove the batteries cover The learning process should be completed within 30 seconds UNii Control panel will indicate completion at...
Страница 11: ...holes on the wall leaving 15cm from all sides for easy installation and maintenance 4 Install the metal bracket on the wall or a pole using mounting screws or metal bands 5 Install the detector unit...
Страница 12: ...direction rotate the internal detection element housing to the desired direction 7 2 Detection range setting The UN WPAMOUT detection range may vary between 3m and 12m while installed on 1 2m height a...
Страница 13: ...LOW SENSITIVITY OFF ON MEDIUM SENSITIVITY ON OFF NORMAL SENSITIVITY ON ON HIGH SENSITIVITY Switch 3 LED VISUAL INDICATION Use for setting LED Enable Disable UP Position ON LED enabled DOWN Position OF...
Страница 14: ...masking alarm proceed as follows Search for masking material or objects on the lens or in front of the detector and remove them Reset the detector by walking in front of it Cross its field detection c...
Страница 15: ...the UNii keypad if it indicates a tamper alarm Or check with UNii Manager software at diagnostics whether the detector indicates a tamper alarm Communication signal test Check the RF Communication qua...
Страница 16: ...Type AA LR06 Battery life Up to 3 years Current Consumptions Standby 22 mA Receive mode 24 mA Transmit mode 45 mA Transmit Power 14dBm Tamper Switch Front Cover and Wall Removal Back Tamper Weatherpr...