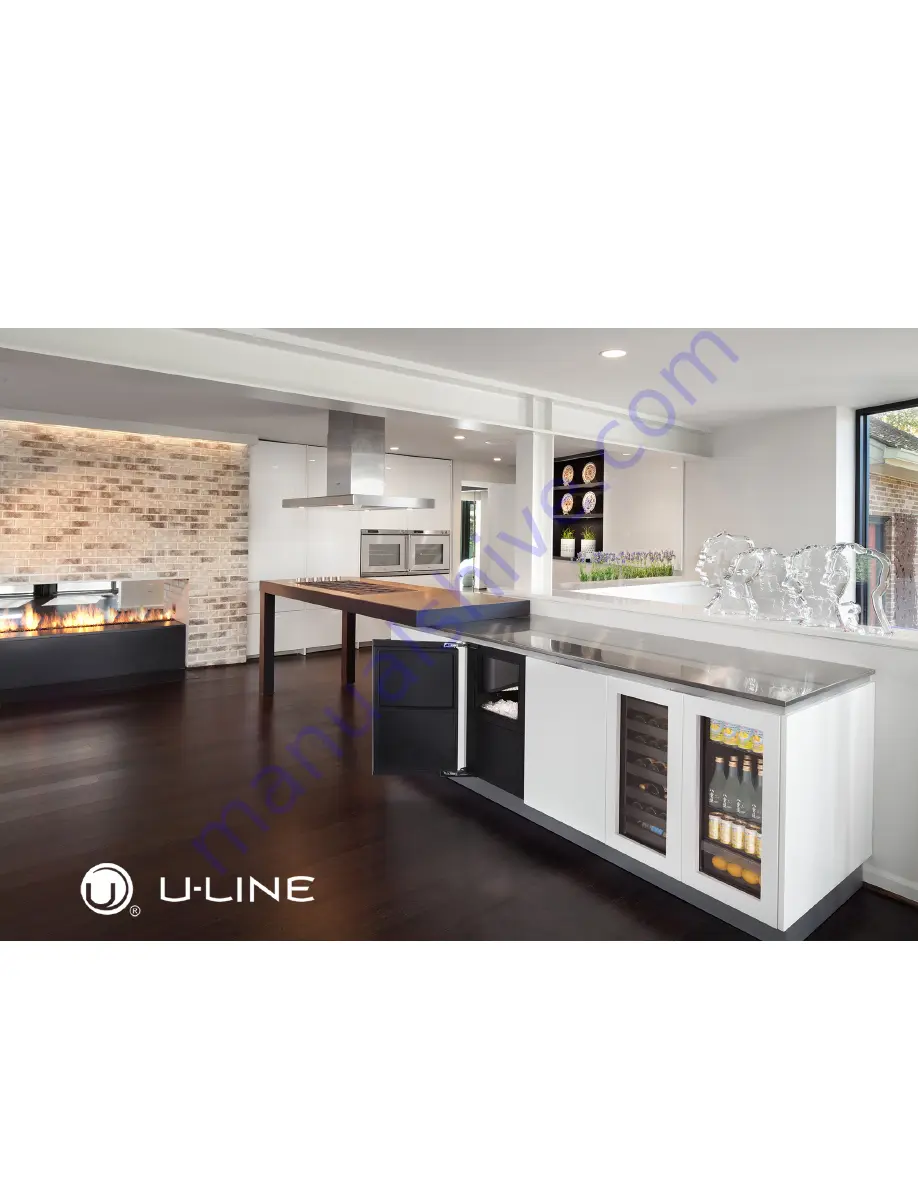
RIGHT PRODUCT. RIGHT PLACE. RIGHT TEMPERATURE. SINCE 1962.
USER GUIDE
SAFETY
•
INSTALLATION & INTEGRATION
OPERATING INSTRUCTIONS
MAINTENANCE
SERVICE
Modular 3000 Series
3018WC
18" Wine Captain
®
Model
Страница 1: ...RIGHT PRODUCT RIGHT PLACE RIGHT TEMPERATURE SINCE 1962 USER GUIDE SAFETY INSTALLATION INTEGRATION OPERATING INSTRUCTIONS MAINTENANCE SERVICE Modular 3000 Series 3018WC 18 Wine Captain Model...
Страница 2: ...ensions Side by Side Installation Anti Tip Bracket General Installation Integrated Grille Plinth Dimensions Grille Plinth Installation Door Swing Door Stop Door Adjust Operating Instructions First Use...
Страница 3: ...ship to you PRODUCT INFORMATION Looking for additional information on your product User Guides Quick Reference Guides CAD Drawings Compliance Documentation and Product Warranty information are all ava...
Страница 4: ...jury or death WARNING Warning means that failure to follow this safety statement could result in serious personal injury or death CAUTION Caution means that failure to follow this safety statement may...
Страница 5: ...freezer take off the doors and leave shelves in place so children may not easily climb inside If the unit is being removed from service for disposal check and obey all federal state and local regulati...
Страница 6: ...C or higher may reduce the unit s ability to reach low temperatures For best performance keep the unit out of direct sunlight and away from heat generating equipment In climates where high humidity a...
Страница 7: ...use an extension cord to connect power to the unit Always keep your working area dry NOTICE Electrical installation must observe all state and local codes This unit requires connection to a grounded...
Страница 8: ...djustable doors leveling legs and grille will assist in fine tuning the installation All 3000 Series models fully integrate into overlay face frame inset or European frameless cabinet styles and insta...
Страница 9: ...s 1 u line com SAFETY INSTALLATION INTEGRATION OPERATING INSTRUCTIONS MAINTENANCE SERVICE Product Dimensions 33 11 16 to 34 11 16 856 mm to 881 mm 17 3 4 450 mm 3 5 8 to 4 5 8 92 mm to 118 mm Not Incl...
Страница 10: ...out Dimensions in each unit s Installation Guide Each door can be opened individually one at a time without interference However to ensure unobstructed door swing opening both doors at the same time 1...
Страница 11: ...using a 2 Phillips head screwdriver 3 Completely slide the unit into its position in the cabinet Be certain unit height is properly adjusted See GENERAL INSTALLATION 4 Open door completely Make certa...
Страница 12: ...EGRATION OPERATING INSTRUCTIONS MAINTENANCE SERVICE 5 Using a 3 32 drill bit drill 3 pilot holes 5 8 16 mm deep into cabinetry frame using the anti tip bracket as a template 6 Install the 3 remaining...
Страница 13: ...ar height of 1 8 3 mm less than the opening s rear height Shorten the unit height in the front by adjusting the front legs This allows the unit to be gently tipped into the opening Adjust the front le...
Страница 14: ...or stain your grille plinth strip base fascia panel to match your surrounding furniture Finish front back and edges to prevent warping Carefully follow the manufacturer s recommendations for finish ap...
Страница 15: ...e plinth strip base fascia rail with screw heads in base of unit 2 Push grille plinth strip base fascia rails towards the center of the unit and set rails over screw head 3 Slide grille plinth strip b...
Страница 16: ...allow the door to open 90 Allow for additional space for any knobs or pulls installed on the integrated panel frame Stainless Steel models that are installed adjacent to a wall require 2 1 4 57 mm do...
Страница 17: ...approximately 90 2 Remove hinge cover by lifting top and bottom of hinge cover and sliding the cover inwards to remove from hinge 3 Once cover is removed slide hinge pin into hole as shown Pin should...
Страница 18: ...to ensure that it is firmly in contact with the cabinet Also make sure the door gasket is not pinched on the hinge side of the door CAUTION Do not attempt to use the door to raise or pivot your unit T...
Страница 19: ...E Alignment and Adjustment Procedure 1 Using a T 25 Torx Bit loosen each pair of Torx head screws on both the upper and lower hinge plates 2 Square and align door as necessary 3 Tighten Torx head scre...
Страница 20: ...commends allowing the unit to run overnight before loading with product When plugged in the unit will begin operating under the factory default setting Follow the on screen prompt for language selecti...
Страница 21: ...ct mode Press and release to scroll through the modes Press to select one of 3 modes see table below Adjust temp Press to select mode Press to set temperature Press to confirm temperature or wait 5 se...
Страница 22: ...ttings Chart Quick Chill CAUTION Quick chill is designed to quickly pull warm beverages and foods down to optimum storage temperature It is important to only initiate quick chill modes when the unit h...
Страница 23: ...seconds 2 Press or to scroll through available selections 3 Press to enter selected sub menu ID Description Solution No Comm Unit lost communication to the display Disconnect and reconnect power to u...
Страница 24: ...main screen 1 To enter Energy Saver Mode first select Energy Saver from the Customer Menu 2 Press to select Off in the menu 3 Press 4 Press or to change the selection from Off to On 5 Press to confir...
Страница 25: ...enter the Fahrenheit Celsius Menu from within the Customer Menu 1 Press to select Degrees 2 Press The selection will begin to flash 3 Press or to select between F Fahrenheit or C Celsius 4 Press to co...
Страница 26: ...Help Menu select Help from the Customer Menu Press or to scroll through available information The Help screen displays the following Model U Line contact information Software version Serial Number To...
Страница 27: ...l still maintain internal temperatures and set points To enable Sabbath Mode 1 Open the unit s door to activate the display 2 To access the Customer Menu hold for 5 seconds 3 Press or to scroll throug...
Страница 28: ...t any time or the unit will not perform as expected When loading your unit leave space between the internal fans or vents and product loaded Anything blocking the required airflow circulation will res...
Страница 29: ...he subject of wine is your own palate Do not be afraid to make mistakes Experiment discover but most of all enjoy yourself and your new U Line product Guide To Common Styles Of Wine Matching Food and...
Страница 30: ...he presentation of the cork has a rich and fascinating history dating back to the late 1800 s A phylloxera root louse devastation to the vineyards severely limited the supply of great wines Restaurate...
Страница 31: ...hat sediment is left undistributed and particles are not suspended vibration in a storage environment is not an issue Wines can become flat or tired when voids and vacuums are created inside the wine...
Страница 32: ...n Each U Line Wine Captain model is designed to impress and inspire anyone with an interest in wine by providing cellar conditions in stylish undercounter units U Line Wine Captain models offer stable...
Страница 33: ...so the wine remains in contact with the cork which ensures the cork does not become dry U Line recommends arranging wine bottles as shown in the illustrations below Racks 1 through 5 Rack 6 Rack 7 La...
Страница 34: ...lems Using abrasive pads such as Scotchbrite will cause the graining in the stainless steel to become blurred Rust not cleaned up promptly can penetrate the surface of the stainless steel and complete...
Страница 35: ...he drain pan and possibly damaging water sensitive flooring the unit must be removed from cabinetry To defrost 1 Disconnect power to the unit 2 Remove all products from the interior 3 Prop the door in...
Страница 36: ...hen necessary Depending on environmental conditions more or less frequent cleaning may be necessary WARNING Disconnect electric current to the unit before cleaning the condenser NOTICE DO NOT use any...
Страница 37: ...e cabinet NOTICE Do not remove the track rails from the cabinet To insert wine racks in the cabinet 1 Align the left and right rack channels with the tracks in the cabinet Ensure an even track engagem...
Страница 38: ...ent from the unit 2 Disconnect the power cord from its outlet and leave it disconnected until the unit is returned to service 3 If ice is on the evaporator allow ice to thaw naturally CAUTION DO NOT u...
Страница 39: ...FETY INSTALLATION INTEGRATION OPERATING INSTRUCTIONS MAINTENANCE SERVICE Accessories 80 33027 00 Accessories Slide and Divide Bin Organizer 18 US 109 00 23054 01 Accessories Stainless Steel PRO Style...
Страница 40: ...are common refrigeration components with a brief description of the normal operating sounds they make NOTE Your product may not contain all the components listed Compressor The compressor makes a hum...
Страница 41: ...rature to a cooler set point Ensure unit is not located in excessive ambient temperatures or in direct sunlight Ensure the door is closing and sealing properly Ensure nothing is blocking the front gri...
Страница 42: ...a small increment see CONTROL OPERATION Causes which affect the internal temperatures of the cabinet include Temperature setting Ambient temperature where installed Installation in direct sunlight or...
Страница 43: ...ervice com 3 The warranty listed above does not apply to floor display models The warranty for these models shall be 30 days from the date of retail purchase and only if U Line s Product Registration...
Страница 44: ...IS IN LIEU OF ANY AND ALL OTHER WARRANTIES EXPRESS OR IMPLIED INCLUDING ANY IMPLIED WARRANTY OF MERCHANTABILITY OR IMPLIED WARRANTY OF FITNESS FOR A PARTICULAR PURPOSE ALL OF WHICH ARE DISCLAIMED U Li...