background image

PAGE 1 OF 9 

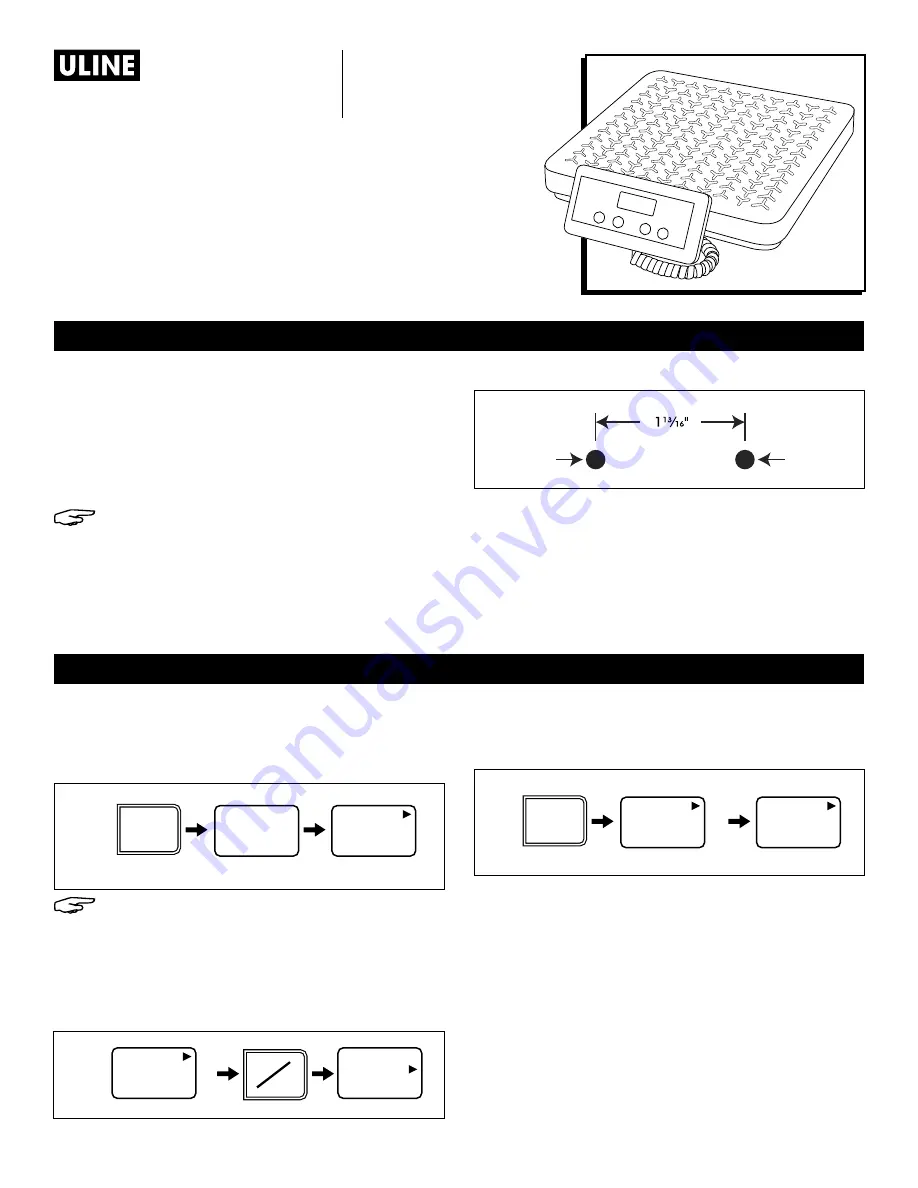
0421 IH-479

RUBBERMAID

®


DIGITAL SCALES

1-800-295-5510

uline.com

H-479, H-480

SETUP

OPERATION

POWER SUPPLY

BATTERY USE:

 Battery compartment is located on 

underside of the display indicator back. Connect 

battery poles accordingly.

ADAPTER USE:

 First, plug into bottom right of display 

indicator. Then, plug into wall outlet.

NOTE: When using the AC adapter, if display 
fluctuates between 

"

----

"

 and numbers, reverse 

adapter in wall outlet.

DISPLAY INDICATOR MOUNTING

The display indicator can be mounted to a wall up to 

9 feet from the base.

1.  Drill two holes 1⁄" apart. (See Figure 1)

2.  Screw the two screws into the wall, letting the heads 

protrude 1/8" from the wall. Extending the screw 

heads further could damage the scale.

3.  Align the holes on the back of the indicator with 

the screws. The indicator should slide on the screws, 

firmly and securely.

TURNING SCALE ON/OFF

1.  Press the 

ON

 button to turn the scale on. Proceed 

with weighing the items once 0.0 lb. appears on 

display. (See Figure 2)

NOTE: Always wait for display to return to zero 
before weighing new items.

2.  Press the 

OFF

 button to turn the scale off.

CHANGE UNITS OF MEASURE

1.  Press the 

lb./kg.

 button to switch between lb. and kg. 

(See Figure 3)

ZERO

1.  Press the 

ZERO

 button to return the scale to 0.0.  

(See Figure 4)

HOLD

Keeps current product weight on display after product is 

removed.

1.  Press the 

ZERO

 button for 3 seconds to activate 

"Hold." Press the 

ZERO

 button for another 3 seconds 

to deactivate "Hold."

Figure 4

0

.

0

lb

.

kg

.

4

.

0

lb

.

kg

.

ZERO/

HOLD

Push Button

Display goes to

Display goes to

Add net

weight

0

.

0

lb

.

kg

.

lb

.

kg

.

0

.

0

lb

.

kg

.

Push Button

Display goes to

Para Español, vea páginas 4-6.

Pour le français, consulter les pages 7-9.

4010

/

4040

0

.

0

lb

.

kg

.

ON

Push Button

Display goes to

Display goes to

Figure 2

Figure 3

Drill Hole

Drill Hole

Figure 1

Содержание H-479

Страница 1: ...hould slide on the screws firmly and securely TURNING SCALE ON OFF 1 Press the ON button to turn the scale on Proceed with weighing the items once 0 0 lb appears on display See Figure 2 NOTE Always wait for display to return to zero before weighing new items 2 Press the OFF button to turn the scale off CHANGE UNITS OF MEASURE 1 Press the lb kg button to switch between lb and kg See Figure 3 ZERO 1...

Страница 2: ...cimal 6 Press the ZERO button then LCD displays End and turns off CARE AND CLEANING 1 Protect your scale from shock overload liquid spills extreme temperatures and other abuses 2 Preserve the finish of the scale by wiping with damp soft cloth and mild nonabrasive detergent OPERATION CONTINUED MAINTENANCE OPERATING ISSUE RECOMMENDATIONS Numbers will not display or scale is displaying vendor model n...

Страница 3: ... H 479 RUBBERMAID MODEL NO 4010 4040 Capacity 150 lb 60 kg 400 lb 180 kg Resolution Accuracy 0 2 lb 0 1 kg 0 5 lb 0 2 kg Weighing Units lb kg Power Source 110V Adaptor or 9V battery Platform Size 12 x 12 x 1 Display Indicator Size 5 x 3 1 800 295 5510 uline com ...

Страница 4: ...rte posterior de la pantalla indicadora Conecte los polos de la batería según corresponda USO DEL ADAPTADOR Enchúfelo primero en el lado inferior derecho de la pantalla indicadora y después a un contacto de pared NOTA Cuando use el adaptador AC si la pantalla alterna entre y números invierta el adaptador en el contacto de pared MONTAJE DE LA PANTALLA INDICADORA La pantalla indicadora puede colocar...

Страница 5: ...cimal 6 Presione el botón ZERO Cero La pantalla LCD mostrará el texto End y se apagará CUIDADO Y LIMPIEZA 1 Proteja su báscula de sobrecargas derrames de líquidos temperaturas extremas y otros peligros 2 Conserve el acabado de la báscula limpiándola únicamente con un paño suave y húmedo y un detergente suave no abrasivo CONTINUACIÓN DE FUNCIONAMIENTO MANTENIMIENTO SOLUCIÓN DE PROBLEMAS Diagrama 5 ...

Страница 6: ...0 4040 Capacidad 60 kg 150 lbs 180 kg 400 lbs Resolución Precisión 0 1 kg 0 2 lbs 0 2 kg 0 5 lbs Unidades de Pesaje lbs kg Fuente de Alimentación Adaptador de 110 V o batería de 9 V Tamaño de Plataforma 30 5 x 30 5 x 3 2 cm 12 x 12 x 1 Tamaño de la Pantalla Indicadora 12 7 x 8 2 cm 5 x 3 800 295 5510 uline mx ...

Страница 7: ...vis L indicateur doit glisser sur les vis fermement et solidement METTRE EN MARCHE ET ÉTEINDRE LA BALANCE 1 Appuyez sur la touche ON Marche pour mettre en marche la balance Commencez à peser les éléments lorsque 0 0 lb apparaît sur l affichage Voir Figure 2 REMARQUE Attendez toujours que l affichage se réinitialise avant de peser de nouveaux éléments 2 Appuyez sur la touche OFF Arrêt pour éteindre...

Страница 8: ...age ACL indique End et s éteint ENTRETIEN ET NETTOYAGE 1 Évitez d exposer votre balance à une surcharge aux déversements de liquides aux températures extrêmes et à tout autre mauvais traitement 2 Préservez la finition de la balance en la nettoyant seulement à l aide d un chiffon doux humide et d un détergent doux non abrasif FONCTIONNEMENT SUITE ENTRETIEN DÉPANNAGE Figure 5 0 0 lb kg 4 0 lb kg ZER...

Страница 9: ... 150 lb 180 kg 400 lb Résolution précision 0 1 kg 0 2 lb 0 2 kg 0 5 lb Unités de pesage kg lb Source d alimentation électrique Adaptateur 110 V ou pile 9 V Dimensions de la plateforme 30 5 x 30 5 x 3 2 cm 12 x 12 x 1 po Dimensions de l indicateur d affichage 12 7 x 8 2 cm 5 x 3 po 1 800 295 5510 uline ca ...

Отзывы: