www.U-LineService.com
Phone (414) 354-0300 • FAX (414) 354-7905
Service & Parts Tech Lines Phone (800) 779-2547 • FAX (414) 354-5696
OnlineService@U-Line.com
©2005 U-Line Corporation
02/2005
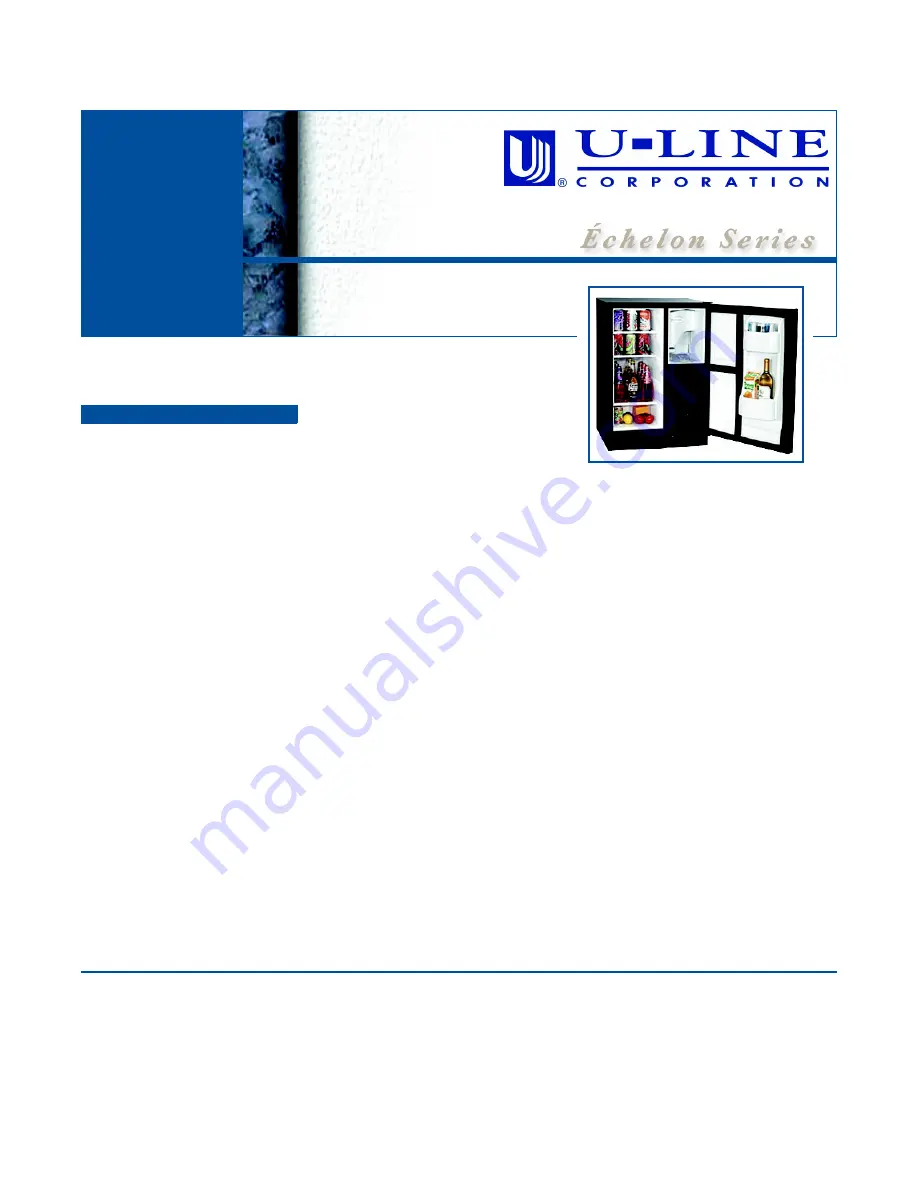
CLRCO2075 —
Clear Ice Maker/Refrigerator
Installation Guide
™


