www.ttikorea.co.kr
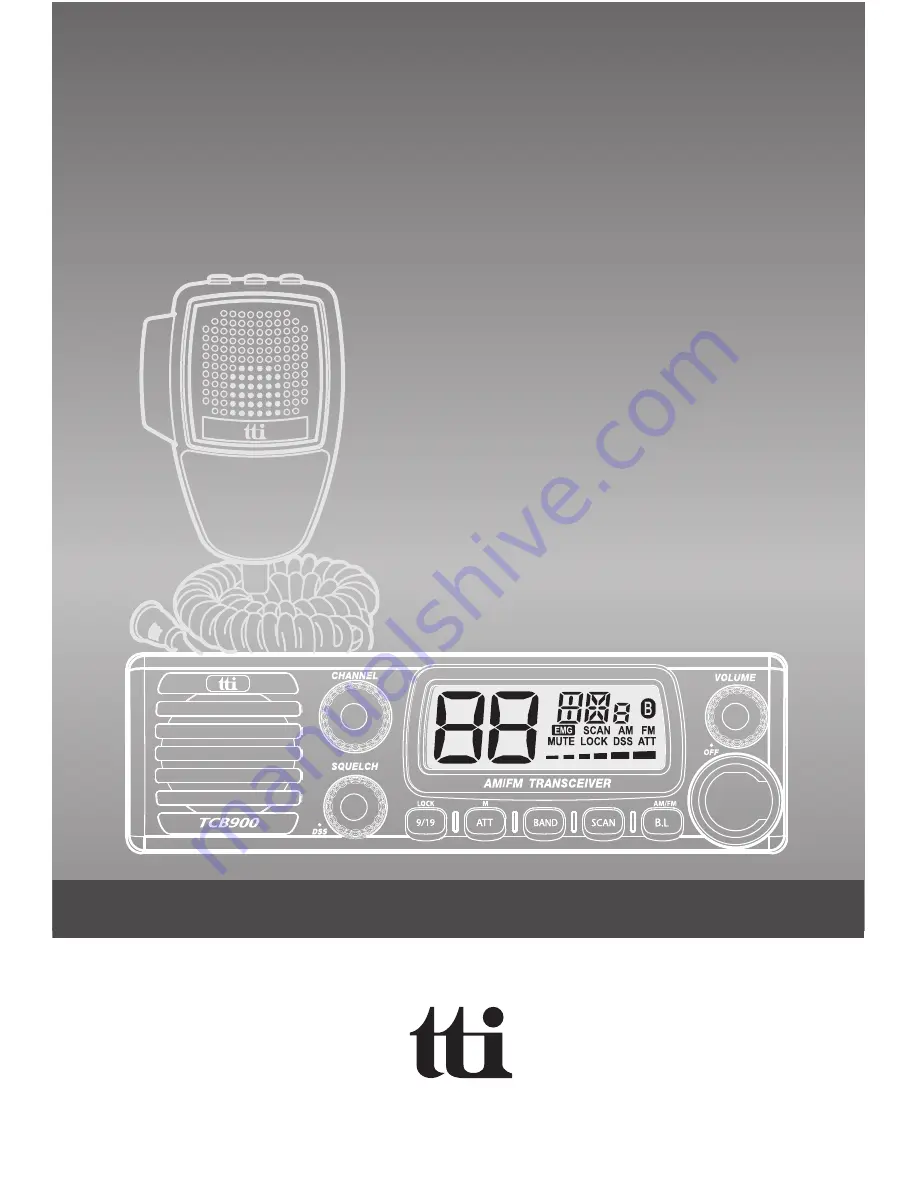
TCB-900
4W MOBILE CB TRANSCEIVER
I N S T R U C T I O N M A N U A L
Страница 1: ...www ttikorea co kr TCB 900 4W MOBILE CB TRANSCEIVER I N S T R U C T I O N M A N U A L ...
Страница 2: ... are familiar with the operation and features of your radio and in order to obtain the best performance please read this manual carefully before operation Our Thanks to You OurThankstoYouandCustomerAssistance Thank you for purchasing a TTI CB TRANSCEIVER radio Properly used this TTI product will give you many years of reli able service Our Thanks to You ...
Страница 3: ... and AM FM 8 7 Scan 9 8 Band Selection 9 9 Attenuation and Menu M 10 10 Emergency 9 19 and Keypad Lock 12 11 Squelch Control and DSS Dynamic Squelch System 12 12 Antenna Connector 12 13 EXT Jack External Speaker Jack 12 14 Power 13 2 VDC 12 5 LCD Display 13 6 Microphone 13 7 How to Operate the Transceiver 14 8 Trouble Shooting 14 9 CE Declaration 14 10 Safety Requirement 15 11 Specification 16 12 ...
Страница 4: ...been designed to enable you to get the best use from your CB Transceiver therefore you are recommended to take a few minutes to read this instruction manual before initial use of your CB Transceiver Plan the location of the transceiver and microphone first which is most convenient for the operation The transceiver should normally be mounted horizontally but may be mounted vertically The bracket su...
Страница 5: ...on 2 Connect the antenna cable plug to the standard receptacle on the transceiver which is marked ANT 5 Mount the microphone bracket on one side of the transceiver or near it using two screws included 3 Connect the power cable directly to the vehicle battery or fuse box of the car Be careful to make sure of the polarity of the battery first and connect the cable Red Positive Pole Black Negative Po...
Страница 6: ...ransceiver 1 Place the antenna as high as possible 2 The longer the antenna is normally the better is the performance of the transceiver Warning Never try the operation of your transceiver before connecting a proper antenna in order not to cause any damage 3 Try to mount the antenna in the centre of the surface that you select 4 Make sure that you have a solid metal to metal ground connection 5 Be...
Страница 7: ...TCB 900 English 7 4 Transceiver Controls and Functions Transceiver Controls and Functions Backlight AM FM Button ...
Страница 8: ...ove the channel one by one for you to select one that you like to use Most of the operational information is displayed Please see item no 5 for the details of information To switch on the transceiver turn this knob clock wise After clicking sound the transceiver is switched on The more you turn this knob clockwise the bigger the audio sound grows Insert the microphone into this jack Use the guide ...
Страница 9: ...u deactivate the scan function Turn the channel selector counter clockwise during scanning in order to change the scanning direction The transceiver will scan through the whole transceiver channels If your transceiver detects a valid signal the scan will pause for the period that has been set by the menu mode setting 1 99 seconds or unlimited for scan receive time and 0 99 seconds for scan delay t...
Страница 10: ...is is normally used in the area where the signal strength is too strong The ATT icon on the LCD will show up during this activation To return to the normal receiving mode momentarily press this button again Menu The menu mode allows you to set up and edit the selectable functions To access the menu mode press and hold this button and afterwards each press of the menu button steps the transceiver s...
Страница 11: ...onds 3 Turn off the transceiver and pressing and holding the backlight BL button turn on the transceiver again The transceiver is on the pairing mode 4 Arrange your Bluetooth headset and enter the pairing mode Press and hold or follow any other instruction given by your headset supplier the proper key until the LCD of the transceiver displays OK 5 The transceiver automatically returns to the stand...
Страница 12: ...ing normal during this keypad lock being operated DSS In FM mode turn the knob counter clockwise until you hear the click The squelch level of your transceiver is dynamically adjusted to get the best receive condition 11 Squelch Adjuster and DSS Dynamic Squelch Tuning System 12 Antenna Connector SquelchAdjuster DSS Squelch Adjuster Turn this knob counter clockwise until you hear the background noi...
Страница 13: ...1 2 3 4 5 LCD Display Microphone Channel Emergency Channel Band Scan MIC Gain Hi Low AM Mode FM Mode Bluetooth Compatible Optional Bluetooth Compatible Model Only Attenuation Signal Strength Meter Dynamic Squelch Tuning System Keypad Lock Speaker Mute Mute and Lock Button Speaker Mute Momentarily press this button to make the transceiver speaker mute Keypad Lock Long press of this button locks the...
Страница 14: ...he power supply source Poor connection of the power supply source can cause problems such as no transmission no reception or poor reception and weak or no sound Ensure that the microphone and antenna are also well connected If this does not solve the problem reset your transceiver as follows 9 CE Declaration CE versions of the TCB 900 which display the CE symbol on the product label comply with th...
Страница 15: ...sing conditions in the country of use Be sure to check that you have the correct version of this radio or the correct programming of this radio to comply with your national licensing require ments The power cable is for 13 2V DC only Be sure the transceiver is off before connecting the leads of the power cable to the power supply It is important to observe the polarity even if the unit is protecte...
Страница 16: ...ency Response Built in Speaker Squelch Duty cycle 10 4 Watts 13 8V DC AM from 85 to 95 FM 1 8KHz 0 2KHz 300Hz to 3000Hz 50ohms Unbalanced Less than 54dBm AM Full Mod 1 6A Max Dual conversion super heterodyne Double Conversion 1st 10 695MHz 2nd 455KHz 1 4 for 10dB S N N in AM Mode 0 8 for 20dB SINAD in FM Mode 2 0W 8 Ohm Less then 8 1KHz More than 60 dB More than 60 dB Less than 57 dBm 300 to 2500H...
Страница 17: ...quired 40 Ch 4W AM General authorisation is required 34 Ch 4W FM 34 Ch 4W AM ERP 40 Ch 4W FM Individual licence is required 40 Ch 4W AM Individual licence is required 40 Ch 4W FM Free use 40 Ch 4W AM Individual licence is required 40 Ch 4W FM Individual licence is required 40 Ch 4W FM AM Free use AM mode allowed on ch1 23 only Settings EC EC EU fx Allowed from 26 960 to 27 410 MHz BAPT 222 ZV 104 ...
Страница 18: ...F JuWon Bldg 1188 Gaepo dong Gangnam gu Seoul Korea declare on our sole responsibility that this equipment complies with the essential requirements of the Radio and Telecommunications Terminal Equipment Directive 1999 5 EC and that any applicable Essential Test Suite measure ments have been performed ETSI EN 300 135 1 V1 2 1 2008 02 ETSI EN 300 135 2 V1 2 1 2008 02 ETSI EN 300 433 1 V1 3 1 2011 07...