21
7.7 Upgrading the Firmware
7.6.7 Date/Time
7.6.6 Customization
(continued)
7. Administation
(continued)
7.6 Administration Page
(continued)
Parameter
Explanation
Reset On Exit
Select this check box to reset the KVM switch and implement new settings when you log out. Following a reset, wait one to two
minutes before logging back in.
Note:
For some changes the
Reset on exit
check box is automatically selected and the KVM switch will reset when you log out. Clearing the check mark before logging out will cause the new settings to be
discarded.
Reset Values
Clicking this button undoes all changes that have been made to the Configuration and Administration pages (except for port
names, usernames, and passwords) and returns the parameters to the original factory default settings (see section 14.2, OSD
Factory Default Settings).
Clear Name List
This function clears the Port Names on the Main page.
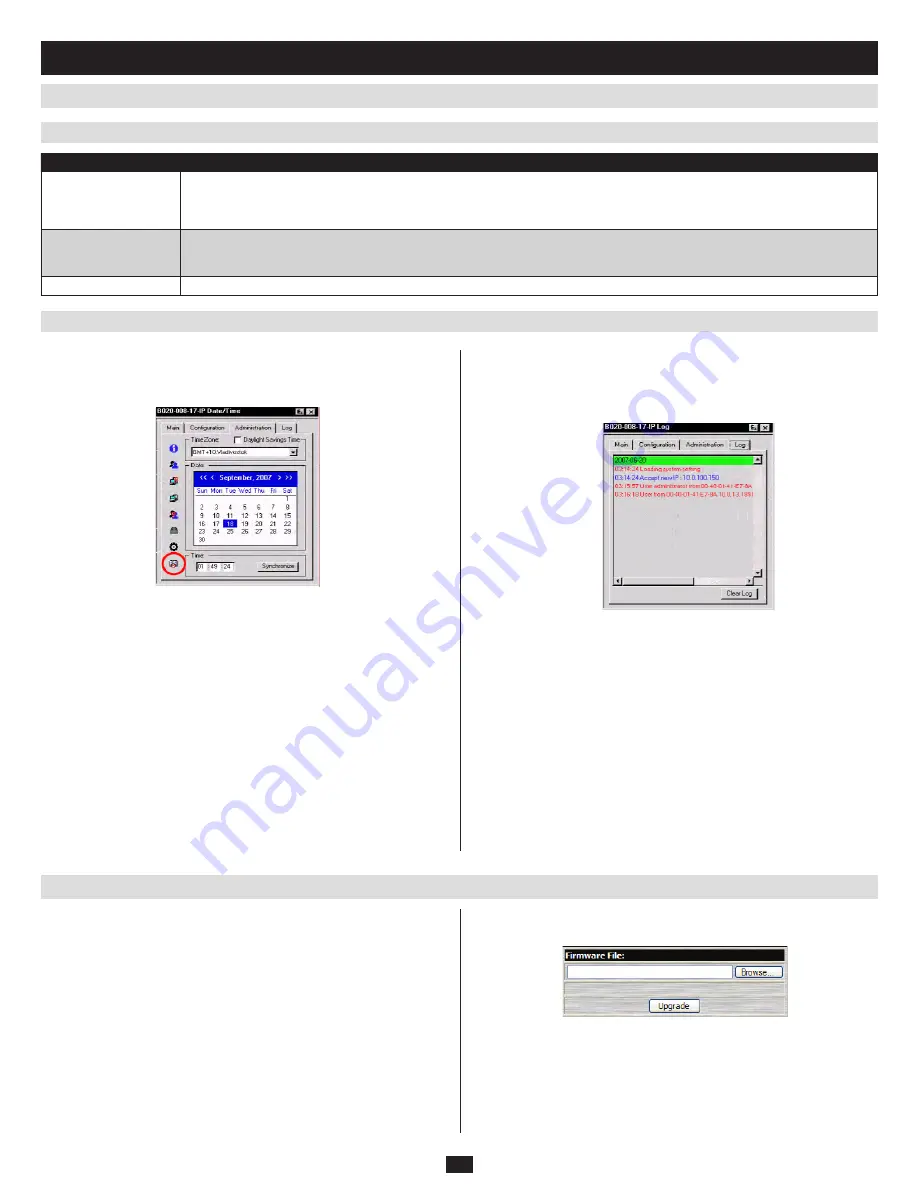
The Date/Time dialog box lets the Administrator set up the KVM switch’s
time parameters:
As new versions of the NetDirector Console KVM Switch with IP Access
firmware become available, they can be downloaded from our Website at
www.tripplite.com.
Note: Although upgrading the firmware isn’t on the OSD Administration page, it is an adminis-
trative function, so we will discuss it in this chapter.
To upgrade the firmware, do the following:
Download the new firmware file to a computer that is not part of your
1.
KVM switch installation.
From that computer, open your browser and log in to the NetDirector
2.
Console KVM Switch with IP Access (see section 8.1,
Logging In).
Click the
3.
Firmware
icon (see section 8.2,
Webpage Layout) to open the
Firmware configuration dialog box:
Click
4.
Browse
; navigate to the directory that the new firmware file is in
and select the file.
Click
5.
Upgrade.
After the upload completes, click the
6.
Logout icon to exit and reset the
KVM switch.
Log Page
Clicking the Log tab brings up the contents of the log file. The log file is
discussed in Chapter 11.
If your country or region employs Daylight Saving Time (Summer
•
Time), check the corresponding box.
To establish the time zone that the KVM switch is located in, drop down
•
the Time Zone list and choose the city that most closely corresponds to
where it is at.
To set the year and day, use the Calendar graphic.
•
Clicking < or > moves you backward or forward by one month incre
-
•
ments.
Clicking << or >> moves you backward or forward by one year incre
-
•
ments.
In the calendar, click on the day.
•
To set the time, use the 24 hour HH:MM:SS format.
•
Click
•
Synchronize to save your settings.


