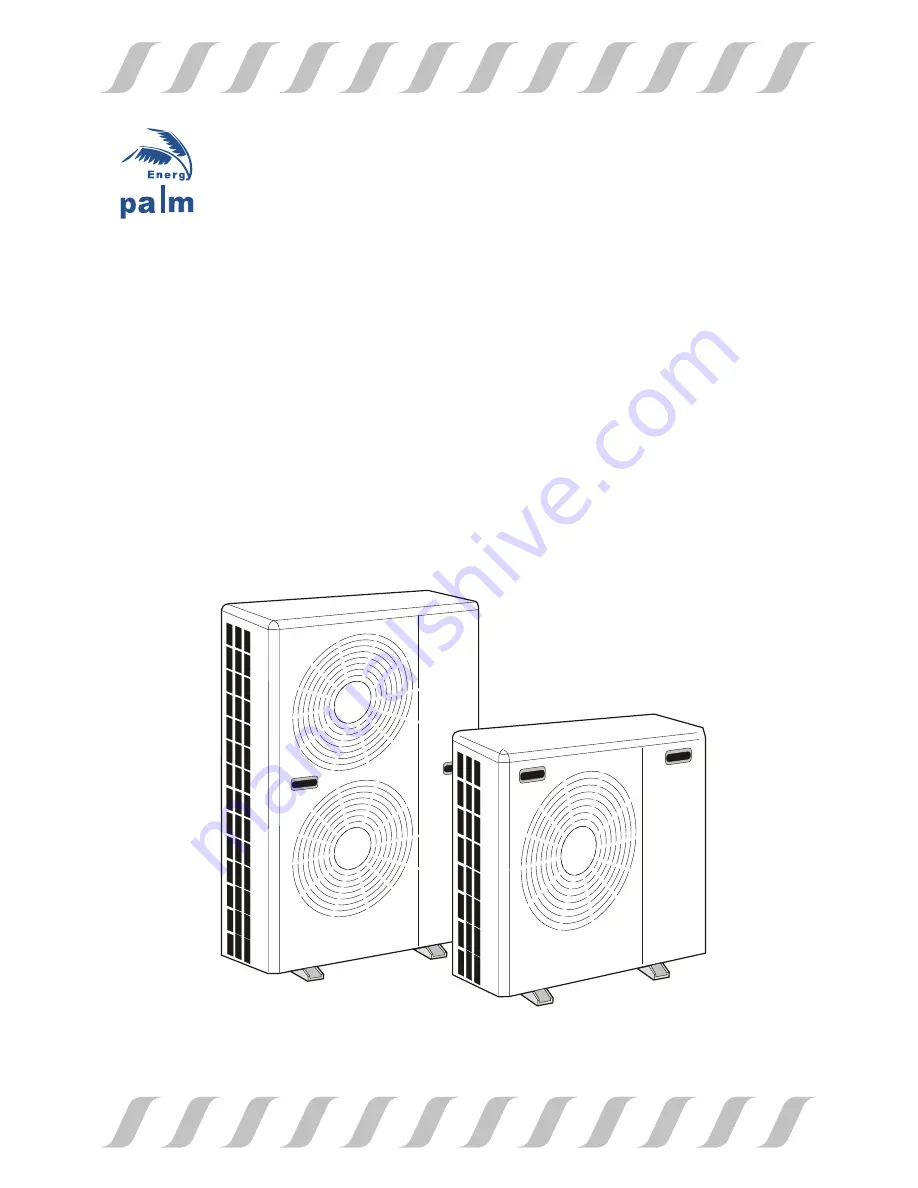
AIR TO WATER HEAT PUMP
Installation and Operation Manual
DC INVERTER
H series Only Heating seriesAC series Heating
Cooling series
HC series Mutifunctional Heating Cooling
Hot water
:
&
Страница 1: ...AIR TO WATER HEAT PUMP Installation and Operation Manual DC INVERTER DC INVERTER H series Only Heating series AC series Heating Cooling series HC series Mutifunctional Heating Cooling Hot water ...
Страница 2: ...Content Safety Precautions Transport and storage General 2 2 2 3 4 11 12 17 19 2 Components Wired LCD Controller Error Code Installation Electric connection Test run ...
Страница 3: ...ential hazard of leakage of inflammable gas If the foundation is unstable the outdoor unit may drop and cause a casualty accident so this must be validated carefully Make sure that the foundation of installation is stable If no electric leakage protection switch is fitted at the beginning of the electric supply it maybe cause electric shocks or fires Make sure that the electric leakage protection ...
Страница 4: ...3 way valve 1 2 3 4 5 6 7 8 9 10 12 13 14 15 16 17 18 19 Position Position Component Component Compressor Gas liquid isolator Water inlet Drain Needle valve AH 6 AH 8 AH 11 AH 15DC 2 3 4 1 5 6 7 19 20 8 15 14 9 10 12 13 17 18 16 IPM Module Main control board AC Outlet Thermal Expansion Valve DHW Outlet Water circulation pump Optional ...
Страница 5: ... then decrease by 1 5 H Xp LW s a combined key also but opposite to down key Continuous press then continuous increase short press then increase by 1 6 H Fonfirm confirm previous operations 7 H Pode operational PRGH V switch W V D FRPELQHG NH DOVR 3 Icon Meaning NO Icon meaning NO Icon meaning NO Icon meaning 8 Clock display 9 Returned AC Temp 10 Maintain icon 11 Lock icon 12 Temperature icon Rese...
Страница 6: ...arameter according to need 3 Procedures of setting parameter change A When in settled mode the unit will operate in accordance with the factory default temperature or last modified temperature 6 B Modification method for settled temperature In the on standby mode press key M and for 3 seconds the current operating mode light will flash by press the M key you can switch modes in the following order...
Страница 7: ...shes and shows the original or default value default value is 10 followed by press key Ÿ RU źWR FKDQJH PLQLPXP is 10 maximum no more than 99 after that press key to confirm and exit change mode If GLGQ W SUHss key to confirm machine will exit change mode automatically after 15 seconds But settings did right now will become invalid 4 Time adjustment Press key WLPH KRXU YDOXH ZLOO IODVK WKHQ SUHVV N...
Страница 8: ...rameter 26 better to be set to 0 then AC water pump will work continously to keep the AC loop water temp always the same If with AC buffer tank the parameter 26 can be set to 1 but the AC inlet water temp must be changed to insert to AC buffer tank as reference to page 16 1 Press key for 5 seconds after heard 1 beep The Factory default parameter will be reset NO Name range meaning default status 0...
Страница 9: ...tch input status 0 DHW invalid 1 DHW valid check 09 Switch input status 0 G1 valid 1 G1 invalid check 10 high pressure switch status 0 off 1 on check 11 overcurrent protect switch status 0 off 1 on check 12 low pressure switch status 0 off 1 on check 13 inside water flow switch 0 off 1 on check 14 outside water flow switch 0 off 1 on check 15 The 2nd high pressure switch status 0 off 1 on check 16...
Страница 10: ...at pump has water source Icon If it has timer on off setting there is timer icon to indicate 10 29 C4 water pump 1 run 0 stop check 30 C5 water pump 1 run 0 stop check 31 C6 water pump 1 run 0 stop check 32 functional parameter 0 99 accumulated days from last sterilization till now check 33 cooling target temp check 34 heating target temp check 35 DHW target temp check 36 Sterilization temp check ...
Страница 11: ...r icon to indicate 9 way of communication Non polarity double wire maximum running length is 100 meters and point to point connected Back view of wired controller showed below 㒓 㚠䴶 after change need be repowered to enable the change SW1 8 OFF cooling valid ON cooling invalid SW1 7 OFF heating valid ON heating invalid SW1 6 OFF DHW valid ON DHW invalid SW1 5 SW1 4 OFF inverter outdoor model ON on o...
Страница 12: ... 2 water source water flow not enough EF Water source water flow volume not enough Flash 17 times Stop compressor F1 Voltage protect Flash 1 times Voltage too high or too low after voltage become normal 165 265VAC unit auto recover F2 Rating module PFC error Flash F3 Compressor stopped abnormally Flash F4 outdoor module radiator sensor fault Flash 5 times IPM module temp sensor error F5 Outdoor un...
Страница 13: ... Method 1 13 Method 2 DHW with Room Heating Installation 1 Installationmethod ...
Страница 14: ...e water pump connection can be found in wiring diagram 4 Safety valve air discharge valve should be installed at the top of the circulation system for easy air discharge Air conditoning circulation can utilize the fan coil or radiator air discharge valve Method 4 Method 3 14 Note 16 17 Air discharge valve Safety Valve 1 Heat Pump 2 Wired Controller 3 DHW water pump 4 DHW temp sensor 5 DHW water ta...
Страница 15: ... Application 1 Application 2 15 Installation 2 Installation with solar assistant ...
Страница 16: ...AC Returned water temp sensor change to water tank Water pump is controlled by room thermostat Brine Brine 1 Set parameter 26 to 1 Must change the AC inlet water temp sensor 6 IN2 into buffer tank ref to wiring diagram 2 Must add AC buffer tank and 2 water pumps at both side of the buffer tank The room side water pump is contrlled by room thermostat Heat pump side water pump is controlled by heat ...
Страница 17: ... of accumulated water in rainy season In snowy areas it is important to prevent accumulated snow from blocking up the air out The recommended height is 20cm to 30cm 2 Drain ditch or other facilities should be arranged under the outdoor unit to avoid the environment influence because of water discharge 3 To install the unit at balcony or top of building the installation site must meet the allowable...
Страница 18: ...ervice must be carried out under the supervision of a qualified electrician Electrical installation and wiring must be carried out in accordance with the stipulations in force Wires spare parts and materials etc must satisfy the relevant standards issued by the host country or region Isolator switch If an insulation test is to be carried out in the building please make sure to disconnect the heat ...
Страница 19: ... Function When 2nd switch is off the heat pump AC mode will run on standby mode no matter the AC water temp reach target or not When 2nd switch is on the heat pump will run according to set temp A Connected to manual switch B Connected to any user s thermostat C Connected to both manual switch together with any user s thermostat IN7 10 Wiring Diagram AHP HC type with built inside water circulation...
Страница 20: ...ng all usage and there is no air inside the water system Turn on the heat pump select heating domestic hot water mode check whether the unit is running properly or not the compressor will be started in 3 5 minute after powered on Running MOST IMPORTANT 3 Make sure it is not in cooling mode during first operation or test running unitl you make sure the air conditioning circulation pump is working p...