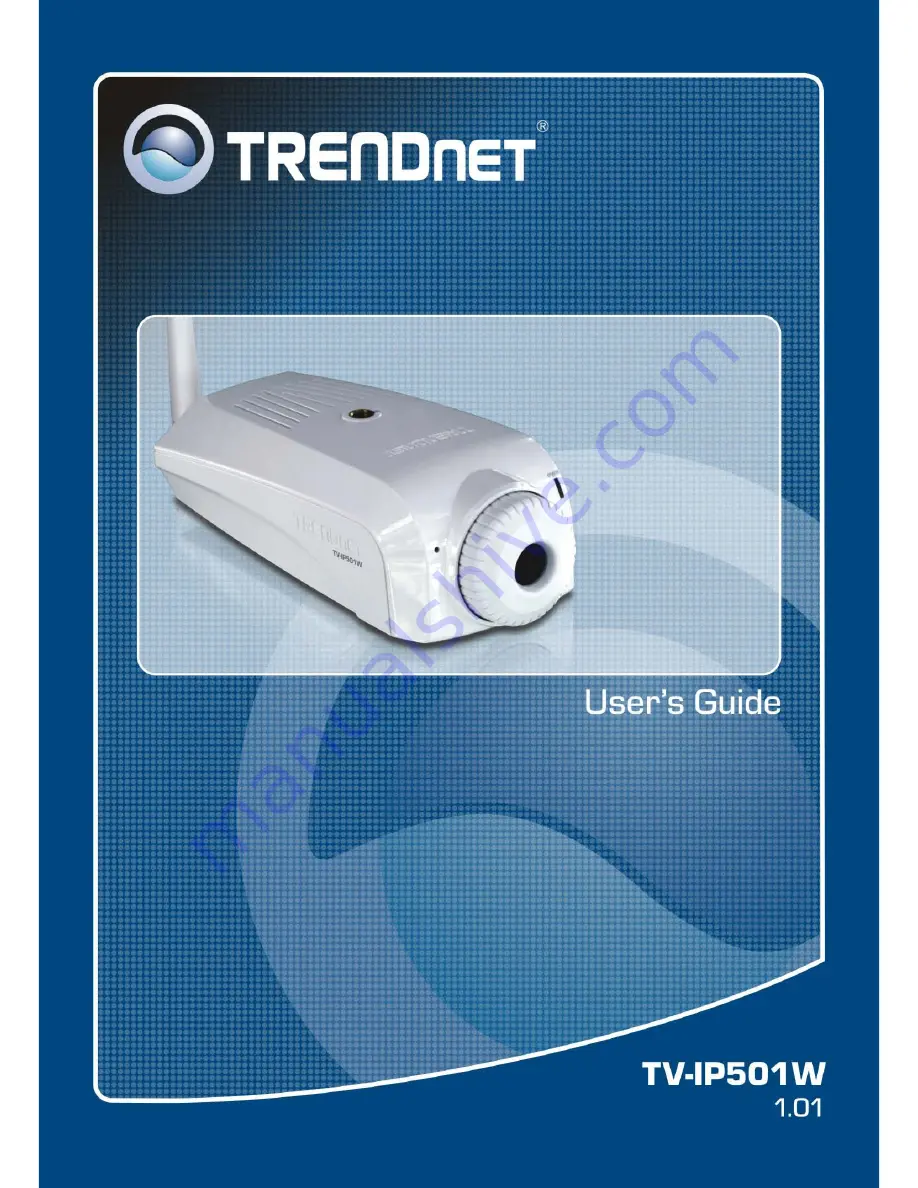
TV-IP501W Internet Camera User Manual
1
USER MANUAL
TV-IP501W
VERSION 1.00
Страница 1: ...TV IP501W Internet Camera User Manual 1 USER MANUAL TV IP501W VERSION 1 00 ...
Страница 2: ...re Installation 9 Mounting of Camera 9 Connect Ethernet Cable 10 Connect Power Cable 10 Reset Camera 10 Camera Applications 11 Security 11 Software Setup Wizard 12 Launching Setup Wizard for the first time 12 Browser Configuration 16 Accessing the Camera Video Display 16 Login 17 Web Manager and Live Video Display Page 17 Video ActiveX 18 Video Java 18 Administration Status Section 20 System Page ...
Страница 3: ...PViewPro 2 0 32 Launching IPViewPro 2 0 for the first time 32 Add a camera for monitoring 33 Display Controls 35 Snapshot recording and audio controls 35 Live video display controls 36 Camera configuration with IPViewPro 36 Schedule Recording with IPViewPro 2 0 38 Motion Detection and Digital Input 39 IPViewPro Miscellaneous Options 40 Load Saved Video Files 41 Technical Specifications 43 Limited ...
Страница 4: ...d before beginning the installation Packing List Open the shipping carton and carefully remove all items In addition to this Manual ascertain that you have One TV IP501W Wireless Internet Camera One Driver Utility CD ROM with User s Guide IPViewPro 2 0 application and Setup Wizard One Quick Installation Guide One Ethernet Cable One Power Adapter One Camera Stand If any of the packaging content is ...
Страница 5: ...ges synchronously it is recommended to use a high performance system such as a Pentium 4 2 4GHz PC Default Settings Default configuration settings Username This is the Username you will be prompted to enter when you access the camera configuration screens using a Web browser The default Username is admin Password This is the Password you will be prompted to enter when you access the configuration ...
Страница 6: ...io for listen and speaking The built in mic is useful for listening for voices in front of the camera Supports variety of platforms The camera supports TCP IP networking SMTP e mail JAVA HTTP and other Internet related protocols It can be utilized in a mixed operating system environment including Windows 2000 XP Vista Linux and Mac OS Moreover it can be integrated easily into other www Intranet ap...
Страница 7: ...TV IP501W Internet Camera User Manual 7 Camera Hardware Components Front Components Rear Panel Components ...
Страница 8: ...t LAN Port This RJ 45 connector is used to connect to a 10Base T Ethernet or to a 100Base TX Fast Ethernet network This port supports the N Way protocol Auto MDIX allowing the camera to automatically detect or negotiate the transmission speed of the network Camera Stand Connector It s located on the top and the bottom panel of the camera This hole is used to connect the camera s stand to the camer...
Страница 9: ... flat surface Mounting of Camera Determine the location for the camera and assemble the camera stand Secure the stand to the flat surface or ceiling with the mounting screws included in the package When the stand is assembled and firmly attached to flat surface or ceiling attach the camera Do not attach network cables or the power cord until the camera is firmly mounted in place ...
Страница 10: ...lectrical hazard Reset Camera A manual reset can be conducted by following the procedure below The reset button is located on the rear panel of the camera To reset the system settings to factory defaults please follow these steps 1 Leave the camera powered on do not disconnect the power 2 Use a paper clip or similar object to press the reset button and hold See the Rear Panel picture above to loca...
Страница 11: ... sites hospitals amusement parks schools and day care centers using a web browser View image from IPViewPro Configure the camera to save image or send mail messages with a short video file Security To ensure the highest security and prevent unauthorized usage of the camera the administrator has the exclusive privilege to access the System Administration for settings and control requirements to all...
Страница 12: ...rt Programs TRENDnet Setup Wizard Setup Wizard Install Your Camera Connect the camera to your LAN using the provided RJ45 cable Connect the AC Power Adapter to the back of the camera and to a live power socket Click Next to continue Select Your Camera The following screen appears showing the cameras that have been found on your network Click on the camera you want to configure Click Next to contin...
Страница 13: ...tion Option The following window allows you to specify the connection method used by your camera network Click the radio button of the network environment your camera is connected to The available options are PPPoE DHCP Fixed IP If your connection method is DHCP click the DHCP radio button and click Next Select a Connection Option PPPoE If your connection method is PPPoE click the PPPoE radio butt...
Страница 14: ...e wireless for this camera or not Manually Setup Wireless Here you can choose one of the existing wireless networks in the Available AP option or you can setup the wireless connection manually Enter the appropriate SSID Wireless Mode Channel Authentication Encryption and Key Other Settings The following window allows you to configure additional camera settings Type a name to help you identify the ...
Страница 15: ... To make any changes to your Camera settings click the Previous button Camera Restart The following window appears indicating that the camera is restarting Complete After the camera has restarted the following window will appear Click the hyper link to connect to the camera web interface If you want to setup an additional camera click the Setup Another Camera button When you have finished click th...
Страница 16: ...rst determine what the IP address of camera is To do this follow the instructions in the Quick Installation Guide to launch the Setup Wizard software utility used with the network camera NOTE If your network uses DHCP or has an active DHCP server running use the Setup Wizard utility on the installation CD ROM shipped with the camera to first access the camera Once it is accessed you can change the...
Страница 17: ...the address bar and press Enter The login dialog appears when accessing the camera Type the default user name admin default password admin and click on the OK button to access the camera s management interface Web Manager and Live Video Display Page After login you ll be directed to the Home page which will display the last video screenshot The camera s web configuration provides two methods of vi...
Страница 18: ...veX Mode from the Welcome screen to access the live video feed Video Java To view live video from browser using JAVA click the View Video JAVA Mode from Welcome screen to access the live video feed As you can see both live video display pages are identical both in look and the controls that are available to manage the display ...
Страница 19: ...n allows you to digitally zoom in on an object up to 4 times The Audio option allows you to toggle Audio mode ON or OFF The E mail Image option allows you to turn the image e mailing option ON or OFF The Upload Image option allows you to turn the image uploading option ON or OFF ...
Страница 20: ... Users System Page The System Page display information about the Device Status and Ethernet Status of the camera Information like the Camera Name Location Product Code Firmware Version MAC address IP address Link Status Link Speed and Duplex Video The Video page displays information about the video configuration of the camera like Video Resolution Compression Rate Frame Rate Frame Size and Light F...
Страница 21: ...el Codec and Sample rate Wireless The Wireless page displays information about the wireless configuration of the camera Network The Network page display the network configuration for the camera like IP Address Subnet Mask Default gateway Primary and Secondary DNS Addresses Dynamic DNS Enabled or Disabled Secondary HTTP Port value UPnP IP Address FTP Server and E Mail setup ...
Страница 22: ...501W Internet Camera User Manual 22 Active Users The Active Users Page displays information about the current active users that are connected to the camera like IP Address Name Date Time and Speed Throughput ...
Страница 23: ...n for the camera System On the Status Page you can configure general system settings for the camera Camera Name Configure the camera s display name Location Configure the camera s display location Admin Configure the Username and Password for the camera LED Control Configure the LED display Controls ON OFF DUMMY ...
Страница 24: ...te needed Brightness Control Option to manually configure the video brightness Contrast Control Option to manually configure the video contrast Saturation Control Option to manually configure the video saturation Light Frequency Option to configure the light frequency Mirror Option to flip the live video feed horizontal or vertical Anti Flicker Option to enable or disable Anti Flicker Audio On the...
Страница 25: ... Wireless Channel Here select the correct channel for the wireless Alternatively you can click Site Survey which will scan for an existing wireless network and enter the above mentioned values automatically Transmission Rate Here you can choose the transmission rate required Encryption Type Here you can setup the wireless security required for this camera to connect to the wireless network You can...
Страница 26: ... from a local DHCP Server PPPoE Enable this feature if you want the camera to access the Internet using PPPoE This requires and PPPoE Username and Password DNS IP Address Enter DNS IP Addresses used by your ISP here manually Enable DDNS Enable this feature to use Dynamic DNS This requires a DDNS account and you must enter the details accordingly here Second HTTP Port You can enable or disable a se...
Страница 27: ...nts Upload On this page you can define how the camera uploads images to an FTP server Host Address Enter the FTP Server s IP Address here Port number Enter the FTP port used here Username Enter the FTP Username here Password Enter the FTP Password here Directory Path Enter the FTP Directory Path here Passive Mode Enable or Disable Passive Mode here Time Schedule You can setup the time schedule her...
Страница 28: ...er the Sender s e mail address here Recipient s E Mail Address Enter the Recipient s e mail address here User Name Enter the mail client username used here Password Enter the mail client password used here Time Schedule You can define the time schedule here Manual Operation You can setup manual operation here Tools Section The Tools section offers many features to test FTP server settings E Mail s...
Страница 29: ...test if the FTP server settings are setup correctly It will send a JPEG file to the FTP server called test_date_time jpg as a test E Mail Test This page will help the user to test if the e mail settings are setup correctly It will send a test mail to the recipient s e mail address as a test ...
Страница 30: ...tory reset your camera through its web configuration Firmware Upgrade This page gives you the option to upgrade the firmware for the camera To upgrade the firmware you ll need to download the latest firmware for your camera to your computer click on the Browse button navigate to the downloaded file and click Upgrade This will upgrade the firmware for your camera ...
Страница 31: ... Manual 31 Backup and Restore This page will allow the user to backup the configuration of the camera to a file that can be saved remotely It also gives the option to restore the settings from the backup file saved on the hard drive ...
Страница 32: ...ftware is installed the IPViewPro 2 0 camera monitoring utility is ready for use Add up to 32 network cameras to monitor using the software Additional software IPViewPro Player software is also installed The IPViewPro Player is used for playing recorded video from cameras that have been configured to save recorded files Launching IPViewPro 2 0 for the first time To launch IPViewPro 2 0 click Start...
Страница 33: ...ead to step 2 1 2 Select the camera to add from the list enter the administrator s user name ID and password a preview of the live video display will appear Click the OK add this camera button a confirmation message informs when the camera is connected and added to the IPViewPro monitoring group Repeat this procedure for all the cameras being added Click the Exit button after all the cameras have ...
Страница 34: ... equipped with RS 485 controlled pan tilt motorized mount Click directional arrows to move camera in that direction within the limits of the pan and tilt range The in the center of the control is used to return to the home or center view as configured for the camera 4 Snapshot recording and audio controls See below for detailed information 5 Live video display controls See below for detailed infor...
Страница 35: ...t that display for camera management Right click to view camera management and display options Snapshot recording and audio controls The still photo camera icon is used to take a snapshot of the selected live video display The video camera icon is used to begin video recording of the selected live video display Snapshot and videos files are stored in a default folder on the administrator s system ...
Страница 36: ...iguration of motion detection and digital input with schedules recording options email alerts and other network settings Adding a Camera The procedure to add a camera after the initial launch of the software is very similar to the procedure used during the first setup Follow the instructions below to add cameras 1 Click the Configuration icon to view the Camera Setup menu The top most tab of the m...
Страница 37: ... appears in the Camera List To launch the web manager for the newly added camera or any camera in the active camera list select it and click the Browse Selected Camera button Removing a Camera To remove the camera from the list of active 1 Select the camera you want to remove 2 Click Delete Selected Camera Note Any camera display can be removed from the main IPViewPro 2 0 user interface by right c...
Страница 38: ... viewed in the Camera Settings menu tab To apply an existing schedule template click the Select button and choose a schedule from the list of previously created schedule templates If a new schedule is needed it can be created from the Select Schedule Template menu See below Create Schedule Templates To make a new schedule template click the Create Template button to view the Create Schedule Profil...
Страница 39: ...ut control Each menu has the schedule option to apply a schedule for the action taken or always take the specified action For Motion Detection use the Config motion detection area menu to create the area to which it is applicable Click the Config motion detection area button in the Motion Detection setup menu to view the menu in a new pop up window ...
Страница 40: ...TV IP501W Internet Camera User Manual 40 IPViewPro Miscellaneous Options The Other Options available for configuration include Proxy server setup email notification scan interval and alert type settings ...
Страница 41: ...o add recorded video files A new menu pops up that is used to find and add files to the list See description on next page 4 Playback controls Standard video playback controls for Stop Play Pause go to next file or go to previous file Speed up and Speed down to control speed of playback The vertical slider control is used for audio volume control To view recorded video files in the IPViewPro Player...
Страница 42: ...k the Search button to place qualified files in the Search list Choose the files to be added to the view file list by check marking the individual files or click the Select All button to check mark all files in the Search list click Add to place the check marked files on the list of files for viewing After the files to be viewed have been chosen click the OK button ...
Страница 43: ... microphone Sensitivity 48dB 3dB 5 meters max Frequency 50 16000Hz S N 50dB Codec PCM Image Video Compression MJPEG Exposure white balance control automatic Resolution VGA 640x480 QVGA 320x240 QQVGA 160x120 up to 30fps Hardware Network IEEE 802 3u 10 100Mbps Fast Ethernet Auto MDIX LED Power Link Reset Button Reset settings Power Consumption 2 6 watts Power 5V 2 5A external power adapter Stand Dim...
Страница 44: ...1g 12dBm typical Receiving Sensitivity 802 11b 82dBm at 11Mbps 802 11g 66dBm at 54Mbps Channel 1 11 FCC 1 13 ETSI Requirement To View Camera Browser Internet Explorer 6 0 or above Safari 2 0 or above Firefox 2 0 or above and Netscape To Run IPView Pro Software Windows XP 32 64 bit Vista 32 64 bit IPView Pro 2 0 Channel supports up to 32 cameras Record Playback Motion Detection Audio Network Protoc...
Страница 45: ...levels Frame rate 1 5 7 15 20 Auto up to 30fps Frequency 50Hz 60Hz Recording via Software Storage size 32MB minimum Recording type event based motion detection continuous and scheduled Snapshot via Software Trigger event motion detection Action send alert email and or upload to FTP Access Port HTTP port 80 default Digital Zoom 4x Dynamic DNS Yes Time Synchronize with NTP server or set time date ma...
Страница 46: ...e iii the product was subject to conditions more severe than those specified in the manual Warranty service may be obtained by contacting TRENDware office within the applicable warranty period for a Return Material Authorization RMA number accompanied by a copy of the dated proof of the purchase Products returned to TRENDware must be pre authorized by TRENDware with RMA number marked on the outsid...
Страница 47: ... S OPTION THIS DISCLAIMER OF LIABILITY FOR DAMAGES WILL NOT BE AFFECTED IF ANY REMEDY PROVIDED HEREIN SHALL FAIL OF ITS ESSENTIAL PURPOSE Governing Law This Limited Warranty shall be governed by the laws of the state of California Some TRENDnet products include software code written by third party developers These codes are subject to the GNU General Public License GPL or GNU Lesser General Public...
Страница 48: ...the separation between the equipment and receiver Connect the equipment into an outlet on a circuit different from that to which the receiver is connected Consult the dealer or an experienced radio TV technician for help This device complies with Part 15 of the FCC Rules Operation is subject to the following two conditions 1 This device may not cause harmful interference and 2 This device must acc...
Страница 49: ...TV IP501W Internet Camera User Manual 49 ...