


© Copyright 2013 TRENDnet. All Rights Reserved.
TRENDnet User’s Guide
TEW-731BR
34
Allow/deny multicast streaming
Management > Remote Management
In some cases, applications require multicast communication (also called IP multicast
which is the delivery of information to a specific group of computers or devices in a
single transmission) typically used in media streaming applications. Multicast streaming
is enabled by default on your router to allow applications that require multicast
communication through your router which typically does not require additional
configuration changes.
1. Log into your router management page (see “Access your router management page”
2. Click on
Management
, and click on
Remote Management
.
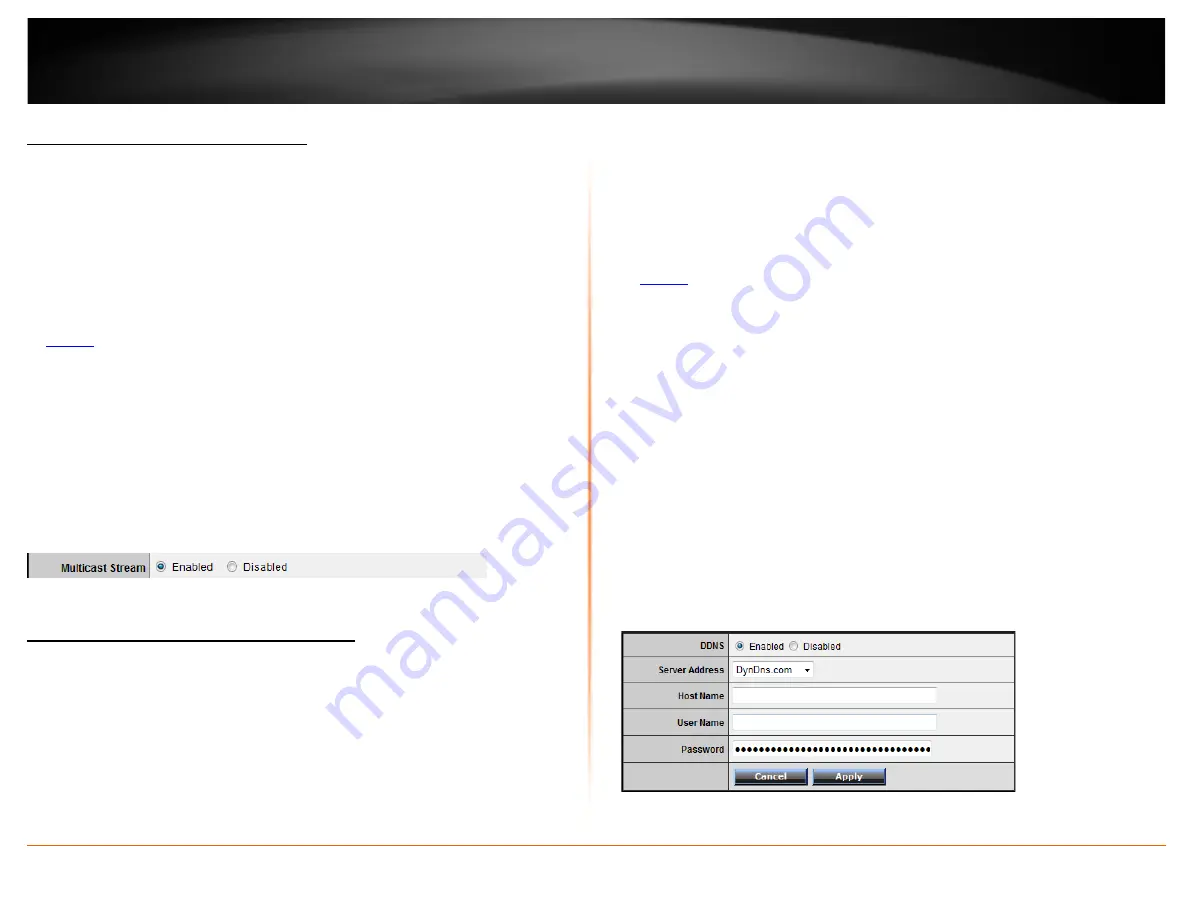
3. Next to
Multicast Stream
, click
Enabled
or
Disabled
to turn the feature on or off on
your router.
Note:
It is recommended to leave this setting enabled.
4. To save changes, click
Apply
.
Identify your network on the Internet
Main > Dynamic DNS
Since most ISPs constantly change your home IP address, providing access to devices on
your home or small office Local Area Network (such as IP Cameras) from the Internet
requires setting up a Dynamic DNS service and entering the parameters into this
management area. Dynamic DNS services allow your router to confirm its location to the
given Dynamic DNS service, thereby providing the Dynamic DNS service with the ability
to provide a virtual fixed IP address for your network. This means that even though your
ISP is always changing your IP address, the Dynamic DNS service will be able to identify
your network using a fixed address—one that can be used to view home IP Camera and
other devices on your local area network.
Note:
First, you will need to sign up for one of the DDNS service providers listed in the
Server Address
drop-down list
.
1. Sign up for one of the DDNS available service providers list under
Server Address
.
(e.g
. dyndns.com, no-ip.com
, etc.)
2. Log into your router management page (see “Access your router management page”
3. Click on
Main
and click on
Dynamic DNS
.
4. Next to DDNS, click
Enabled.
5. In the
Server Address
drop-down list, select the provider you selected, and enter your
information in the fields.
•
Host Name: Personal URL provided to you by your Dynamic DNS service
provider (e.g. www.trendnet.dyndns.biz)
•
User Name: The user name needed to log in to your Dynamic DNS service
account
•
Password: This is the password to gain access to Dynamic DNS service (NOT
your router or wireless network password) for which you have signed up to.
6. To save changes, click
Apply
.
Содержание TEW-731BR
Страница 1: ...TRENDnet User s Guide Cover Page...
Страница 62: ......