1 |
DIGITAL USB MICROSCOPE
LD6184
Operating Instructions for the
TQC DIGITAL USB MICROSCOPE LD6184
Страница 1: ...1 DIGITAL USB MICROSCOPE LD6184 Operating Instructions for the TQC DIGITAL USB MICROSCOPE LD6184...
Страница 2: ...g files 7 4 11 Slide show 8 4 12 Color mode 8 4 13 Zoom function 8 4 14 Downloading files 9 4 15 Preview 9 4 16 Charging battery 9 4 17 Connecting to TV 9 4 18 Mounting Tripod 10 5 Menu Introductions...
Страница 3: ...7 Edit Photos 20 3 7 1 Preview photos 20 3 7 2 Save photos 21 3 7 3 Delete photos 21 3 7 4 Copy photos 21 3 8 Edit Videos 21 3 9 Quit PortableCapture 21 4 Measurement 22 5 PortableCapture for Mac 24...
Страница 4: ...al Microscope and its accessories out of the reach of children and animals to prevent accidents or damage to the Portable Digital Microscope If you notice smoke or a strange odor coming from Portable...
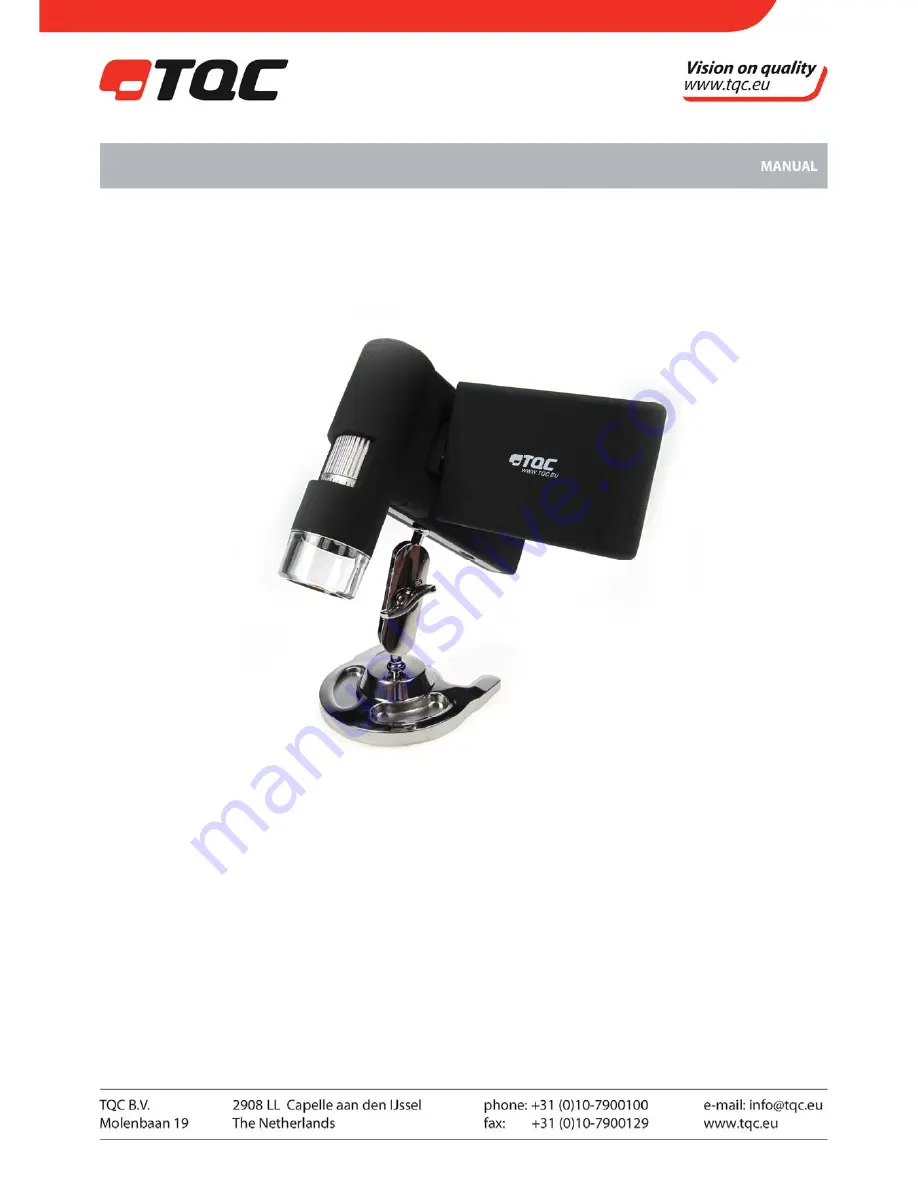
Страница 5: ...5 2 PREPARATION 2 1 Scope of supply Portable Digital Microscope Lithium Battery AC adaptor CD USB cable TV cable QSG Cleaning fabric Carry bag Stand Strap 2 26...
Страница 6: ...on off 14 TFT display 3 TV out 15 UP color mode switch 4 USB port 16 Menu setup 5 DC in 17 OK 6 AUX LED s 18 Down 7 Lens 19 Left Back 8 Tripod Mounting hold 20 Power on off 9 Micro SD card slot 21 Sp...
Страница 7: ...P2 Vista Win7 Win8 and Mac OS 10 6 10 8 direct plug in driver installation not required Lithium battery rechargeable changeable 4 USE 4 1 Installing the battery 1 Open the battery door by sliding it o...
Страница 8: ...position as marked and try again The MicroSD memory card must be formatted before capture See the following instruction 4 3 Display Icons Meanings Note The icon display can be switched on off by press...
Страница 9: ...nfolding the display panel to a proper position normally at an angle of 90 degrees with the viewing end as follows 2 Adjust the LED brightness dial to get a proper brightness of the LEDs at the micros...
Страница 10: ...ack 1 Press LEFT BACK 19 to enter play back mode as follows There is review icon on the left corner 2 Press UP DOWN to select among captured pictures and video clips 4 9 Deleting files 1 At play back...
Страница 11: ...lows select interval time and then confirm by OK 4 12 Color Mode At preview status press to switch between Color Positive Negative EN 4 13 Zoom function 1 push Zoom Wheel upwards to zoom in 2 push Zoo...
Страница 12: ...into the DC in port located on the bottom side of the unit Then plug the other end of the power adaptor into a standard AC outlet The battery indicator LED at the end corner of the unit will light up...
Страница 13: ...forcing may damage the microscope 2 Adjust the height of the stand at a proper position 5 MENU INTRODUCTIONS 5 1 Main Menu I Press to enter main menu I as follows Here you can set Resolution Timer Qua...
Страница 14: ...es Press OK to confirm selection and press BACK 19 to go back to preview status Then press Capture 1 to start auto capture When at auto capture status the following sign will appear on the left corner...
Страница 15: ...enu II Press to enter Main Menu I and then press LEFT to enter Main Menu II as follows Here you can setup Language Power Save Frequency Date Stamp TV Out Date and Time Format SD System Reset Version 5...
Страница 16: ...nu II choose Frequency and enter the following menu Select the frequency by UP DOWN 5 2 4 Date Stamp From the Main Menu II select Date Stamp and enter the following menu Select Date Time Date or Off D...
Страница 17: ...ct mode compatible with your TV 5 2 6 Date time From the Main Menu II choose Date Time to set the date and time Set date and time by LEFT RIGHT UP DOWN Set date mode YY MM DD DD MM YY and MM DD YY 5 2...
Страница 18: ...anel 4 3 ratio Light sources 8 LEDs with adjustable brightness Power sources Li ion 3 7V 800mAh battery Working time 4 hours Charging time 5 hours Frame rate 30fps Adaptor Input 100 240V 50 60Hz Outpu...
Страница 19: ...screen Ensure that the television is on Switch to the appropriate video input channel on your television Ensure that the video cable is securely connected into the Microscope Video out port and plugg...
Страница 20: ...ture software and then reboot the system when asked You can browse the User s manual in PDF format and the CD contents by choosing the corresponding menus 2 STARTING MICROSCOPE Connect your Microscope...
Страница 21: ...as follows Note The size of the photo taken is equivalent to the preview size selected in the Options menu Preview Size EN 3 2 Rotate Image You can rotate the output image clockwise and counter clock...
Страница 22: ...3 5 Full screen You can enter quit full screen mode by 1 Double clicking the preview area 2 Clicking the full screen icon 3 Choosing Full screen mode from menu When in full screen mode click on the F...
Страница 23: ...he video camera button Choose from the menu bar Capture and then click Video When recording there is a red dot flashing on the video camera button Your video is saved in AVI format EN To stop video ca...
Страница 24: ...and select jpeg save options E 3 7 3 Delete photos By right clicking and then choosing Delete you can delete the selected photo or at the independent preview box you can choose delete icon to delete...
Страница 25: ...be worked out at later steps 4 Open the captured photo by double clicking on the thumbnail A preview window will open 5 Input the previous noted down magnification ratio into the box indicated at the...
Страница 26: ...draw the line to anoth er point and then release the mouse to create one line for an angle Move your mouse to bring out another line of the angle left click when the angle is ok The angle value will...
Страница 27: ...w window Please note that the preview window size always remains at 640x480 but the current resolution will show at the left bottom corner 5 5 Date Time From Options you can turn the date time on or o...
Страница 28: ...in the main preview window You can then carry out operations as normally done on a Mac system Video Click a video clip thumbnail the video will play automatically 5 9 Help info By choosing About Porta...
Страница 29: ...l and electronic equipment should be disposed at the end of its life separately from your household waste There are separate collection systems for recycling in the EU For more information please cont...