14
Chapter 4
Set Up Internet Connection
4 1 Use Quick Setup Wizard
The Quick Setup Wizard will guide you to set up your router.
Tips:
If you need the IPv6 internet connection, please refer to the section of
Set Up an IPv6 Internet Connection
Follow the steps below to set up your router.
1. Visit
, and log in with the password you set for the router.
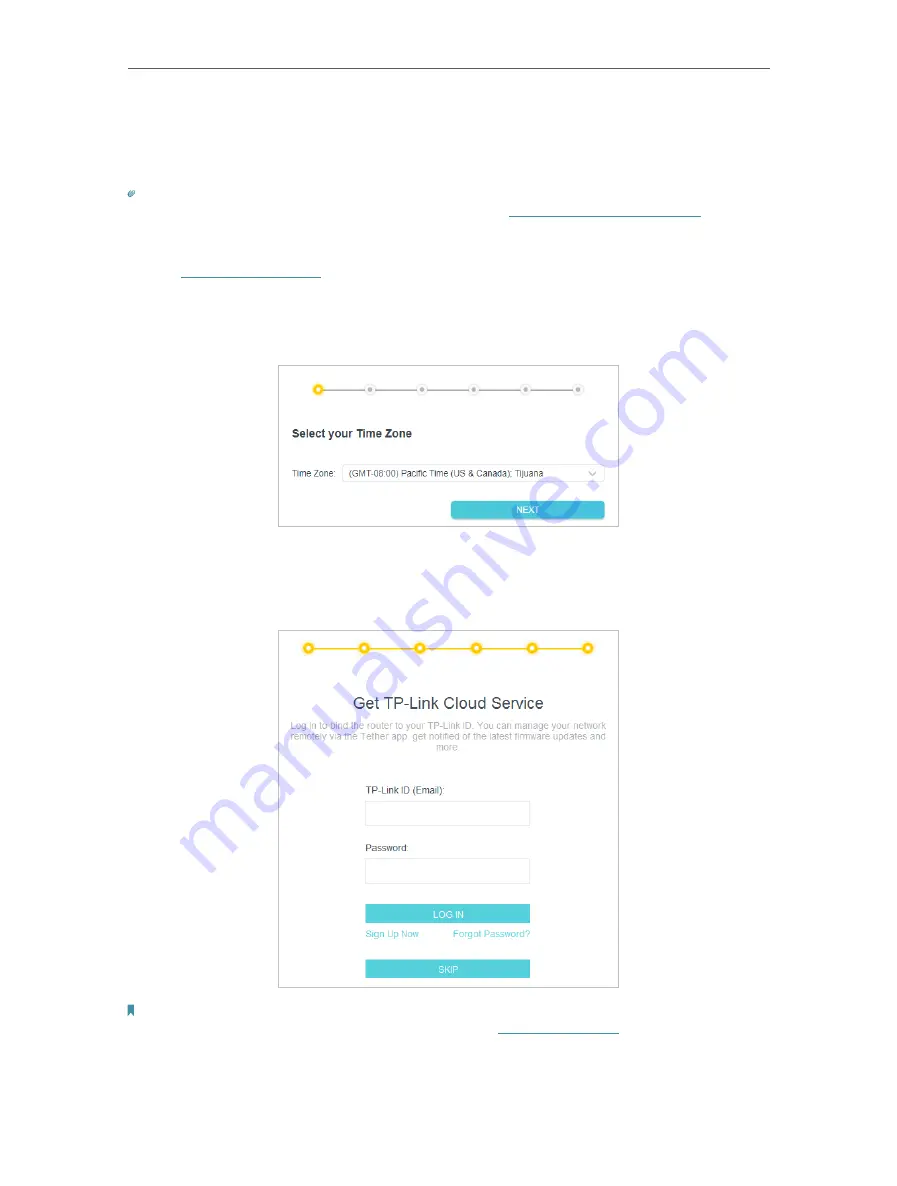
2. Follow the step-by-step instructions to complete Quick Setup configuration or go
to
Advanced
>
Quick Setup
for configuration to connect your router to the internet.
Then follow the step-by-step instructions to connect your router to the internet.
3. To enjoy a more complete service from TP-Link (remote management, TP-Link DDNS,
and more.), log in with your TP-Link ID or click
Sign Up Now
to get one. Then follow the
instructions to bind the cloud router to your TP-Link ID.
Note:
• To learn more about the TP-Link Cloud service, please refer to the
section.
• If you do not want to register a TP-Link ID now, you may click
Skip
to proceed.
• If you have changed the preset wireless network name (SSID) and wireless password during the Quick Setup process,
all your wireless devices must use the new SSID and password to connect to the router.


