T1
Installation Guidelines
8-8
Strata DK I&M 6/00
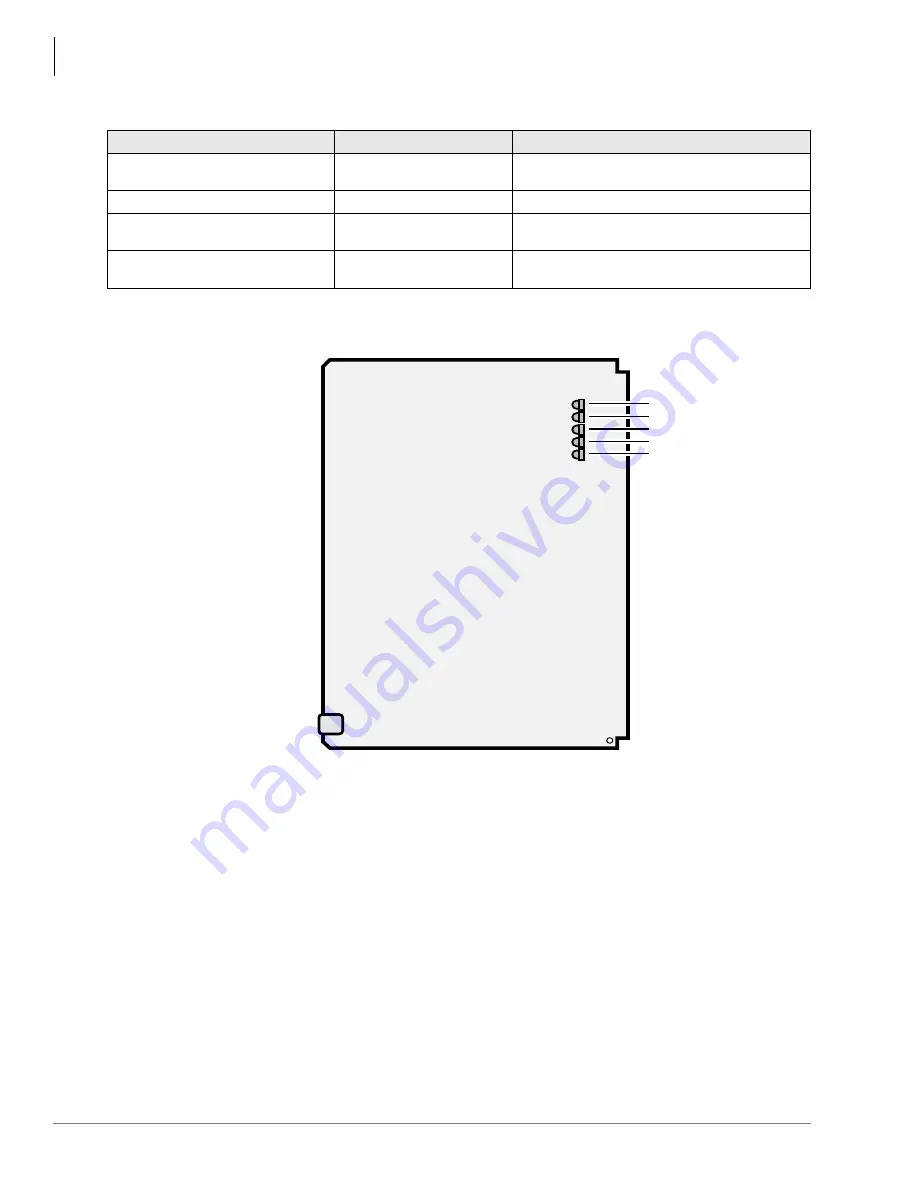
Figure 8-2
RDTU Printed Circuit Board
Installation Guidelines
1. Read
before proceeding to Step 2.
2. Run RDTU T1 related system programs as described in
.
3. Set P1 and P2, loop back jumper to the On position for RDTU self test (see
). Refer to
for the appropriate SW1
Equalizer Switch setting and set SW1 to the setting that matches the RDTU cable length.
4. Install the RDTU PCB per instructions
.
Note
Ensure the RDTU’s component side is facing right when installing it in the cabinet.
Table 8-1
RDTU Controls, Indicators, and Connectors
Control/Indicator/Connector
Type of Component
Description
SW1 Equalizer Setting Switch
8 2-position slide switches
Sets line length between RDTU and CSUs or
other T1 (max 655 ft.).
P3 (not used)
3-terminal jumper plug
This jumper plug is reserved for future use.
P4 Remote Loop Remote Mode
jumper plug
3-terminal jumper plug
Sets RDTU for Remote Loop Back mode test
procedure.
P1 and P2 Loop Back jumper plug
3-terminal jumper plug
Sets RDTU for self check or Network/CSU
loop back check.
4389
SD
RDER
SYCF
SYCF
SYCS
RST
CD1
CD2
CD3
CD4
CD5
ROMS1A
Female
Amphenol
Connector
Содержание Strata AirLink DK40i
Страница 22: ...Introduction Related Documents Media xx Strata DK I M 6 00 ...
Страница 48: ...DK14 Installation DK14 Wiring Diagrams 1 26 Strata DK I M 6 00 ...
Страница 220: ...DK424 Installation Remote Cabinet Installation Instructions 5 68 Strata DK I M 6 00 ...
Страница 262: ...DK424i Configuration Primary Reserve Power Cabinet Hardware 6 42 Strata DK I M 6 00 ...
Страница 450: ...Universal Slot PCB Wiring Option Interface PCB Wiring Diagrams 10 42 Strata DK I M 6 00 ...
Страница 592: ...Peripheral Installation Enhanced 911 Service E911 12 84 Strata DK I M 6 00 ...
Страница 616: ...ACD Installation Spectrum Electronic Wall Boards 13 24 Strata DK I M 6 00 ...
Страница 634: ...Fault Finding Fault Isolation Flowcharts 14 18 Strata DK I M 6 00 ...
Страница 704: ...ISDN Interfaces ISDN Disconnect Cause Code 16 54 Strata DK I M 6 00 ...


