Managing the Server
System security modes
148
Creating user accounts
When you run the Client Setup Wizard, it creates a user account for the system you are
installing. You can create other user accounts through the Administration Web site.
1
From a client computer, click the
Admin
icon to start the Administration Web site.
2
Select the
System
tab and click the
Users
menu item.
At this point you may be asked to enter your level 3 user account and password
before the user account management page will display
3
Click
New Account
.
4
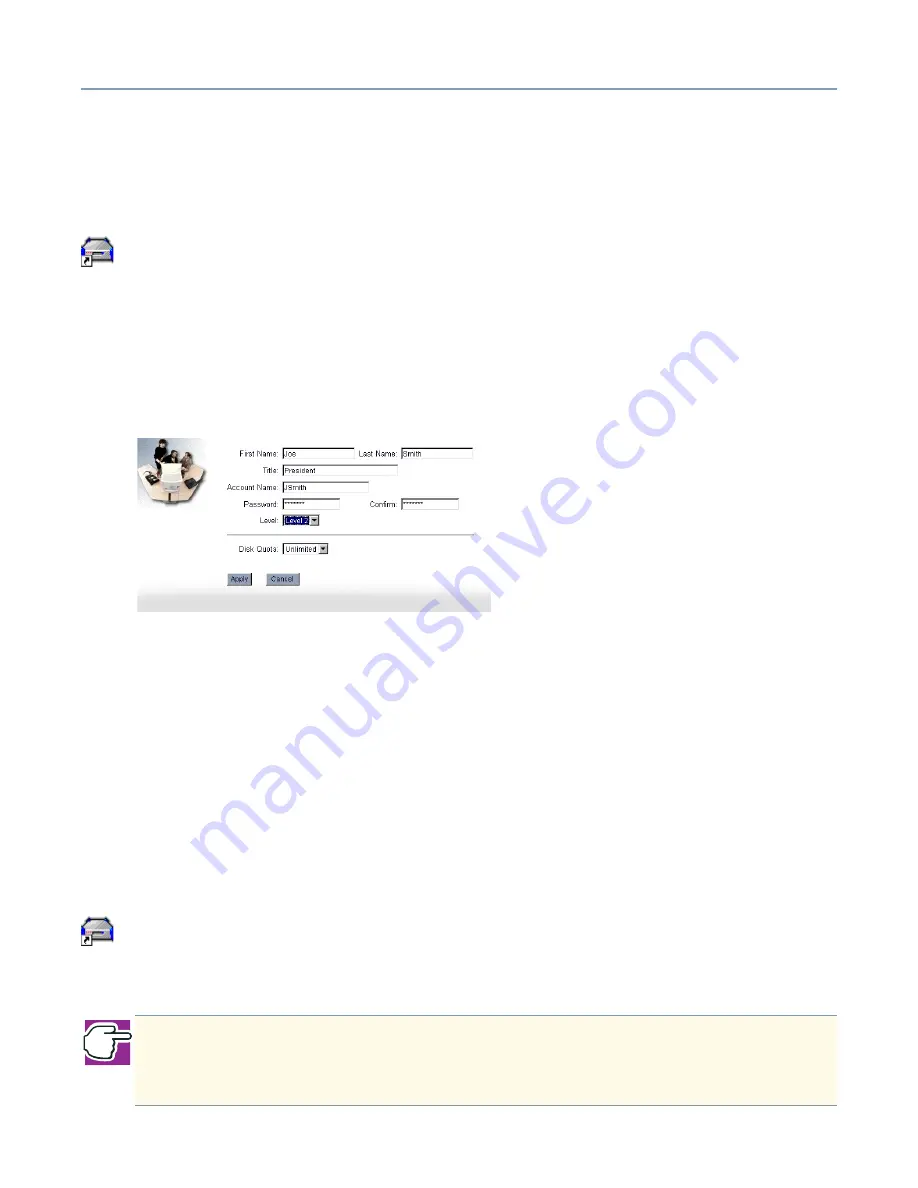
Assign a user name in the Account Name field, and enter the remaining information.
Sample Creating new accounts screen
You can select an access level for the account at this time. If you do not wish to use the
default shown, you can select that the account have level 1, 2 or 3 access.
If you have enabled disk quotas, a drop-down box will appear, allowing you to select a
quota. To specify something other than the default of unlimited, click the drop-down box
and select a limit.
Changing user accounts
You can change user account information and limits at any time after the account has
been created. To change an account:
1
From a client computer, click the
Admin
icon to start the Administration Web site.
2
Select the
System
tab and click the
Users
menu item.
The list of existing users will be presented.
NOTE: To change user accounts, you must be a level 3 user. To validate this, you
are asked to enter a level 3 account name and password before user account
administrative pages can be accessed.


