24
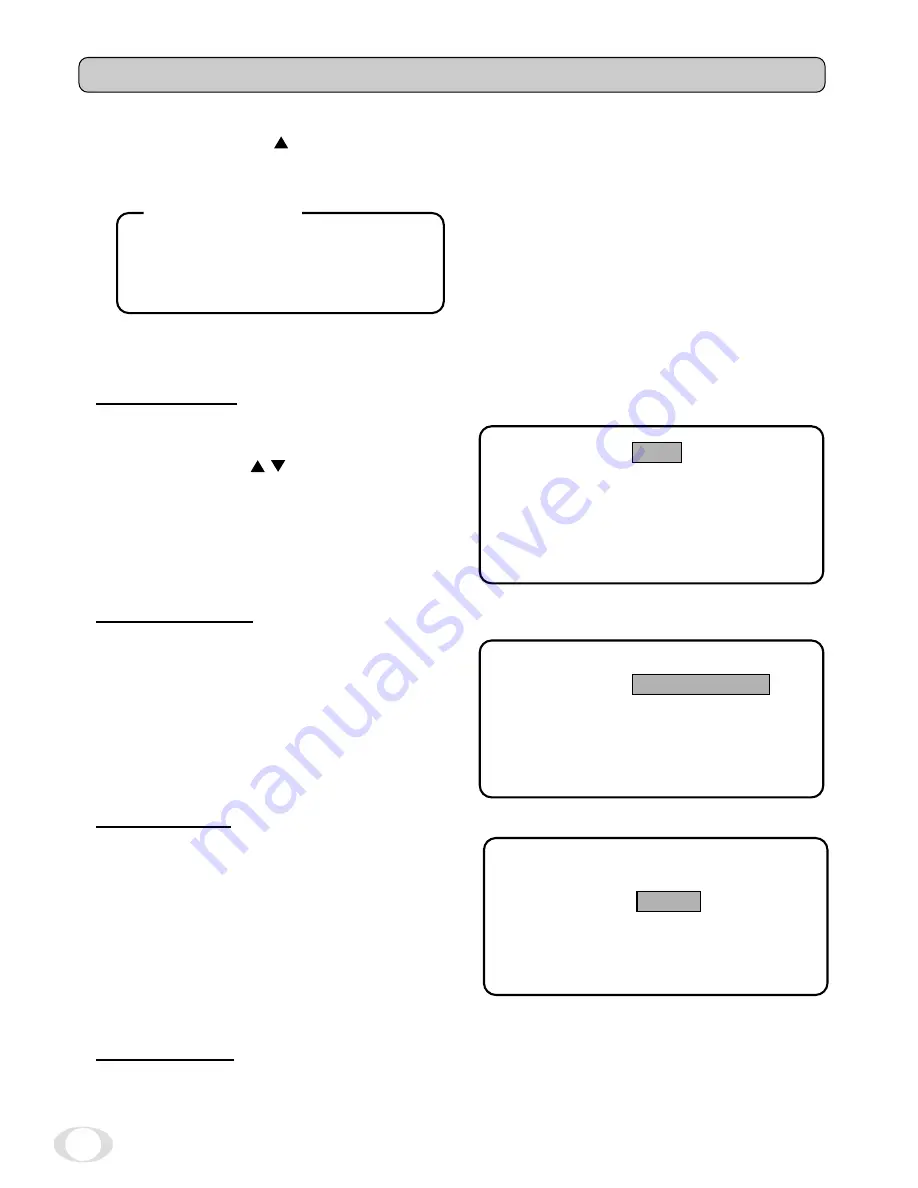
8.4 On Screen RS422 setting menu (FOR REMOTE CONTROL)
The camera is adjusted using a sub menu for setup using a remote control.
Press and hold the switch on the side of the camera body 2 seconds until the menu
appears on the monitor. The blinking area represents the option to be set.
(This sub menu cannot control from a keyboard by RS-422)
Default settings
A D D R E S S
0 0 1
P R O T O C O L
T O S H I B A - P
B I T - R A T E
4 8 0 0
A D D R E S S
0 0 1
P R O T O C O L
T O S H I B A - P
B I T - R A T E
4 8 0 0
V E R S I O N
* * * *
E X I T
D E F A U L T
(2) PROTOCOL
A D D R E S S
0 0 1
P R O T O C O L
T O S H I B A - P
B I T - R A T E
4 8 0 0
V E R S I O N
* * * *
E X I T
D E F A U L T
(3) BIT-RATE
A D D R E S S
0 0 1
P R O T O C O L
T O S H I B A - P
B I T - R A T E
4 8 0 0
E X I T
D E F A U L T
(4) VERSION
Software version display.
(1) ADDRESS
Move the cursor to the position in Fig.
Use the SELECT switches to select 001
to 255.
In RS-422 control, it is necessary to set a
unique camera address for each camera.
Move the cursor to the position in Fig.
Use the SELECT switches to select
TOSHIBA-P, TOSHIBA-D.
Move the cursor to the position in Fig.
Use the SELECT switches to select 1200,
2400, 4800, 9600bps.
In RS-422 control, the bit rate for each cam-
era should match the controller or keyboard.
Содержание IK-65WDA
Страница 29: ...29 13 EXTERIOR VIEW ...
Страница 30: ...30 ...
Страница 31: ...31 Memo ...
Страница 32: ......


