Configuring Copy Settings
- 81 -
Copying
2
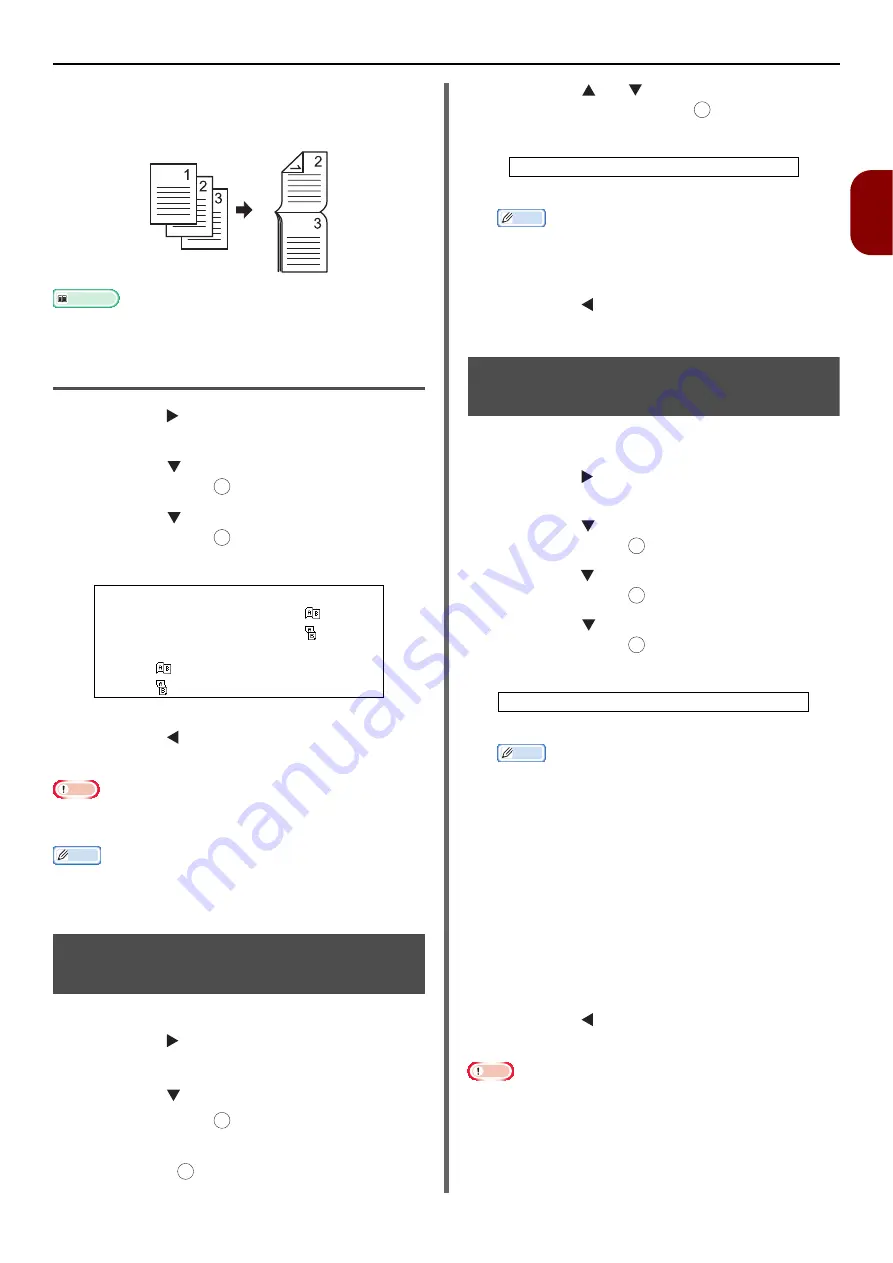
Short-Edge Binding
Copies your document to be bound along the
short edge of the paper.
Reference
z
To set margins for binding, refer to the User's Manual
Advanced.
Enabling Duplex Copies
1
Press the to enter the [
Change
Settings
] menu.
2
Press the to select [
Duplex Copy
]
and then press .
3
Press the to select the desired value
and then press .
4
Press the until the start screen is
displayed.
Note
z
You can copy
"
duplex to duplex
"
or
"
duplex to simplex
"
copies only when scanning the documents from the ADF.
Memo
z
When making duplex copies using the document glass, the
continuous scan mode is automatically enabled. Follow the
on-screen instructions.
Adjusting Copy Density
(Density)
You can adjust the copy density from 7 levels.
1
Press the to enter the [
Change
Settings
] menu.
2
Press the to select [
Image Settings
]
and then press .
3
Check that [
Density
] is selected and
then press .
4
Press the or to select the desired
density and then press .
Memo
z
[
0
] is the standard value. To darken the document
image, select [
+1
], [
+2
] or [
+3
] (most dense).
Conversely, to lighten the document image, select
[
-1
], [
-2
] or [
-3
] (least dense).
5
Press the until the start screen is
displayed.
Changing Document Type
(Document Type)
You can select the document type to make copies
at the most suitable quality for your needs.
1
Press the to enter the [
Change
Settings
] menu.
2
Press the to select [
Image Settings
]
and then press .
3
Press the to select [
Document Type
]
and then press .
4
Press the to select a document type
and then press .
Memo
z
[
Text
]: Set when copying a text document.
z
[
Text&Photo
]: Set when copying a document having
texts and photos.
Images are reproduced with a balance between texts
and photos.
z
[
Photo
]: Set when copying photos and graphic
documents.
This reproduces grayscale for images in which it is
important.
z
[
Photo (Glossy)
]: Set when copying photo
documents printed on a glossy sliver halide
photography or glossy inkjet paper.
Images are reproduced by focusing on the gray level
in consideration of the glossy.
If Photo or Photo (Glossy) is selected, Scan Resolution
is fixed to Normal.
5
Press the until the start screen is
displayed.
Note
z
When selecting [
Text
], the gray level may be reduced on
some document.
z
When selecting [
Photo
], [
Photo (Glossy)
], fine texts or
lines may be blurred on some documents.
z
When selecting [
Photo(Glossy)
], images may be bright.
Settable Values for Printing Method:
OFF (Simplex)*
Simplex document
→
Duplex
LE
Simplex document
→
Duplex SE
Duplex document
→
Duplex printing
Duplex
LE
→
Simplex printing
Duplex
SE
→
Simplex printing
*indicates the factory default.
OK
OK
OK
OK
Settable Density Values:
+3 +2 +1 0* -1 -2 -3
*indicates the factory default.
Settable Types:
Text Text&Photo* Photo Photo (Glossy)
*indicates the factory default.
OK
OK
OK
OK
Содержание e-Studio332s
Страница 1: ...MULTIFUNCTIONAL DIGITAL SYSTEMS User s Manual Basic ...
Страница 182: ...DP 3321S 4030S OME12009800 ...


