Scanning Methods
- 111 -
Scan
ning
4
For Mac OS X
1
Press the <
SCAN
> key on the operator
panel.
2
Place your document with text face up in
the ADF or face down on the document
glass.
3
Press the to select [
Remote
PC
] and
the press .
4
Check that the [
TWAIN
] is selected, and
press .
5
Check that [
Select a Connecting PC
] is
selected and then press .
6
Check that [
From Network
] is selected
and then press .
7
Press the to select the destination you
want and then press .
8
Press
or .
9
Start the Adobe Photoshop CS3 on your
computer.
10
Select [
Import
] from [
File
] to select
[
TOSHIBA e-STUDIOxxxS Network
].
If you select [
TOSHIBA e-STUDIOxxxS
Network
] and the network scan is the second or
more scanning, proceed to step 13.
11
For the first network scan, the dialog box
indicating that the tool of connection
destination selection is started is
displayed, and then click [
OK
].
12
Select a connection destination in the
[
Scan Settings
] dialog box, and register
the host information if necessary. Then,
click [
OK
].
13
Select [
Import
] from [
File
] of Adobe
Photoshop CS3 to select [
TOSHIBA e-
STUDIOxxxS Network
].
The window appears.
14
Click a scan button.
Scanning starts.
15
Select [
Quit Photoshop
] from
[
Photoshop
].
Secure Scan Mode (For USB
Connection)
For Windows
1
Press the <
SCAN
> key on the operator
panel.
2
Place your document with text face up in
the ADF or face down on the document
glass.
3
Press the to select [
Remote PC
] and
the press .
4
Check that the [
TWAIN
] is selected, and
press .
5
Check that [
Select a connecting PC
] is
selected and then press .
6
Press the to select [
From USB
interface
] and then press .
7
Press
or .
8
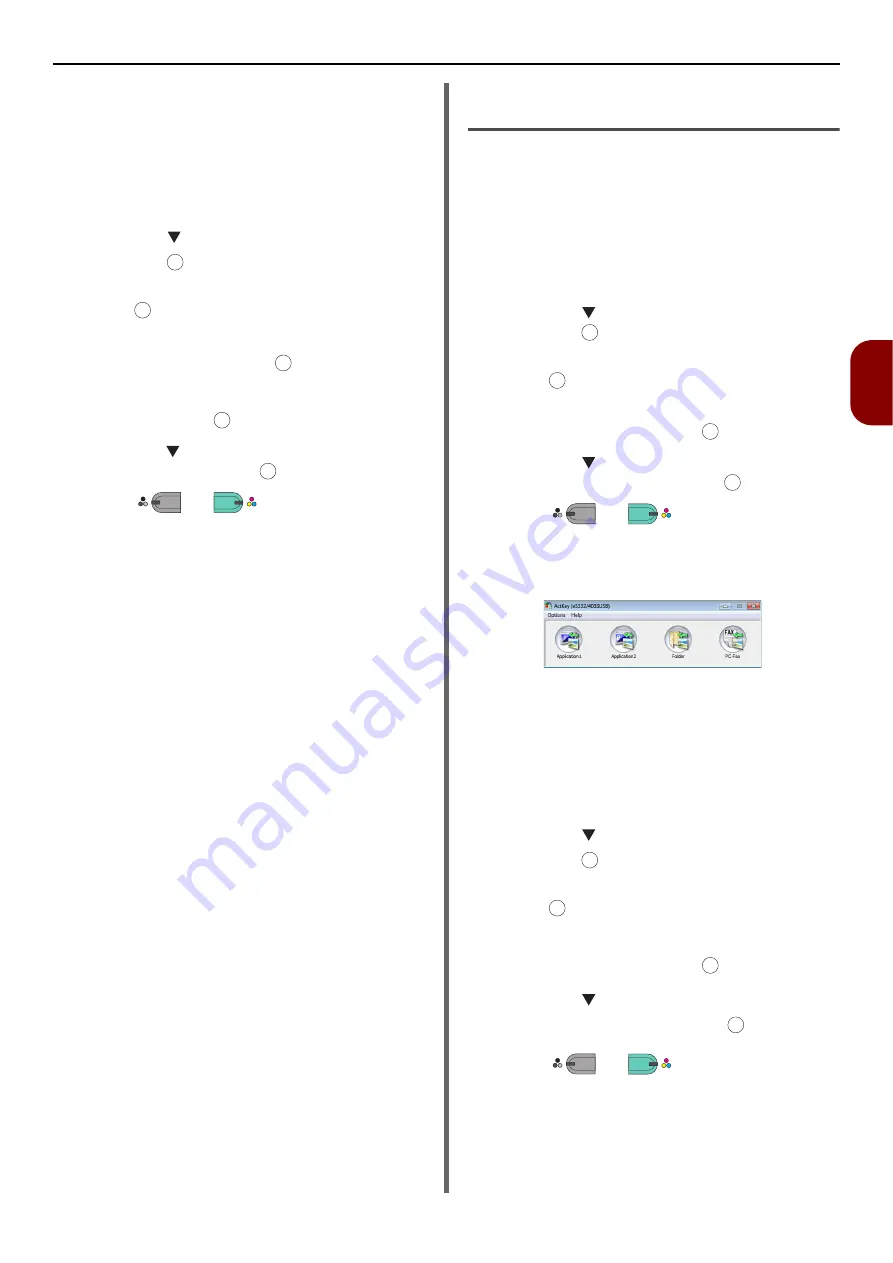
ActKey start on the computer.
9
Click the Scan button.
For Mac OS X
1
Press the <
SCAN
> key on the operator
panel.
2
Place your document with text face up in the
ADF or face down on the document glass.
3
Press the to select [
Remote PC
] and
the press .
4
Check that the [
TWAIN
] is selected, and
press .
5
Check that [
Select a connecting PC
] is
selected and then press .
6
Press the to select [
From USB
Interface
] and then press .
7
Press
or .
8
Start Adobe Photoshop CS3 on your
computer.
9
Select [
Import
] from [
File
] to select
[
e-STUDIOxxxS USB
].
OK
OK
OK
OK
OK
M
ONO
C
OLOR
OK
OK
OK
OK
M
ONO
C
OLOR
OK
OK
OK
OK
M
ONO
C
OLOR
Содержание e-Studio332s
Страница 1: ...MULTIFUNCTIONAL DIGITAL SYSTEMS User s Manual Basic ...
Страница 182: ...DP 3321S 4030S OME12009800 ...


