3.PRINT FUNCTIONS
Setting up Print Options 95
3 PRINT FUNCTIONS
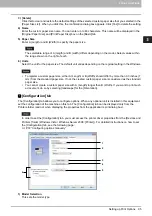
3) [Delete]
Click this to clear and restore the default settings of the selected custom paper size that you selected in the
[Paper Size List]. When you click this, the confirmation dialog box appears. Click [Yes] to delete the setting.
4) Name
Enter the custom paper size name. You can enter up to 63 characters. This name will be displayed in the
[Original Paper Size] and [Print Paper Size] box on the [Basic] tab.
5) Paper Size
Enter A (Length) and B (Width) to specify the paper size.
The selectable range of A (length) and B (width) differs depending on the model. Select values within
the range shown on the right of each.
6) Units
Select the unit for the paper size. The default unit varies depending on the regional setting in the Windows.
To register a custom paper size, either A (Length) or B (Width) should differ by more than 0.3 inches (7
mm) from the standard paper size. If not, the created custom paper size is considered as the standard
paper size.
You cannot create a custom paper size with A (Length) longer than B (Width). If you want to print such
a document, do so by selecting [landscape] for the [Orientation].
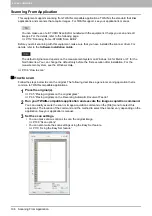
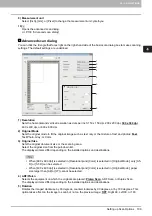
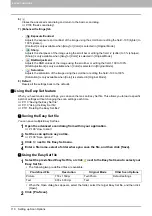
[Configuration] tab
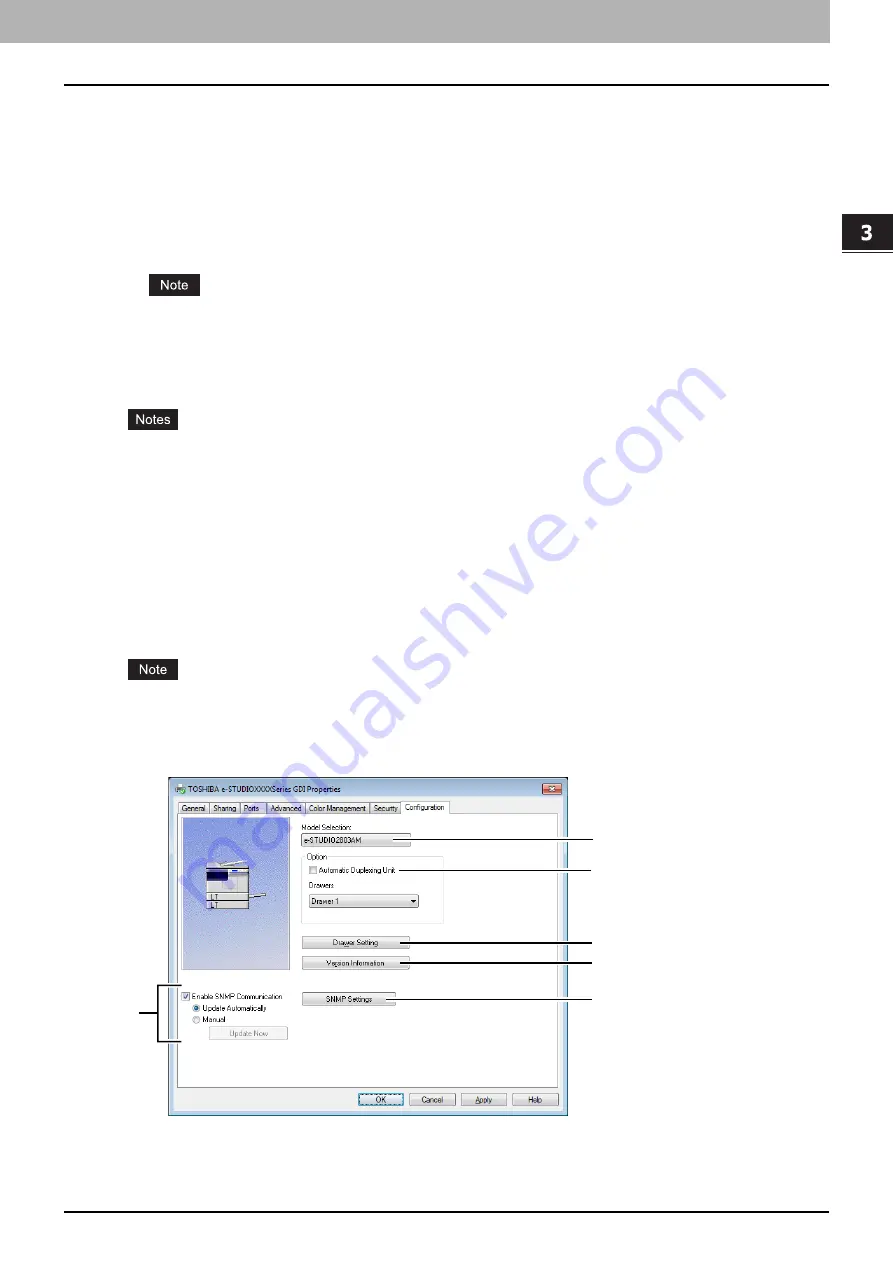
The [Configuration] tab allows you to configure options. When any optional unit is installed in this equipment,
set the configuration of the machine on this tab. The [Configuration] tab can be displayed only from the
Printers folder (and not when displaying the properties from the application’s print dialog box).
In order to set the [Configuration] tab, you must access the printer driver properties from the [Devices and
Printers] folder (Windows Vista / Windows Server 2008: [Printer]). For detailed instructions on how to set
the [Configuration] tab, see the following page:
P.72 “Configuring options manually”
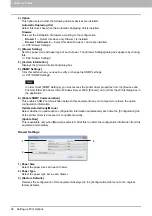
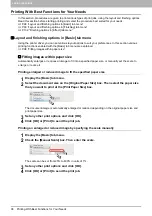
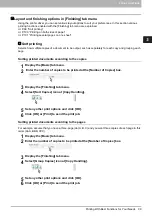
1) Model Selection
This sets the model type.
1
2
3
4
5
6
Содержание e-STUDIO2303AM
Страница 1: ...MULTIFUNCTIONAL DIGITAL SYSTEMS User s Guide ...
Страница 6: ......
Страница 10: ...8 CONTENTS ...
Страница 34: ......
Страница 72: ......
Страница 138: ......
Страница 160: ......
Страница 179: ...7 MAINTENANCE AND INSPECTION Regular Cleaning 178 Cleaning Charger 179 ...
Страница 182: ......
Страница 187: ...8 Appendix Packing List 185 Packing List Packing list Safety Information Quick Guide Power cable DVD ...
Страница 192: ...190 INDEX ...
Страница 193: ...e STUDIO2303AM 2803AM ...


