Printing with Extended Print Functionality 263
3
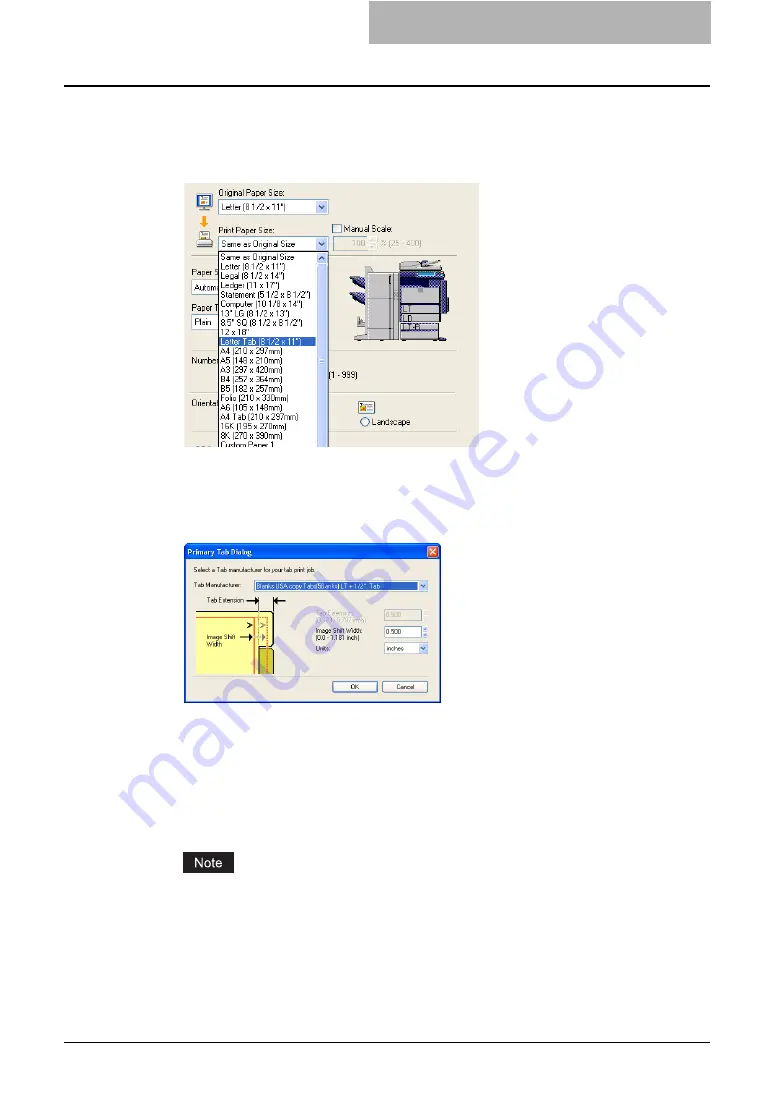
When printing a document, display the Basic tab of the printer driver
properties, select document size in the “Original Paper Size” drop
down menu, and select either “Letter Tab” or “A4 Tab” (according to
the document size) in the “Print Paper Size” drop down menu.
y
The Primary Tab Dialog dialog box appears.
4
In the “Tab Manufacturer” drop down menu, select the product
name of the tab paper that you use, or select “Custom” when you
use other manufactured tab paper.
5
When you select “Custom” in the “Tab Manufacturer” option, enter
the width of tab extension in the “Tab Extension” field.
6
Enter the width to shift the printed image in the “Image Shift Width”
field.
y
If you created a document as described in Step 1, enter the width of the tab extension
here.
This equipment cannot print in the 0.2 inch or 5 mm margin area on the right side on the
paper. Therefore, be sure to enter the image shift margin so that an image will be printed
within the printable area.
7
Click [OK].
8
Set any other print options you require and click [OK].
Содержание e-studio202L
Страница 1: ...MULTIFUNCTIONAL DIGITAL SYSTEMS Printing Guide ...
Страница 2: ......
Страница 10: ......
Страница 14: ...12 INDEX 349 ...
Страница 20: ......
Страница 200: ......
Страница 332: ......
Страница 333: ...8 Other Printing Methods This equipment also supports following printing methods FTP Printing 332 Email Printing 334 ...
Страница 354: ......
Страница 355: ...DP 3540 4540 DP 2050 2340 2840 OME050105D0 ...


