1.PREPARATION
Components 11
P
R
E
P
AR
ATI
O
N
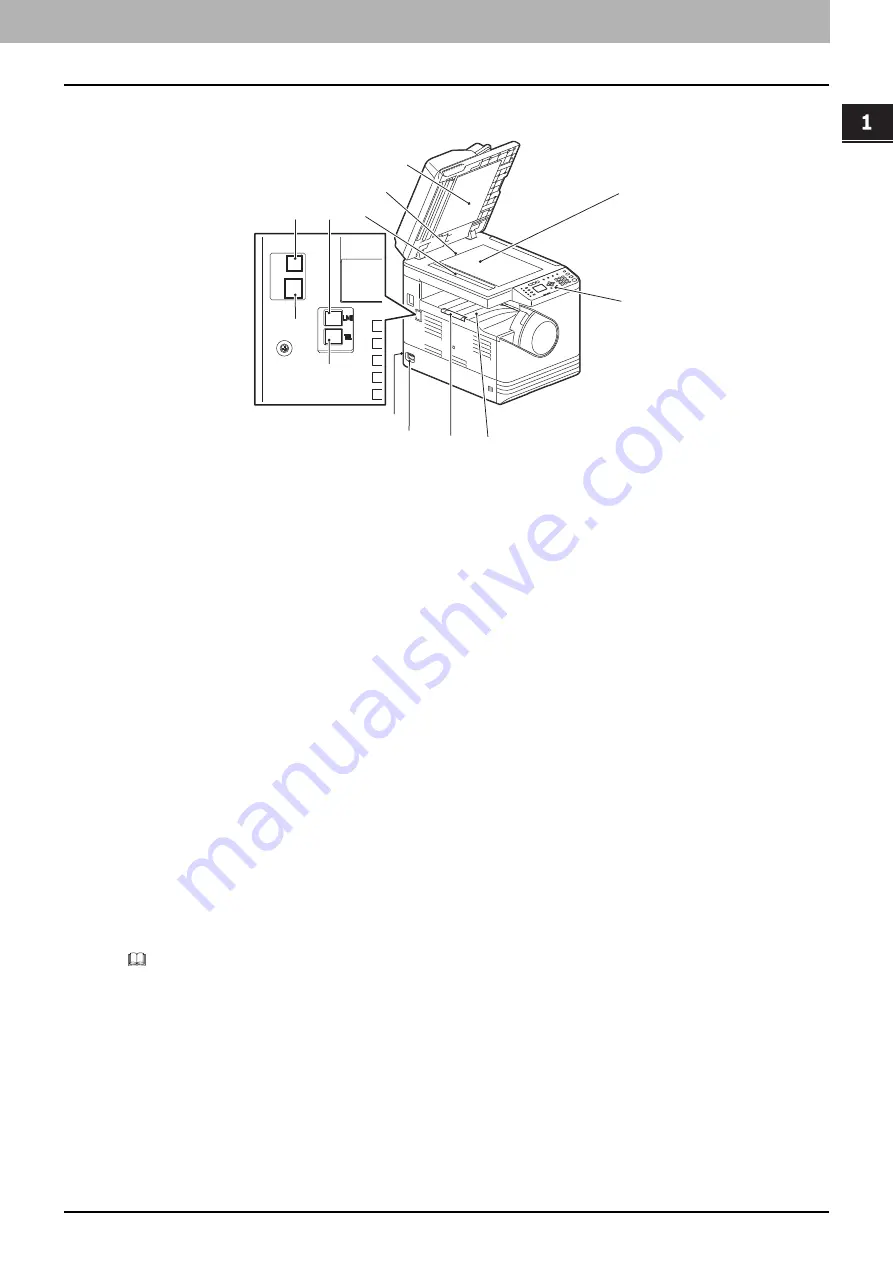
Left side
1.
Original glass
Place the book-type originals and special paper such as overhead transparencies or tracing paper, as well as
plain paper.
2.
Control panel
Make settings to use the various functions on this equipment.
3.
Receiving tray
4.
Paper exit stopper
Stops large paper from sliding out of the receiving tray.
When you use the stopper, pull it out and unfold the wire portion.
5.
Power switch
Turns the power ON or OFF.
P.17 “Preparation 1 - Turning Power ON”
6.
AC-IN terminal (rear)
Connect the power cable supplied with the equipment.
7.
TEL (Only for e-STUDIO2822AF)
Connect to an external telephone.
For details on how to use the Fax functions, see the following manual.
Fax Guide
8.
Network interface connector
Use this connector when connecting this equipment to a network.
8
9
3
11
13
6
5
1
2
4
12
7
10
Содержание e-studio 2822AF
Страница 1: ...MULTIFUNCTIONAL DIGITAL SYSTEMS User s Guide ...
Страница 30: ...1 PREPARATION 30 Preparation 3 Registering Paper Size and Type ...
Страница 64: ...2 COPY FUNCTIONS 64 Using Templates Copy ...
Страница 102: ...3 PRINT FUNCTIONS Windows 102 Printing With Best Functions for Your Needs ...
Страница 116: ...4 PRINT FUNCTIONS macOS 116 Setting up Print Options ...
Страница 162: ...5 SCAN FUNCTIONS 162 Using Templates Scan ...
Страница 204: ...7 TROUBLESHOOTING 204 Before Calling Service Technician ...
Страница 205: ...8 MAINTENANCE AND INSPECTION Regular Cleaning 206 Cleaning charger 207 ...
Страница 208: ...8 MAINTENANCE AND INSPECTION 208 Cleaning charger ...
Страница 216: ...9 APPENDIX 216 Copying Function Combination Matrix ...
Страница 221: ...e STUDIO2822AM 2822AF ...


