3-28
Service Manual
e-STUDIO 16P
Parallel Mode 2
Parallel Mode 2 controls whether or not the parallel port data is
2 controls whether or not the parallel port data is
sampled on the leading or trailing edge of strobe. The default is to
sample on the leading edge of strobe, however, some IBM clone
personal computers assumes that a printer will sample on the
trailing edge.
Perform the following steps to change the Parallel Mode 2 setting:
1. Enter the configuration mode. See
“Configuration Mode” on
page 3-14
for more information.
2. Perform a double click button press six times. This moves to the
Parallel Mode 2 item on the configuration menu. The Parallel
Mode 2 item on the configuration menu. The Parallel
Mode 2 (Data) LED is blinking.
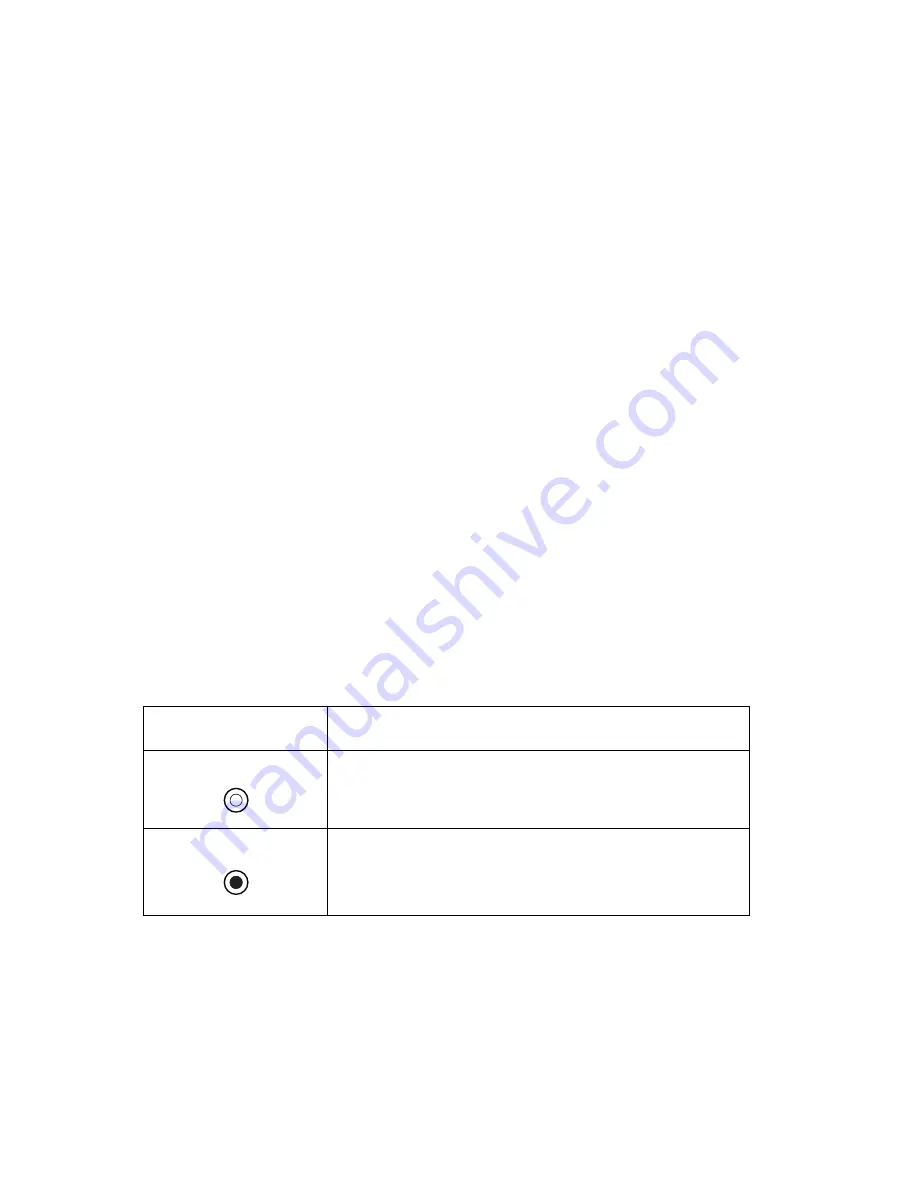
3. The current Parallel Mode 2 setting is indicated by the Off/On/
Auto ((Press Button) LED. When the LED is off, the Parallel
Mode 2 is set to sample on trailing edge. When the LED is on,
the Parallel Mode 2 is set to sample on leading edge. Perform a
brief button press to select the Parallel Mode 2 setting.
utton press to select the Parallel Mode 2 setting.
4. Perform a long button press. All LEDs blink once, indicating the
k once, indicating the
setting is saved.
5. Exit the configuration mode by turning the printer power off.
Off/On/Auto Setting
Value
Parallel mode 2 is set to off.
Parallel mode 2 is set to on.
Содержание e-STUDIO 16P
Страница 1: ...TOSHIBA TOSHIBA SERVICE MANUAL SERVICE MANUAL PAGE PRINTER e e STUDIO 16P STUDIO 16P ...
Страница 6: ...vi Service Manual e STUDIO 16P ...
Страница 10: ...x Service Manual e STUDIO 16P ...
Страница 12: ...Safety Information xii e STUDIO 16P ...
Страница 93: ...2 76 Service Manual e STUDIO 16P ...
Страница 148: ...6 2 Service Manual e STUDIO 16P ...
Страница 150: ...7 2 Service Manual e STUDIO 16P Assembly 1 Covers embly 1 Covers vers ...
Страница 152: ...7 4 Service Manual e STUDIO 16P Assembly 2 Frame y 2 Frame ...
Страница 154: ...7 6 Service Manual e STUDIO 16P Assembly 3 Fuser Fuser ...
Страница 156: ...7 8 Service Manual e STUDIO 16P Assembly 4 Main Drive ly 4 Main Drive ve ...
Страница 158: ...7 10 Service Manual e STUDIO 16P Assembly 5 Paper Feed 5 Paper Feed ...
Страница 160: ...7 12 Service Manual e STUDIO 16P Assembly 6 Printhead Printhead ...
Страница 162: ...7 14 Service Manual e STUDIO 16P Assembly 7 Electronics Electronics ...
Страница 164: ...7 16 Service Manual e STUDIO 16P Assembly 8 Options Options ...
Страница 170: ...7 22 Service Manual e STUDIO 16P ...


