


Cleaning the TOSHIBA Label Printer for Business Partner Systems
V2.1
Model #B-EV4D-GS24
November 2016
Always follow instructions to ensure the protection of personnel, devices, and data
Page 1 of 16
LIMITED RIGHTS NOTICE
Cleaning the TOSHIBA Label Printer
LIMITED RIGHTS NOTICE
This technical data, the installing instructions and hardware diagrams, is submitted with LIMITED RIGHTS under Postal Service Contract No.
1BITRT-09-B-0001. The data may be reproduced and used by the Postal Service with the express limitation that the data will not, without
written permission of NCR Government Systems LLC, be used for purposes of manufacture or disclosed outside the Postal Service; except
that the Postal Service may disclose this data outside the Postal Service for purposes identified under the Contract.
Read these important instructions first
Who should clean the TOSHIBA Label Printer?
The retail associates are responsible for cleaning the TOSHIBA Label Printer as
prescribed below.
Why does the Toshiba printer need regular cleaning?
The Toshiba printer needs to be cleaned regularly and routinely. If not
cleaned regularly per the schedule below, this printer will cease to print
labels as a result of accumulated dirt and residue on dirt-sensitive parts.
When should the printer be cleaned?
Whichever comes first:
Each time the label roll is replaced
OR
On a weekly basis
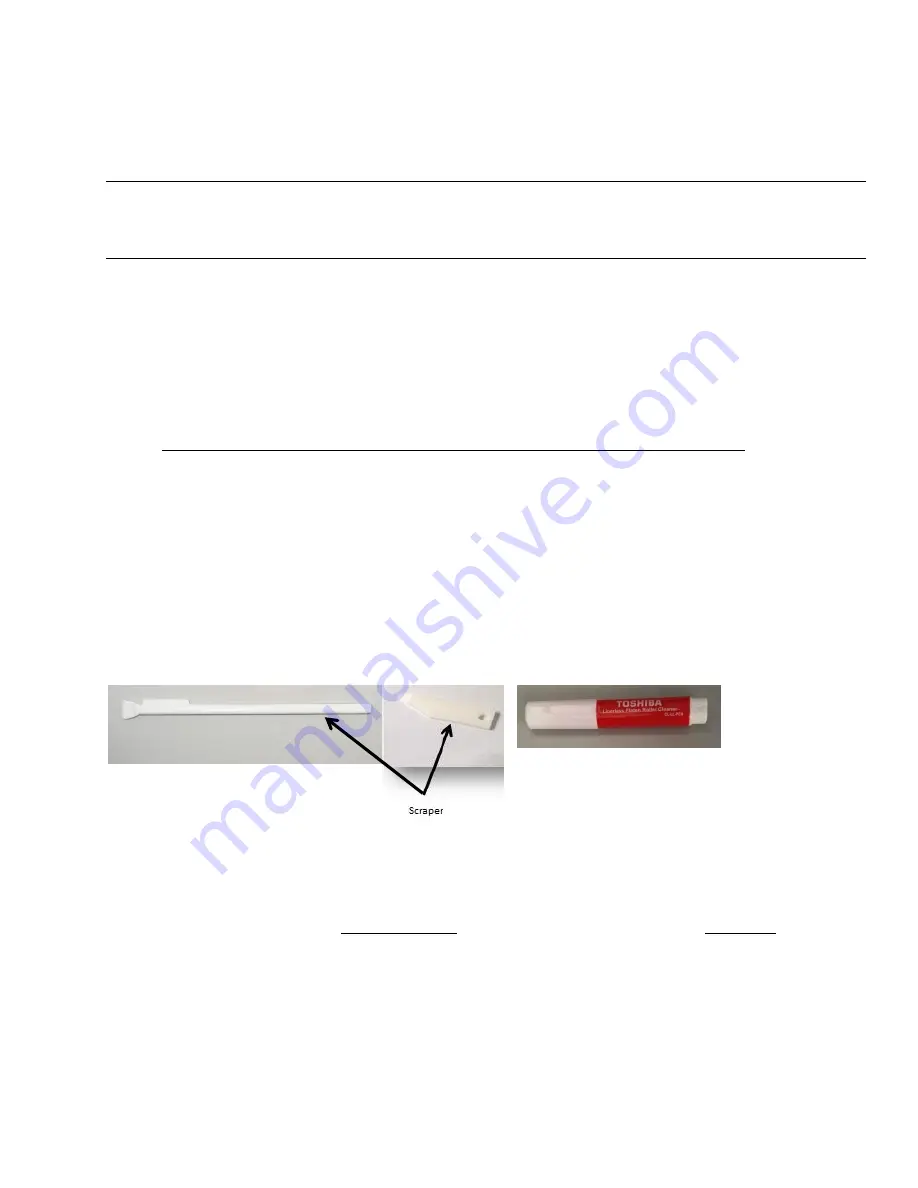
Tools needed
Cleaning Pen & one of two Approved Scrapers (Pen color may vary.)
Important Information:
All three printer components (Print Head, Linerless Cutter Block, Media
Housing) covered by this document must be cleaned each time you clean the
printer, so perform all five Steps of this cleaning procedure in order each
time.
DO NOT allow any alcohol-based cleaning product to have contact with any
of the anti-stick rubber surfaces or the platen roller (see Figure 18). The
alcohol will erode the surfaces and require replacement of these parts. The
USPS approved silicone cleaning pen must be used to clean the printer.
(Cont’d on next page)
Silicone Cleaning Pen


