Form No. 3356-911 Rev B
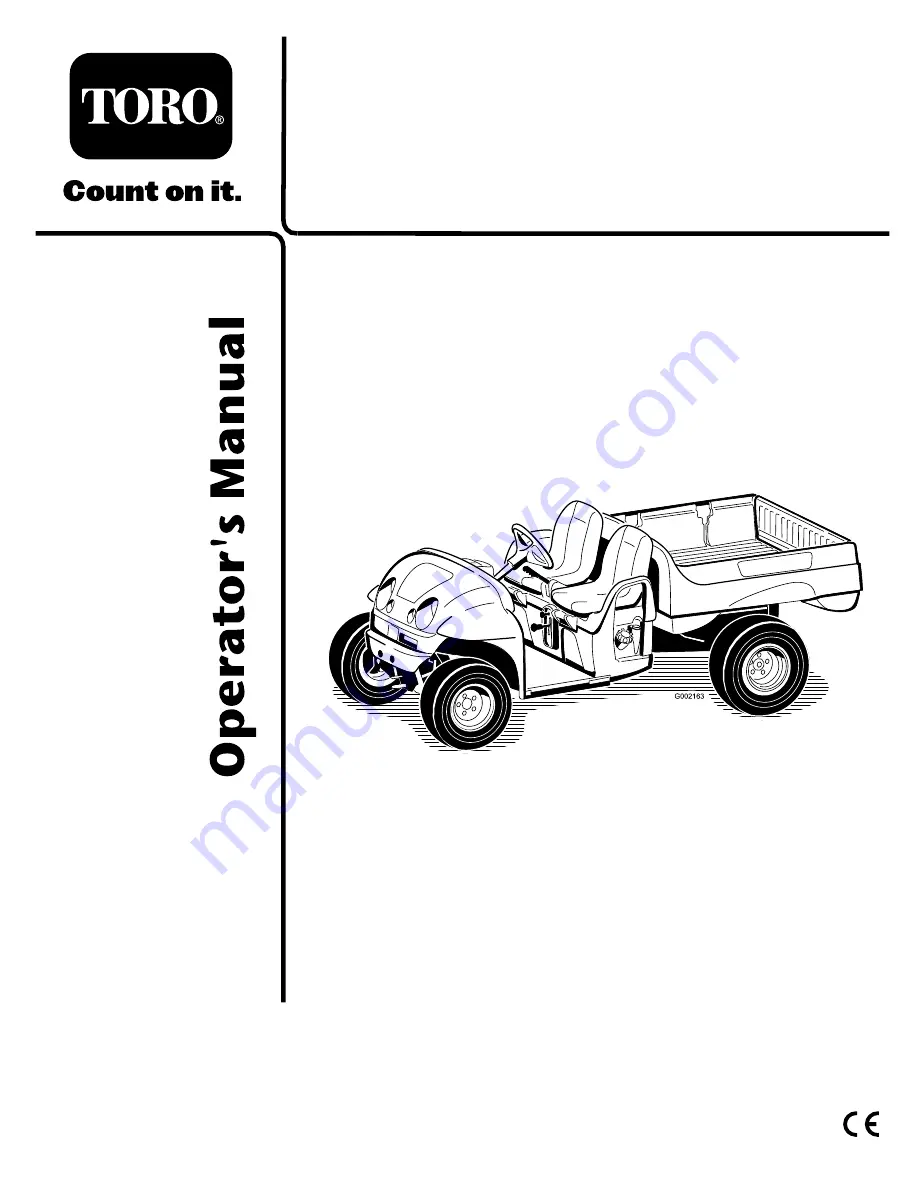
Workman® 1110 Utility Vehicle
Model No. 07264—Serial No. 270000001 and UpModel No. 07264TC—Serial No. 270000001 and Up
Register your product at www.Toro.com
Original Instructions (EN)
Страница 1: ...Form No 3356 911 Rev B Workman 1110 Utility Vehicle Model No 07264 Serial No 270000001 and Up Model No 07264TC Serial No 270000001 and Up Register your product at www Toro com Original Instructions EN...
Страница 2: ...responsible for operating the product properly and safely You may contact Toro directly at www Toro com for product and accessory information help nding a dealer or to register your product Whenever y...
Страница 3: ...26 Towing a Trailer 27 Maintenance 28 Recommended Maintenance Schedule s 28 Daily Maintenance Checklist 29 Premaintenance Procedures 30 Maintaining the Vehicle under Special Operating Conditions 30 Ja...
Страница 4: ...l labels on the vehicle Be sure to establish your own special procedures and work rules for unusual operating conditions e g slopes too steep for vehicle operation Before Operating Operate the machine...
Страница 5: ...walkways Make sure there is enough room over head to easily clear the vehicle and your head Always shift into neutral and apply the parking brake before leaving an idling vehicle or else the vehicle...
Страница 6: ...he brakes wet they will not work well until they are dry After driving through water you should test the brakes to make sure they work properly If they do not drive slowly while putting light pressure...
Страница 7: ...ght of the load evenly from side to side If you position the load toward one of the sides the vehicle is more likely to tip over while turning Position the weight of a load evenly from front to back I...
Страница 8: ...le cleaning uids for cleaning parts Do not adjust the ground speed governor To ensure safety and accuracy have an Authorized Toro Distributor check the ground speed If major repairs are ever needed or...
Страница 9: ...celerator pedal 4 Falling hazard do not allow children to operate the vehicle 10 To stop the engine release the accelerator pedal set the parking brake turn the ignition key off and remove the ignitio...
Страница 10: ...66 kg 99 7952 1 Choke 3 Neutral 2 Reverse 4 Forward 99 7352 1 Read the Operator s Manual for information on fuses 2 10 amp fuse for the optional Road Light Kit 3 15 amp fuse for the optional Rear Lift...
Страница 11: ...t hand pivot bracket 1 Left hand pivot bracket 1 Flange head screw 3 8 x 1 inch 4 Bolt 5 16 x 3 4 inch 1 6 Flange nut 5 16 inch 1 Install the cargo box Model 07264TC only 7 No parts required Activate...
Страница 12: ...2 Wheel nut Step 2 Installing the Steering Wheel Parts needed for this step 1 Steering wheel Procedure Note This procedure is only needed for Model No 07264TC 1 Remove the nut and washer from the ste...
Страница 13: ...lling the Seats Parts needed for this step 2 Seat Procedure Note This procedure is only needed for Model No 07264TC Insert the seat bracket into the seat base opening and pivot the seat downward Figur...
Страница 14: ...and pivot bracket to the left rear corner of the frame with 2 ange head screws 3 8 x 1 inch Position the bracket as shown in Figure 8 Figure 8 1 Pivot bracket 3 Slide the cargo box mounting hole onto...
Страница 15: ...glasses to shield your eyes and rubber gloves to protect your hands Fill the battery where clean water is always available for ushing the skin 2 Remove the ller caps from the battery and slowly ll ea...
Страница 16: ...ight load most of the time set the toe in on the low side of the recommended amount 1 Measure the distance between both of the front tires at the axle height at both the front and rear of the front ti...
Страница 17: ...perator s Manual 1 Parts Catalog 1 Safety Video 1 Registration Card 1 Predelivery Inspection Form 2 Key Procedure Read the Operator s Manual and Engine Operator s Manual View the safety video Fill out...
Страница 18: ...ccelerator pedal 2 Brake pedal Brake Pedal The brake pedal is used to stop or slow the vehicle Figure 14 Brakes can become worn or can be misadjusted resulting in personal injury If brake pedal travel...
Страница 19: ...lockwise to the On position to allow operation When the vehicle is stopped rotate the key counterclockwise to the Off position Remove the key from the ignition Figure 17 1 Ignition switch 4 Oil light...
Страница 20: ...e 18 1 Fuel gauge Passenger Hand Holds The passenger hand holds are located on the right side of the dash panel and at the outside of each seat Figure 19 Figure 19 1 Passenger hand hold 2 Hip restrain...
Страница 21: ...lb 45 kg Maximum trailer weight 800 lb 363 kg Overall width 60 inches 152 4 cm Overall length 117 inches 297 2 cm Ground clearance 9 1 4 inches 23 5 cm at the front with no load or operator 6 1 2 inch...
Страница 22: ...sis so ask what your responsibilities are Checking the Engine Oil Note The engine is shipped with oil in the crankcase however the level of the oil must be checked before and after the engine is rst s...
Страница 23: ...roved container and keep it out of the reach of children Never buy more than a 30 day supply of gasoline Do not operate without entire exhaust system in place and in proper working condition In certai...
Страница 24: ...erator pedal about half way down and pull the choke knob out to the On position Return the choke knob to Off after the engine warms up Important Do not attempt to push or tow the vehicle to get it sta...
Страница 25: ...push the end of the tailgate in especially if there is a load against the tailgate before the latches will spring toward the center of the tailgate and release Figure 26 1 Tailgate latch 2 To close th...
Страница 26: ...orting the Vehicle For moving the vehicle long distances a trailer should be used Make sure that the vehicle is secured to the trailer Refer to Figure 27 and Figure 28 for the location of the tie down...
Страница 27: ...ructure or tires Always load a trailer with 60 of the cargo weight in the front of the trailer This places approximately 10 of the Gross Trailer Weight GTW on the tow hitch of the vehicle The maximum...
Страница 28: ...al Operating Conditions Change the engine oil twice as often in special operating conditions refer to Maintaining the Vehicle under Special Operating Conditions Check the spark plug Check the operatio...
Страница 29: ...operation Check ride height and toe in Lubricate all grease ttings Touch up damaged paint If you leave the key in the ignition switch someone could accidently start the engine and seriously injure you...
Страница 30: ...e vehicle should be 1 inch 25 mm off the ground with the rear axle supported on jack stands The vehicle may be unstable when using a jack It could slip off the jack injuring anyone beneath it Do not s...
Страница 31: ...ver from the body Clean the inside of the air cleaner cover Figure 33 4 Gently slide the lter out of the air cleaner body to reduce the amount of dust dislodged Figure 33 Avoid knocking the lter again...
Страница 32: ...the cover and secure the latches Servicing the Engine Oil Check the oil level before each use Change the oil after the rst 25 operating hours and every 100 operating hours thereafter Change the oil tw...
Страница 33: ...plugs and remove the plugs from the cylinder head 3 Check the condition of the side electrode center electrode and center electrode insulator to ensure that there is no damage Figure 36 Important A c...
Страница 34: ...rews attaching the wire harness to the headlight 4 Remove the rubber seal from around the headlight Figure 39 Discard the headlight Figure 39 1 Rubber seal 3 Outside notch align with notch in hood 2 I...
Страница 35: ...battery Battery terminals or metal tools could short against metal vehicle components causing sparks Sparks can cause the battery gasses to explode resulting in personal injury When removing or instal...
Страница 36: ...the battery posts Charge the battery at a rate of 3 to 4 amperes for 4 to 8 hours 12 volts Do not overcharge the battery Charging the battery produces gasses that can explode Never smoke near the bat...
Страница 37: ...t so inspect tire condition after an accident Check the wheels to ensure that they are mounted securely Torque the lug nuts to 45 65 ft lb 61 88 N m Adjusting the Front Suspension The ride height of e...
Страница 38: ...nts or carrying heavy loads often Figure 43 1 Left hand A arm 6 Torque the ride height adjustment bolt to 135 165 ft lb 183 224 N m 7 Replace the travel limiting bolt Figure 42 Note The vehicle may ne...
Страница 39: ...ght Figure 44 Figure 44 1 Tire center line back 4 Fixture 2 Tire center line front 5 Axle center line distance 3 Axle center line 6 6 inches 15 cm ruler 3 If the measurement does not fall within the s...
Страница 40: ...m the right side of the reservoir Figure 48 and let the uid ow into a drain pan Install and tighten the plug when the uid stops draining Note Dispose of the used oil at a certi ed recycling center Fig...
Страница 41: ...brake uid Check the level before the engine is rst started and every 8 hours or daily thereafter 1 Park the machine on a level surface set the parking brake turn the ignition off and remove the key 2...
Страница 42: ...parking brake turn the ignition off and remove the key 2 Loosen the starter generator pivot bolt Figure 53 Figure 53 1 Generator pivot bolt 2 Adjusting carriage bolt 3 Wedge a pry bar between the engi...
Страница 43: ...til it stops E Choke the engine F Start and run the engine until it will not start again G Dispose of fuel properly Recycle as per local codes Important Do not store stabilizer conditioned gasoline ov...
Страница 44: ...7438 99 7436 BK BACKUP ALARM 80 9330 GY 5 2 3 6 4 1 HR P3 3 LOW OIL BK 99 7404 BK P3 4 104 6927 GN 99 7416 BK 104 6928 99 7406 IN FORWARD GY PRESSURE ENGINE OIL LIGHT SWITCH 95 8999 PRESSURE 99 7410...
Страница 45: ......
Страница 46: ......
Страница 47: ......
Страница 48: ...not limited to weather storage practices contamination use of unapproved coolants lubricants additives or chemicals etc Normal wear and tear items Normal wear and tear includes but is not limited to...