5-13
Digital Edition - TIMECUTTER® HD Service Manual
April 2017
CHASSIS
Chassis
Seat & MyRIDE™
Platform - TIMECUTTER® HD MR Models Only
Removal
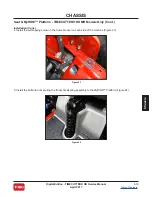
1. Park the machine on a level surface and disengage the PTO. Stop the engine, wait for all moving parts to stop,
and remove key. Engage the parking brake.
2. Disconnect the battery terminals. Remove the battery.
3. Remove the right and left side consoles,
see “Left Console Removal,” chapter 5, page 5-6;
Console Removal,” chapter 5, page 5-8.
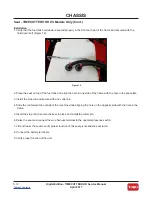
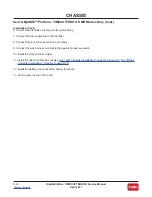
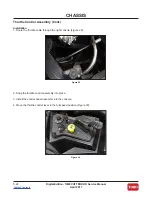
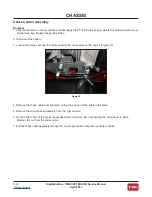
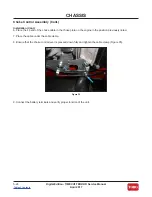
4. Disconnect the wire harness connector at the operator presence switch.
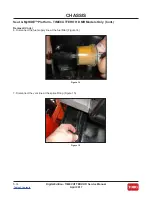
5. Remove the relay and bolt attaching relay and fuse to holder on frame.
A
B
C
D
E
F
G
H
J
I
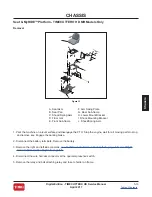
Figure 13
A. Seat Asm.
B. Seat Pan
C. Shock/Spring Asm.
D. Floor mat
E. Front Sub-frame
F. Arm Swing Plate
G. Rear Sub-frame
H. Lower Mount Bracket
I. Shock Mounting Bracket
J. Shock/Spring Asm.
Содержание TIMECUTTER HD 74864
Страница 153: ...R e s i d e n t i a l P r o d u c t s ...

