Form No. 3357-416 Rev A
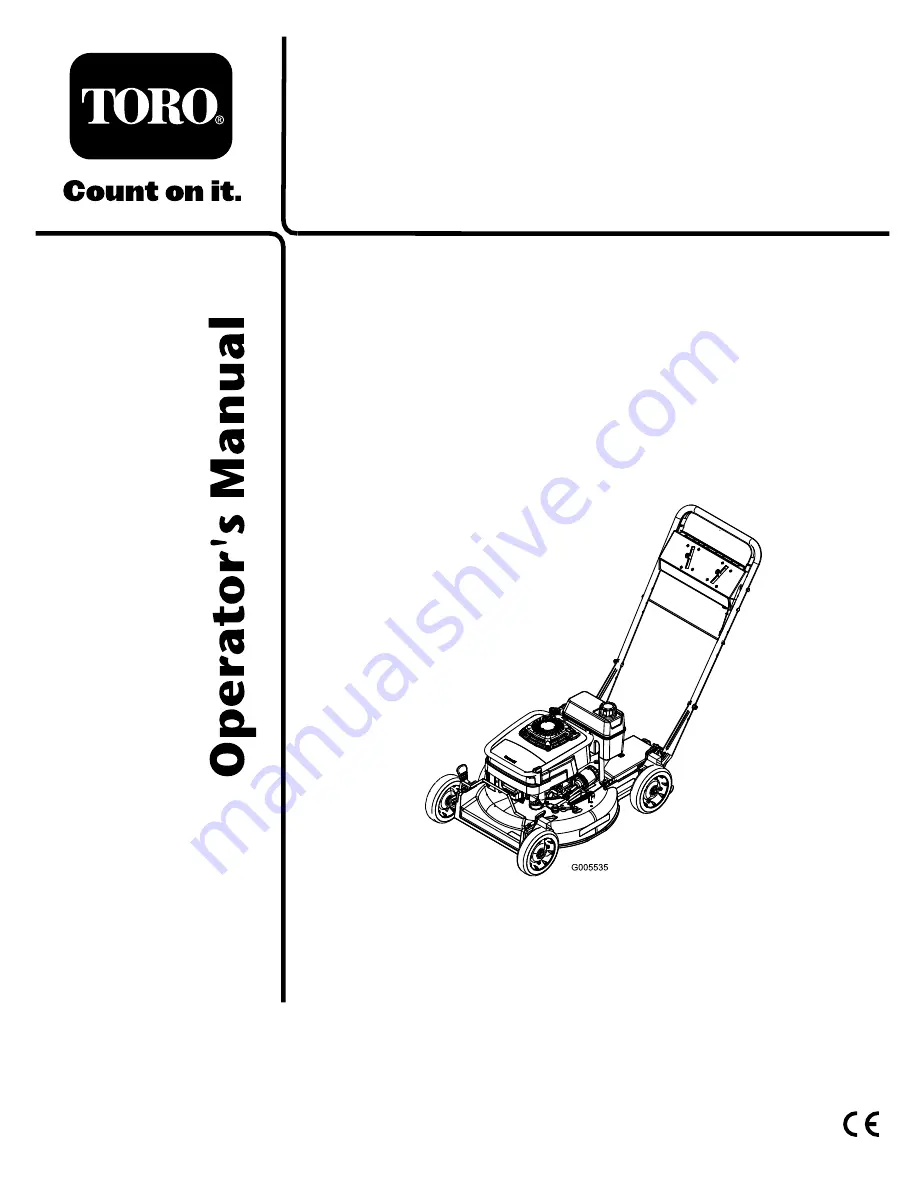
53cm Heavy-Duty Rear
Bagging Lawn Mower
Model No. 22177TE—Serial No. 270000001 and Up
Register your product at www.Toro.com
Original Instructions (EN)
Страница 1: ...Form No 3357 416 Rev A 53cm Heavy Duty Rear Bagging Lawn Mower Model No 22177TE Serial No 270000001 and Up Register your product at www Toro com Original Instructions EN...
Страница 2: ...formation Important calls attention to special mechanical information and Note emphasizes general information worthy of special attention Contents Introduction 2 Safety 4 General Lawn Mower Safety 4 S...
Страница 3: ...System Maintenance 26 Adjusting the Blade Brake Cable 26 Blade Maintenance 26 Maintaining the Cutting Blade 26 Cleaning 28 Cleaning under the Mower Housing 28 Cleaning the Blade Brake Clutch Shield 2...
Страница 4: ...able Take the following precautions Store fuel in containers speci cally designed for this purpose Refuel outdoors only and do not smoke while refueling Add fuel before starting the engine Never remov...
Страница 5: ...ing cleaning or working on the lawn mower after striking a foreign object inspect the lawn mower for damage and make repairs before restarting and operating the lawn mower if lawn mower starts to vibr...
Страница 6: ...ty and Instructional Decals Safety decals and instructions are easily visible to the operator and are located near any area of potential danger Replace any decal that is damaged or lost Manufacturer s...
Страница 7: ...bystanders a safe distance from the machine 3 Cutting dismemberment hazard of hand or foot stop the engine and remove the spark plug wire before performing any maintenance on the machine 4 Cutting dis...
Страница 8: ...for this step 1 Handle 2 Bolt 5 16 x 1 1 4 inches 4 Washer 2 Thin locknut 5 16 inch 2 Bolt 5 16 x 1 1 2 inches 2 Locknut 5 16 inch 1 Bag support rod 2 Cap locknut 1 Cable tie Procedure 1 Mount the han...
Страница 9: ...tting 4 Fuel line clamp 2 Secure the fuel line in place with the fuel line clamp Figure 4 3 Slide the plastic clips on the front of the fuel tank onto the fuel tank mount Figure 5 Figure 5 1 Plastic c...
Страница 10: ...g clip on the bottom of the plug clicks into place locking the plug securely into the discharge tunnel Figure 7 Figure 7 1 Spring clip 4 Release the discharge door handle to lock the top of the plug S...
Страница 11: ...Product Overview Figure 8 1 Ground speed control lever 6 Cutting height lever 2 Bag aligning rod 7 Air lter 3 Fuel tank 8 Oil ll dipstick 4 Oil lter 9 Throttle control lever 5 Spark plug 11...
Страница 12: ...kcase is empty pour about 3 4 of the crankcase capacity of oil in the crankcase then follow the procedure in this section 1 Move the lawn mower to a level surface 2 Clean around the dipstick Figure 10...
Страница 13: ...static charge can develop igniting the gasoline A re or explosion from gasoline can burn you and others and damage property Always place gasoline containers on the ground and away from your vehicle be...
Страница 14: ...control as desired when the engine starts Note If the engine fails to start after 3 pulls repeat steps 3 through 6 Stopping the Engine 1 Release the blade control bar and move the throttle control to...
Страница 15: ...tunnel Note When grass is thick and lush clippings may collect on and around the discharge tunnel plug This may make removing the plug dif cult Clean the plug thoroughly after each use Checking the B...
Страница 16: ...ches 12 7 cm below the handle cross bar Position C in Figure 18 Figure 18 Note This intermediate position C is not the normal operating position of the blade control bar However it helps to detect a s...
Страница 17: ...ting and if ignored could result in an unsafe operating condition Have the lawn mower inspected and serviced by an Authorized Service Dealer Adjusting the Cutting Height Each wheel is adjusted individ...
Страница 18: ...g 1 Stop the engine and wait for all moving parts to stop 2 Raise the discharge door handle and move it forward to engage the pin with the catch Figure 20 3 Grasp the handles at the front and the rear...
Страница 19: ...w a part of the blade or engine into the operator s or bystander s area and result in serious personal injury or death Do not change the engine speed setting If you suspect the engine speed is faster...
Страница 20: ...e set all the wheels at the same cutting height setting If there are more than 5 inches 12 7 cm of leaves on the lawn set the front cutting height 1 or 2 notches higher than the rear cutting height Th...
Страница 21: ...n in dusty conditions Clean the blade brake clutch shield Every 100 hours Lubricate the gear case Clean the paper air lter more frequently in dusty conditions Change the engine oil and oil lter Check...
Страница 22: ...23 1 Belt cover 2 Grease tting 3 Gently apply one to 2 pumps of 2 multi purpose lithium base grease 4 Install the grass bag Engine Maintenance Servicing the Air Filter Clean the foam pre cleaner every...
Страница 23: ...ng the cap counterclockwise and pulling it out 6 Tip the mower onto its right side to drain the oil into the drain pan Note You can also remove the oil from the crankcase using an oil extractor 7 Retu...
Страница 24: ...the electrodes because grit entering the cylinder can damage the engine 5 Set the gap on the plug to 0 030 in 0 76 mm Figure 28 Figure 28 1 Center electrode insulator 2 Side electrode 3 Air gap not to...
Страница 25: ...turning and the control bar is about one inch 2 5 cm from the handle Figure 30 Figure 30 1 1 inch 2 5 cm Servicing the Wheels Removing the Wheels 1 Stop the engine and wait for all moving parts to st...
Страница 26: ...e the belt adjust the blade brake cable 1 Stop the engine and wait for all moving parts to stop 2 Disconnect the wire from the spark plug Figure 12 3 Loosen the cable clamp screw until the brake cable...
Страница 27: ...ear le down any small nicks to maintain the cutting edge A worn or damaged blade can break and a piece of the blade could be thrown into the operator s or bystander s area resulting in serious persona...
Страница 28: ...ng garden hose at handle level and direct the water to ow on the ground just in front of the right rear tire Figure 37 Figure 37 1 Right rear wheel Note The blade will draw in water and wash out clipp...
Страница 29: ...r certain conditions can cause personal injury or property damage Avoid fuel spills by emptying the fuel tank as directed never siphon 5 Remove 2 blade nuts the anti scalp cup the accelerator and the...
Страница 30: ...ne several times using the starter rope to distribute the oil 5 Install the spark plug but do not connect the wire to the spark plug General Information 1 Clean the mower housing Refer to Cleaning und...
Страница 31: ...if it is pitted fouled or cracked 1 The fuel tank contains stale fuel 1 Drain and ll the fuel tank with fresh gasoline 2 The fuel cap vent hole is plugged 2 Clean the fuel cap vent hole or replace th...
Страница 32: ...ing nuts are loose 2 Tighten the blade mounting nuts 3 The underside of the mower housing contains clippings and debris 3 Clean under the mower housing Lawn mower or engine vibrates excessively 4 The...
Страница 33: ......
Страница 34: ......
Страница 35: ...A Italy 39 0331 853611 Irriamc Portugal 351 21 238 8260 Jean Heybroek b v Netherlands 31 30 639 4611 Lely U K Limited United Kingdom 44 1480 226 800 Maquiver S A Colombia 57 1 236 4079 Maruyama Mfg Co...
Страница 36: ...the product If for any reason it is impossible for you to contact your seller you may contact any Toro Authorized Distributor to arrange service 2 Bring the product and your proof of purchase sales r...