background image

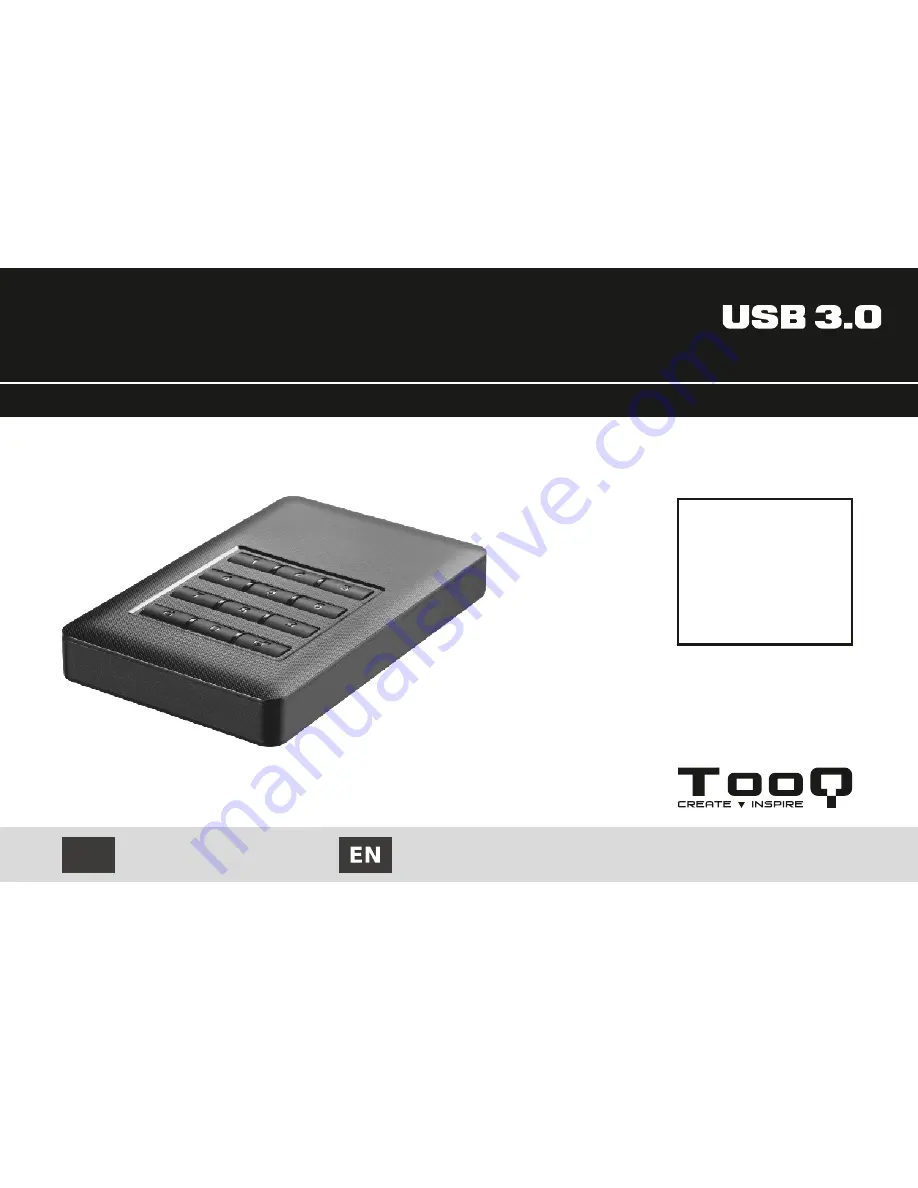
CAIXA EXTERNA ENCRIPTADA

EXTERNAL ENCRYPTED ENCLOSURE

Manual de Instruções

User´s Manual

TQE-25DES01B / SATA_USB3.0

2.5

INCH

PT

Содержание TQE-25DES01B

Страница 1: ...CAIXA EXTERNA ENCRIPTADA EXTERNAL ENCRYPTED ENCLOSURE Manual de Instruções User s Manual TQE 25DES01B SATA_USB3 0 2 5 INCH PT ...

Страница 2: ......

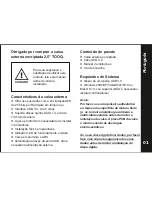
Страница 3: ...externa encriptada Cabo USB 3 0 Manual de instruções Tira de borracha Requisitos do Sistema Dispor de uma porta USB 3 0 Windows 2000 XP Vista Win7 8 10 ou Mac OS 10 x ou superior NÃO é necessário instalar controladores Aviso Por favor use uma pulseira antiestática ou toque uma superfície de metal a tierra p ex torneira metálica para liberar a eletricidade estática antes de iniciar a instalação da ...

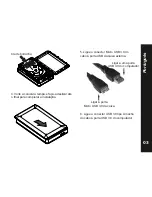
Страница 4: ... rígido com cuidado dentro da caixa externa Aviso não manipule os elementos da placa PCB poderia danificá los e perderia a garantia Porta Micro USB 3 0 3 Se instalar um disco rígido de 7 0mm de espessura na caixa é necessário colar a tira de borracha no sítio indicado Esta tira serve para ajudar a manter o disco rígido na sua posición No caso de instalar um disco rígido de 9 5mm de espessura não s...

Страница 5: ...erna 6 Ligue o conector USB 3 0 tipo A macho do cabo à porta USB 3 0 do computador Ligar a uma porta USB 3 0 do computador Ligar à porta Micro USB 3 0 da caixa tira de borracha 4 Volte a colocar a tampa e faça a deslizar até o final para completar a instalação Português ...

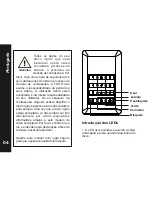
Страница 6: ...cer da contrasenha ninguem poderá descifrar o disco rígido e perder se ão todos os dados para sempre Uma vez que o disco rígido esteja encriptado já não poderá ser lido directamente por outros dispositivos informáticos alheios a este modelo de caixa encriptada Por favor confirme que leu e entendeu esta declaração antes de começar a usar este produto Guarde este manual num lugar seguro para que o p...

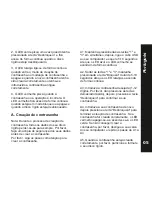
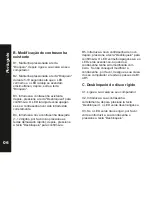
Страница 7: ...ntrasenha Por favor siga os pasos com atenção para crear a contrasenha A1 Mantenha pressionadas as teclas 1 e 3 em simultáneo depois ligue o cabo USB ao seu computador e espere 5 10 segundos até que o LED azul e o LED vermelho se acendam de forma contínua A2 Soltar as teclas 1 e 3 mantenha pressionada a tecla Bloqueio durante 5 10 segundos até que o LED laranja se acenda de forma contínua A3 Intro...

Страница 8: ...avor não pressione as teclas demasiado rápido depois pressione a tecla Desbloqueio para confirmá la B5 Introduza a nova contrasenha de novo depois pressione a tecla Desbloqueio para confirmá la O LED vermelho apagar se á e o LED verde acender se á quando a contrasenha tenha sido modificada com êxito Se não conseguir modificar a contrasenha por favor desligue a sua caixa do seu computador e repita ...

Страница 9: ... dados do meu disco rígido tiverem sido encriptado NÃO é impossível recuperar dados se a senha for esquecida Por favor mantenha a sua Password num local seguro Terá de comprar o mesmo modelo de caixa encriptada e montar o disco rígido na nova caixa inserir a password correta terá então aos seus dados Nada ocorrerá somente terá de introduzir a sua password original e terá acceso aos seus datos Não ...

Страница 10: ...08 Português ...

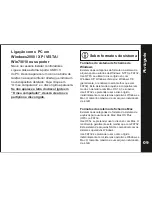
Страница 11: ...imento geralmente será melhor que com FAT32 Este sistema de arquivos NÃO é compatível com os sistemas operativos Windows Use FAT32 se pretender usar o disco rígido indistintamente com sistemas operativos Windows e Mac O tamanho máximo de um arquivo individual é de 4 GB Formatos do sistema de ficheiros de Windows Existem duas categorias de formato do sistema de arquivos para usuários de Windows NTF...

Страница 12: ...a externa ao seu PC o disco rígido deverá estar corretamente introduzido na caixa externa Se o seu disco rígido já tem partição por favor salte esta secção Os passos que se seguem irão ajudá lo a criar e formatar partições na unidade de disco utilizando Windows XP Os passos em Windows VISTA ou WIN7 são similares CUIDADO Todos os dados do disco rígido de destino perder se ão Se o disco rígido conté...

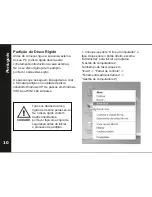
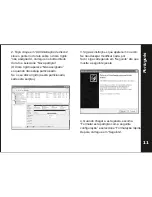
Страница 13: ... partição com a seguinte configuração e seleccione Formatação rápida Depois carregue em Seguinte 2 Faça clique em Administração de discos situe o ponteiro do rato sobre o disco rígido não assignado carregue no botão direito do rato e selecione Nova partição O disco rígido aparece Não assignado só quando não esteja particionado Se o seu disco rígido já está particionado salte esta secção Português ...

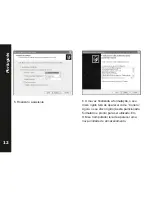
Страница 14: ...o seu disco rígido terá de aparecer como Correto Agora o seu disco rígido já está particionado formatado e pronto para ser utilizado Em O Meu Computador terá de aparecer uma nova unidade de armazenamento 5 Finalizar o assistente Português ...

Страница 15: ... todas as outras partes expostas no exterior que estejam riscadas ou danificadas devido ao uso normal Produtos alugados numa base temporal Informação sobre a garantia O distribuidor de TOOQ ou retalhista onde comprou a caixa externa TOOQ e ou os acessórios originais receberá a sua reclamação e ou prestará serviço de garantia Por favor devolva a estação de docking ao seu distribuidor ou comerciante...

Страница 16: ...nstalação da secção Instalação de Disco Rígido na caixa Comprove ambos extremos do cabo USB e certifique se que estejam completamente inseridos nas suas respectivas portas Tente desligar o cabo espere 10 segundos e volte a ligá lo Se a unidade continuar sem ser reconhecida reinicie o computador e tente outra vez Desinstale os controladores de dispositivos conflitivos e volte a testar Consulte a se...

Страница 17: ...ternal power For your safety and the satisfaction of using this product please read this instruction manual carefully before installation Package Contents External Encrypted Enclosure USB 3 0 cable User s manual Rubber sticker System requirements USB 3 0 port Windows 2000 XP Vista Win7 8 10 o Mac OS 10 x or above NO driver installation needed Caution please wear ground bracelet or touch metal fauc...

Страница 18: ...osure 2 Insert the hard drive into the external encrypted enclosure carefully Caution Do not touch the chipset on the PCB or the guarantee will be void 3 If a HDD with 7 0mm thickness will be installed please stick the rubber sticker in the position indicated This rubber sticker is for keeping the 7 0mm HDD in its position Please do not stick the rubber sticker when install a 9 5mm HDD Micro USB 3...

Страница 19: ...l enclosure 6 Connect the USB 3 0 Type A male connector of the usb cable to a computer Connected to a computer s USB 3 0 port Connected to the external enclosure s USB 3 0 port rubber sticker 4 Put the cover back to the enclosure and slide the cover till the end to finish the installation ...

Страница 20: ...t the user s own risk if the password was forgotten nobody can unlock the hard drive and all data on the hard drive will be lost forever Once the hard drive is encrypted other devices will not be able to have access to the data of the hard drive Please confirm that you have read and understood the declaration Store this manual in a safe place for future reference Caution Blue Orange Unlock lock Gr...

Страница 21: ... to create a password A1 Keep pressing 1 and 3 button at the same time then plug the USB cable into a computer s USB port and wait for 5 10 seconds until blue and red LED brighten continuously A2 Release those keys 1 and 3 keep pressing Lock button and wait for 5 10 seconds until the Orange LED light brightens continuously A3 Enter your password 1 12 digits please do not press keys fast then press...

Страница 22: ...ton to confirm it 1 12 digits please do not press keys fast B5 Enter new password again then press unlock button to confirm it At this time red LED should turn off and green LED should brighten now the password is changed successfully If the password changing process is failed please disconnect the external enclosure from your PC and repeat those steps B1 to B5 C Unlock your hard drive C1 Connect ...

Страница 23: ...till allowed Whether the data stored in the HDD has been encrypted It s impossible to restore the data if password was lost You only need to purchase the same model enclosure and enter the same password then you will have data access again You only need to enter the original password and it will still allow you to access the data in HDD No it s not allowed to access data if the HDD leaves this enc...

Страница 24: ...08 ...

Страница 25: ...e HFS if you will be using the drive on Macs only performance will generally be greater when compared to FAT 32 This file system is NOT compatible with Windows OS Use FAT32 if you will be using your drive with both Windows and Mac Maximum single file size is 4GB Windows File System Formats There are two file system formats for windows user NTFS and FAT32 Use NTFS if you will be using the drive onl...

Страница 26: ... external HD to a PC The HD should be mounted into the external enclosure correctly If your HD has been formatted please skip this chapter The following instructions will help you to partition and format your HD in the Disk Management of windows XP The operation under Windows VISTA or WIN7 is similar Caution The data on your HD will be lost If you have important data on the HD please back up the d...

Страница 27: ...t Format this partition with the following settings and check Perform a quick format then click the next button 2 Please click disk management right click the unallocated disk and point the new partition The HD appears unallocated only when your HD is not partitioned If your HD has been partitioned and formatted please skip this part ...

Страница 28: ...12 6 Click My Computer and confirm that the new Removable icon appears The External Enclosure with hard disk drive is now ready for use 5 Finish the assistant ...

Страница 29: ...e type or serial numbers on the product have been altered deleted removed or made illegible What is not covered by the warranty Defects or damage resulting from use of the product in other than its normal and customary manner or by not following the instructions in this user manual Defects or damage from misuse accident or neglect Defects of damage from improper testing operation maintenance adjus...

Страница 30: ... in section Hardware Installation Check both ends of the USB cable and make sure that they are fully seated in their respective ports Try disconnecting the cable waiting 10 seconds and then reconnecting it If the drive is still not recognized restart your computer and try again Uninstall the conflict device drivers and try again Please see section Create partition and format Check your computer s ...

Страница 31: ......

Страница 32: ... os mercados A cor do produto e as versões incluídas de software estão sujeitas a alterações sem aviso prévio As marcas e nomes de produtos mencionados são marcas comerciais das suas respectivas empresas All specifications are subject to change without notice Please check with your supplier for exact offers Products may not be available in all markets Product color and bundled software versions ar...

Отзывы: