Tiger Box Assembly Guide
Post Installation Maintenance: Replacing a Failed Drive
17
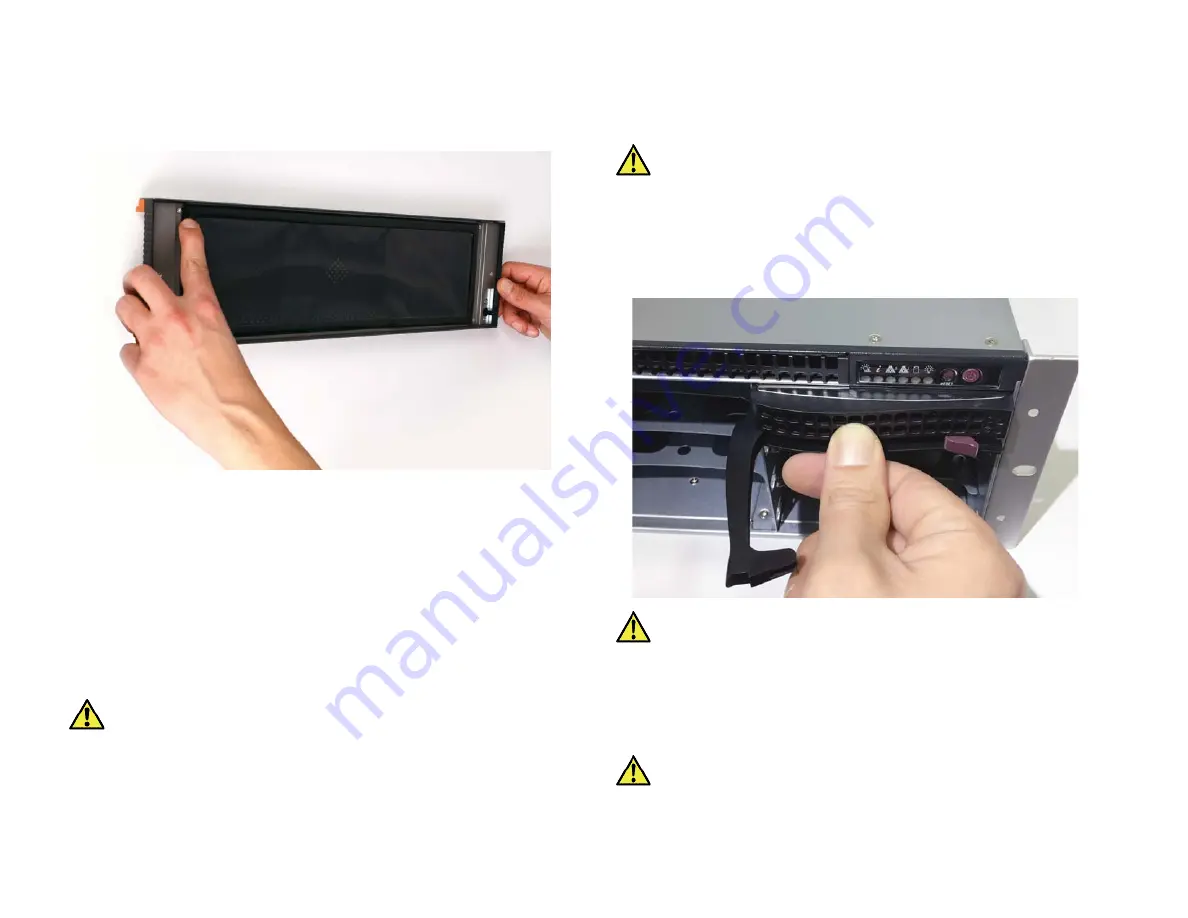
3.
When the filter is completely dry, fit it inside the bezel by snapping its magnetic
strips to the inside frame of the bezel.
4.
Install the bezel (see steps on page 8).
Replacing a Failed Drive
You can replace a failed hard disk, while Tiger Box is operating and no data on the
storage will be lost. If your order includes a spare drive, it is shipped to you pre-
installed in a drive carrier and is ready to replace the one that has failed.
You can also replace a failed drive with a drive not included in your shipment. In this
case the new drive must be exactly the same size and make as the one that has failed.
Additionally, you should uninstall the failed drive from its drive carrier and then
install the replacement drive in the carrier.
Important:
Periodically check the RAID status in the Storage page of Tiger
Store’s web UI. Degraded RAID status indicates that a drive has failed and
needs to be replaced. If more than one RAID drive fails, the RAID will become
inaccessible and data loss is possible.
To replace a failed RAID disk with the spare drive:
Important:
To prevent electrostatic discharge (ESD), touch grounded metal
before touching any of the appliance components. You can also prevent ESD
when inserting the drive carrier into the enclosure, by holding the appliance
enclosure with the other hand.
1.
Remove the front panel bezel.
2.
Find the failed drive - its HDD status LED indicator (the left indicator) is red.
3.
Press the lever button on the front of the drive carrier to release the lever and gently
pull out the drive carrier.
Important:
If by accident you pull out other than the failed drive, the RAID
becomes offline. Insert back the healthy drive and wait until the RAID is again
online. After that find the failed drive and proceed with the steps.
4.
(
if your order doesn’t include a spare drive
) Uninstall the failed drive from its
drive carrier and then install the replacement drive in the carrier.
5.
(
if your order includes a spare drive
) Take out the drive carrier from its antistatic
bag.
Important:
Handle the hard drive by the sides only, making sure you don't
touch the printed circuit board or the connectors.


