EVOS
™
M5000 Imaging System User Guide
25
4.
Analyze and annotate captured images
Display settings and analysis tools
Display settings and analysis tools allow you to change image display settings for
live and captured images in the Viewing area, annotate captured images, and
perform cell count and confluence measurements.
1.
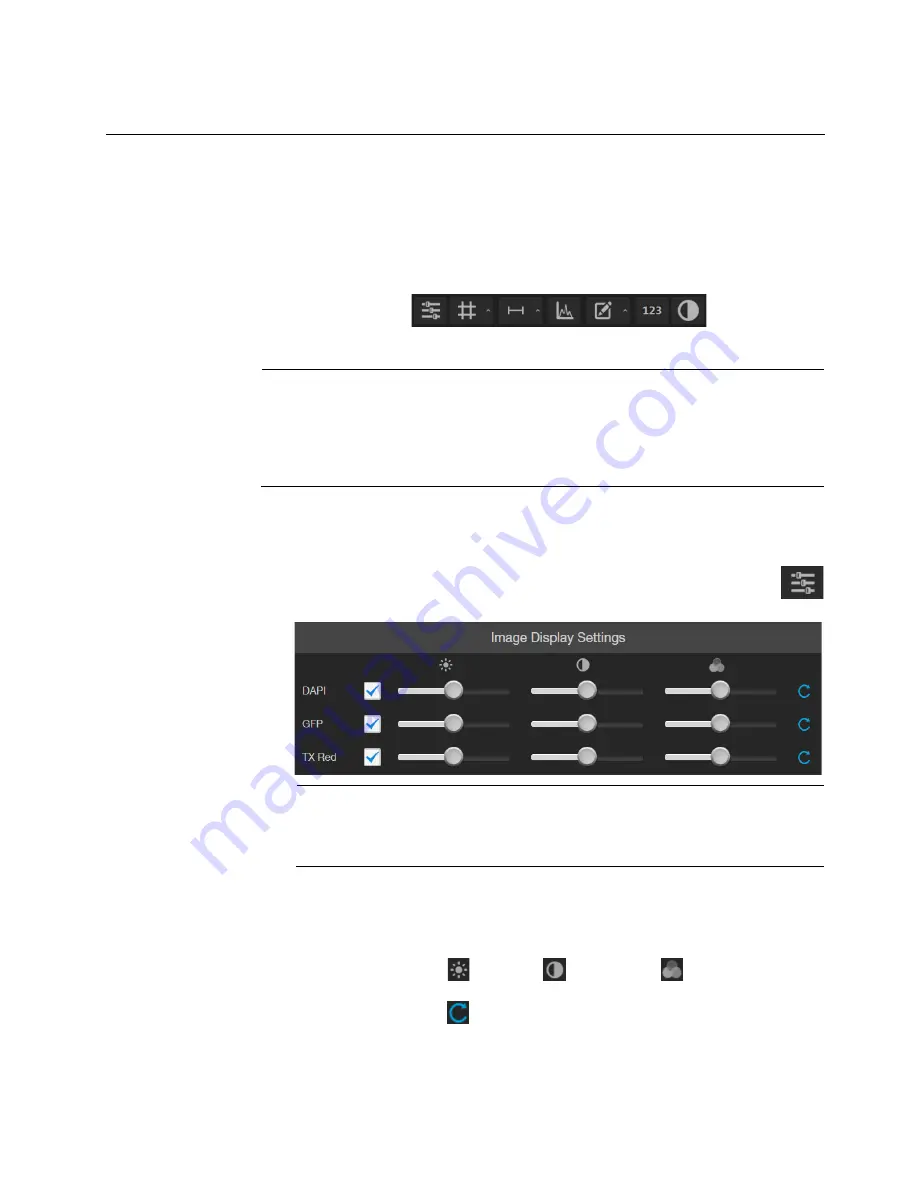
Hover the pointer over the Viewing area to reveal the buttons for Display
Settings and Analysis Tools.
2.
Click a button to open the corresponding tool; click the button again to close it.
IMPORTANT!
Changes made to images in the Viewing area with the display
settings and analysis tools, including changes made to image parameters, display
of the grid and the scale bar, as well as any annotations and measurements, persist
when the images are saved. If you want to save raw image data that you can use
for analysis, make sure to select
Save individual channels
option when saving
captured images (see page 39).
Configure display settings
Configure image
display settings
1.
Click the
Image
Display Settings
button to expand the controls for
image display parameters (brightness, contrast, gamma) for captured
images.
Note:
The controls for image display settings are contextual; they are
available only for channels with captured images or for a single channel in the
Live mode (with the excitation light turned on). In the example above, only
the controls for DAPI, GFP, and TX Red channels are displayed.
2.
Optional
: To remove a channel from displaying in the Viewing Area, unselect
the corresponding checkbox.
To display a channel with a captured image that is not shown in the Viewing
Area, re-select the checkbox.
3.
Adjust the
Brightness
,
Contrast
, and
Gamma
settings for each of
the selected channels using the corresponding sliders.
4.
Click the
Reset
button to return the image display settings to their default
values.
5.
Click the
Image Display settings
button again to collapse the controls.


