804
Appendix A: Functions and Instructions
Goto
CATALOG
Goto
labelName
Transfers program control to the label
labelName
.
labelName
must be defined in the same program
using a
Lbl
instruction.
Program segment:
©
:0
!
temp
:1
!
i
:Lbl TOP
: temp+i
!
temp
: If i<10 Then
: i+1
!
i
: Goto TOP
: EndIf
:Disp temp
©
Graph
CATALOG
Graph
expression1[, expression2] [, var1] [, var2]
The
Smart Graph
feature graphs the requested
expressions/ functions using the current graphing
mode.
Expressions entered using the
Graph
or
Table
commands are assigned increasing function
numbers starting with 1. They can be modified or
individually deleted using the edit functions available
when the table is displayed by pressing
†
Header
.
The currently selected Y= functions are ignored.
If you omit an optional
var
argument,
Graph
uses
the independent variable of the current graphing
mode.
Note:
Not all optional arguments are valid in all
modes because you can never have all four
arguments at the same time.
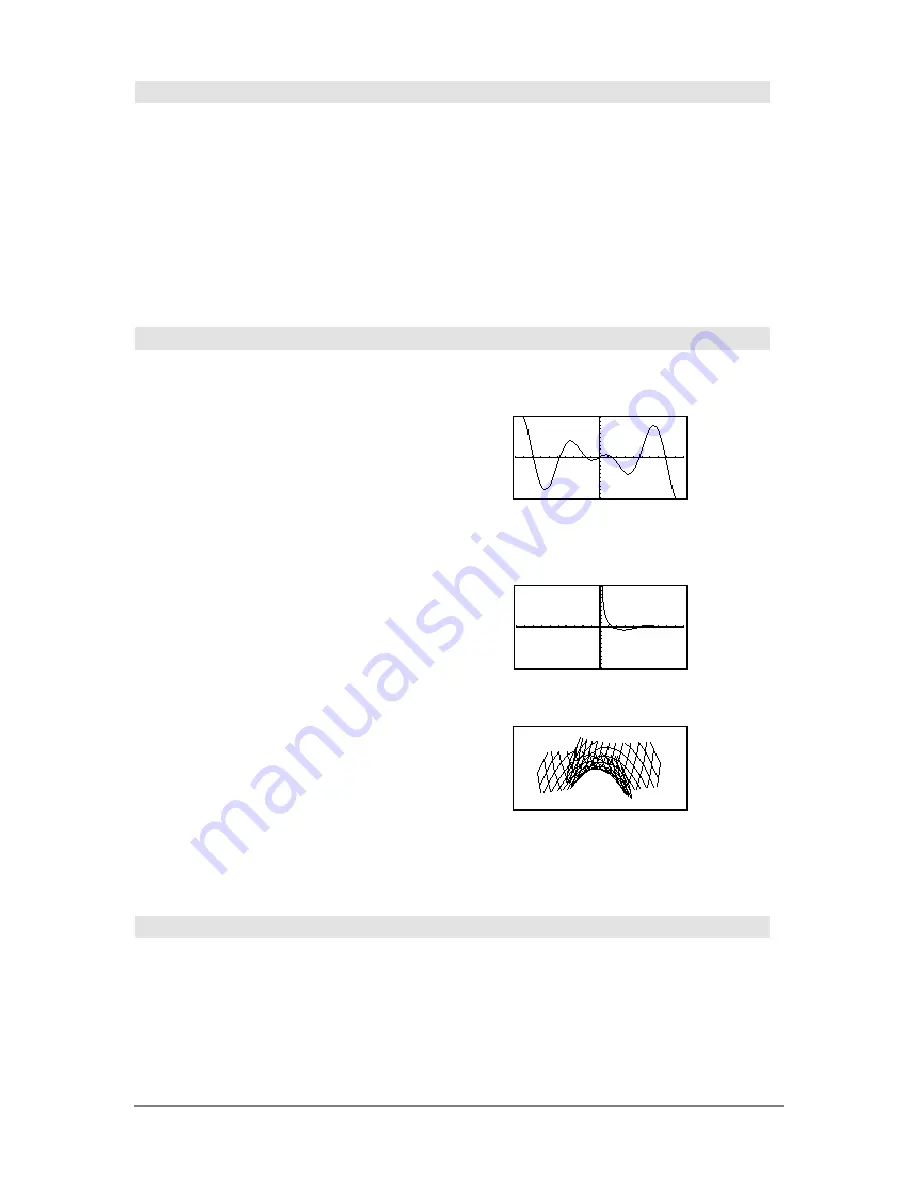
In function graphing mode and
ZoomStd
window:
Graph 1.25a
ù
cos(a),a
¸
In parametric graphing mode and
ZoomStd
window:
Graph
time,2cos(time)/time,time
¸
Some valid variations of this instruction are:
Function graphing
Graph
expr
,
x
Parametric graphing
Graph
xExpr
,
yExpr
,
t
Polar graphing
Graph
expr
,
q
Sequence graphing
Not allowed.
3D graphing
Graph
expr
,
x
,
y
Diff Equations graphing
Not allowed.
Note:
Use
ClrGraph
to clear these functions, or go
to the Y= Editor to re-enable the system Y=
functions.
In 3D graphing mode:
Graph (v^2
ì
w^2)/4,v,w
¸
4
Hex
MATH/Base menu
integer1
4
Hex
⇒
integer
Converts
integer1
to a hexadecimal number. Binary
or hexadecimal numbers always have a 0b or 0h
prefix, respectively.
256
4
Hex
¸
0h100
0b111100001111
4
Hex
¸
0hF0F
Содержание Titanium TI-89
Страница 9: ...Getting Started 6 TI 89 Titanium keys Ë Ì Í Ê ...
Страница 34: ...Getting Started 31 2 or D 2 B u s i n e s s D B D B Press Result ...
Страница 43: ...Getting Started 40 3 0 D B D D B D Press Result ...
Страница 44: ...Getting Started 41 D 2 0 0 2 D B Scroll down to October and press Press Result ...
Страница 58: ...Getting Started 55 Example Set split screen mode to TOP BOTTOM Press Result 3 B D ...
Страница 70: ...Getting Started 67 ...
Страница 175: ...Operating the Calculator 172 From the Keyboard ...
Страница 456: ...Tables 453 ...
Страница 503: ...Split Screens 500 Note Both Top Bottom and Left Right splits use the same methods to select an application ...
Страница 527: ...Data Matrix Editor 524 ...
Страница 704: ...Connectivity 701 A TI 89 Titanium and a Voyage 200 linked together I O Port I O Port I O unit to unit cable ...


