background image

www.ti.com

GUI Application

3

SLOU536 – June 2020

Submit Documentation Feedback

Copyright © 2020, Texas Instruments Incorporated

DRV8428EVM GUI User's Guide

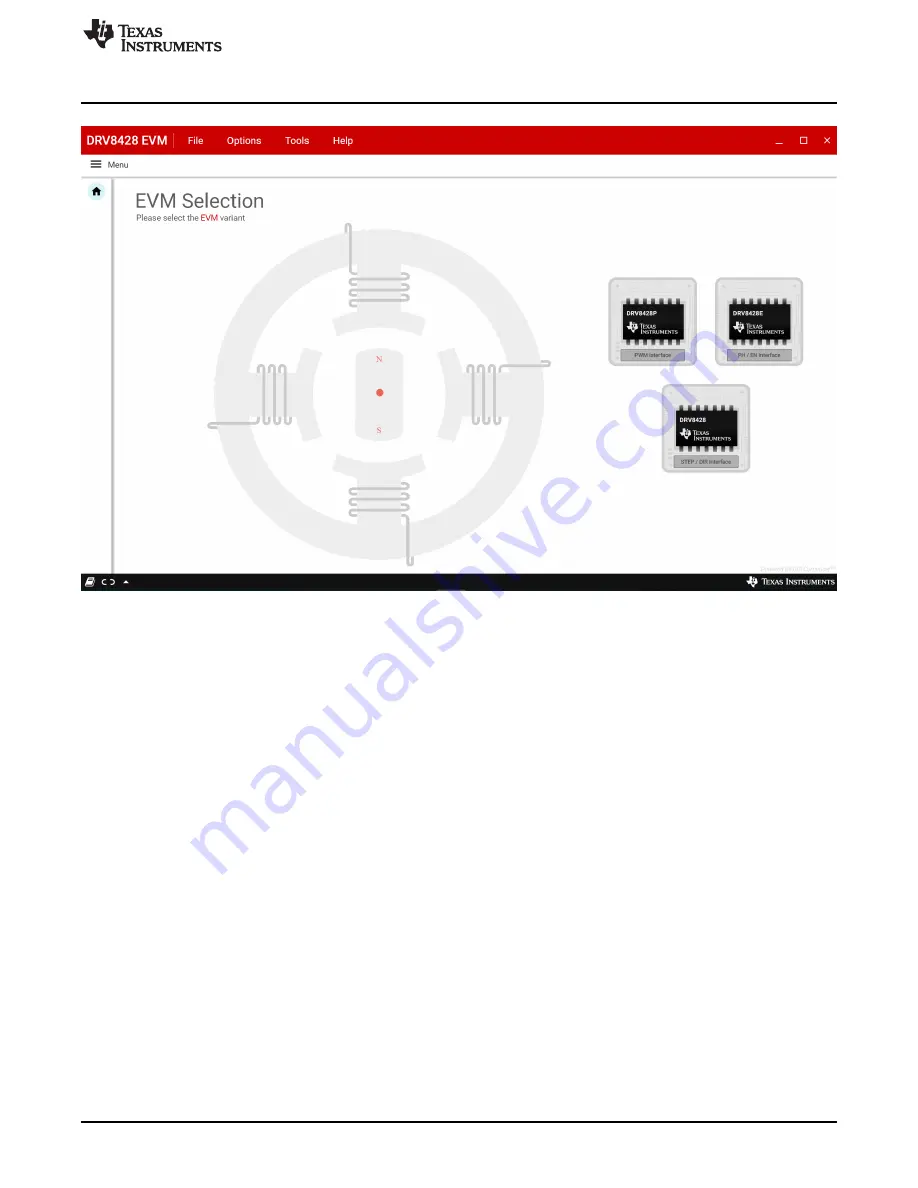
Figure 1. DRV8428 EVM GUI (Landing Page)

After click the DRV8428P device from the GUI landing page, the DRV8428P GUI home page shown in

Figure 2

The application will try to establish communication with the device connected. A message showing
‘Connected to Cloud Agent. Connecting to target…’ will be displayed in the hardware connection status
pane at the bottom of the screen. If the connection is successful, ‘COMxx:9600 Connected to Target’
message appears as shown in

Figure 3

below

Содержание DRV8428

Страница 1: ...evaluation for the DRV8428 a medium voltage dual H bridge driver for stepper driving applications The DRV8428 drives a single bipolar stepper with microstep settings ranging from full stepping to 1 256 resolution with internally regulated microstep levels It provides a variety of programmable decay settings The EVM uses an MSP430 microcontroller and a USB interface chip to manage communication fro...

Страница 2: ...ti com ccs non esd gui_composer runtime gcruntime 7 4 1 windows installer exe and save it to your local harddrive And then use Install from File option to install the GUI composer runtime 3 2 Getting Started with DRV8428 EVM GUI The DRV8428 EVM GUI and DRV8428 EVM allows the user to configure various settings required for stepper motor driving The DRV8428 EVM GUI lets the user adjust the motor spe...

Страница 3: ...8P device from the GUI landing page the DRV8428P GUI home page shown in Figure 2 The application will try to establish communication with the device connected A message showing Connected to Cloud Agent Connecting to target will be displayed in the hardware connection status pane at the bottom of the screen If the connection is successful COMxx 9600 Connected to Target message appears as shown in F...

Страница 4: ...nection status pane will show the message Hardware Not Connected If the GUI is opened without connecting the EVM the hardware connection status pane will show Error no serial ports found If there are more than one DRV8428 EVM boards connected the first matching device will be connected automatically In order to switch to another EVM 1 Click Options Serial Port A serial port configuration popup is ...

Страница 5: ...onnected with a green check mark as shown in Figure 2 Click on the Stepper Motor button to open the stepper control page 3 3 1 Stepper Control Page This page shown in Figure 5 includes various controls to sleep wake the driver ocp latched settings and control the stepper motor by configuring various parameters such as full scale current step mode direction and so forth Hovering over the icon to th...

Страница 6: ...t speed according to the configured acceleration rate The acceleration profile in the microcontroller firmware accepts the starting speed PPS signal and target speed PPS signal as a clock cycle number When the Start steps button is clicked the PWM timer generates steps at a rate specified by the Starting Speed PPS parameter When Stop Steps is clicked the motor starts decelerating at the Accelerati...

Страница 7: ...eed computation Figure 6 Controls Available for Speed Mode 3 3 1 1 2 Step Mode Step Mode allows the user to move the stepper motor a configured number of steps Stepper controls are enabled only when Motor Driver control is enabled Start Steps button is enabled only when Driver Outputs control is enabled for example EN nFault pin is set to high When the Start Steps button is clicked the motor start...

Страница 8: ...ile When a deceleration profile is issued the controller decreases the speed until reaching the value of the Stopping Speed parameter If the Number of Steps parameter is met before the deceleration profile is complete then the motor stops at the current speed If the stopping speed is met before all the number of steps is issued then the motor rotates at the stop speed value until all the steps are...

Страница 9: ...The fault monitor section at the right side of the screen allows the user to monitor the fault The LED staying green indicates No Fault When the LED turns red it indicates that a fault has occurred 3 3 4 Use the Side Bar Menu Use the side bar menu in the left pane to navigate to the different pages at any time Click on the hamburger button in the top left corner of the GUI to expand the side bar m...

Страница 10: ... device to match the EVM variant For the firmware load to work MSP430 FET needs to be plugged into the J2 connector on the EVM board 3 3 5 2 Options Menu This menu provides the option to configure the serial port communication settings 3 3 5 3 Tools Menu The log pane option in this menu is to open a log pane at the bottom of the GUI which shows the GUI actions 3 3 5 4 Help Menu The Help Menu conta...

Страница 11: ...other than TI b the nonconformity resulted from User s design specifications or instructions for such EVMs or improper system design or c User has not paid on time Testing and other quality control techniques are used to the extent TI deems necessary TI does not test all parameters of each EVM User s claims against TI under this Section 2 are void if User fails to notify TI of any apparent defects...

Страница 12: ... These limits are designed to provide reasonable protection against harmful interference in a residential installation This equipment generates uses and can radiate radio frequency energy and if not installed and used in accordance with the instructions may cause harmful interference to radio communications However there is no guarantee that interference will not occur in a particular installation...

Страница 13: ...y for convenience and should be verified by User 1 Use EVMs in a shielded room or any other test facility as defined in the notification 173 issued by Ministry of Internal Affairs and Communications on March 28 2006 based on Sub section 1 1 of Article 6 of the Ministry s Rule for Enforcement of Radio Law of Japan 2 Use EVMs only after User obtains the license of Test Radio Station as provided in R...

Страница 14: ... any interfaces electronic and or mechanical between the EVM and any human body are designed with suitable isolation and means to safely limit accessible leakage currents to minimize the risk of electrical shock hazard User assumes all responsibility and liability for any improper or unsafe handling or use of the EVM by User or its employees affiliates contractors or designees 4 4 User assumes all...

Страница 15: ...OR DAMAGES ARE CLAIMED THE EXISTENCE OF MORE THAN ONE CLAIM SHALL NOT ENLARGE OR EXTEND THIS LIMIT 9 Return Policy Except as otherwise provided TI does not offer any refunds returns or exchanges Furthermore no return of EVM s will be accepted if the package has been opened and no return of the EVM s will be accepted if they are damaged or otherwise not in a resalable condition If User feels it has...

Страница 16: ...o change without notice TI grants you permission to use these resources only for development of an application that uses the TI products described in the resource Other reproduction and display of these resources is prohibited No license is granted to any other TI intellectual property right or to any third party intellectual property right TI disclaims responsibility for and you will fully indemn...

Отзывы: