background image

QUICK-START INSTALLATION GUIDE

TELOS INFINITY MP-16 AND DS-16

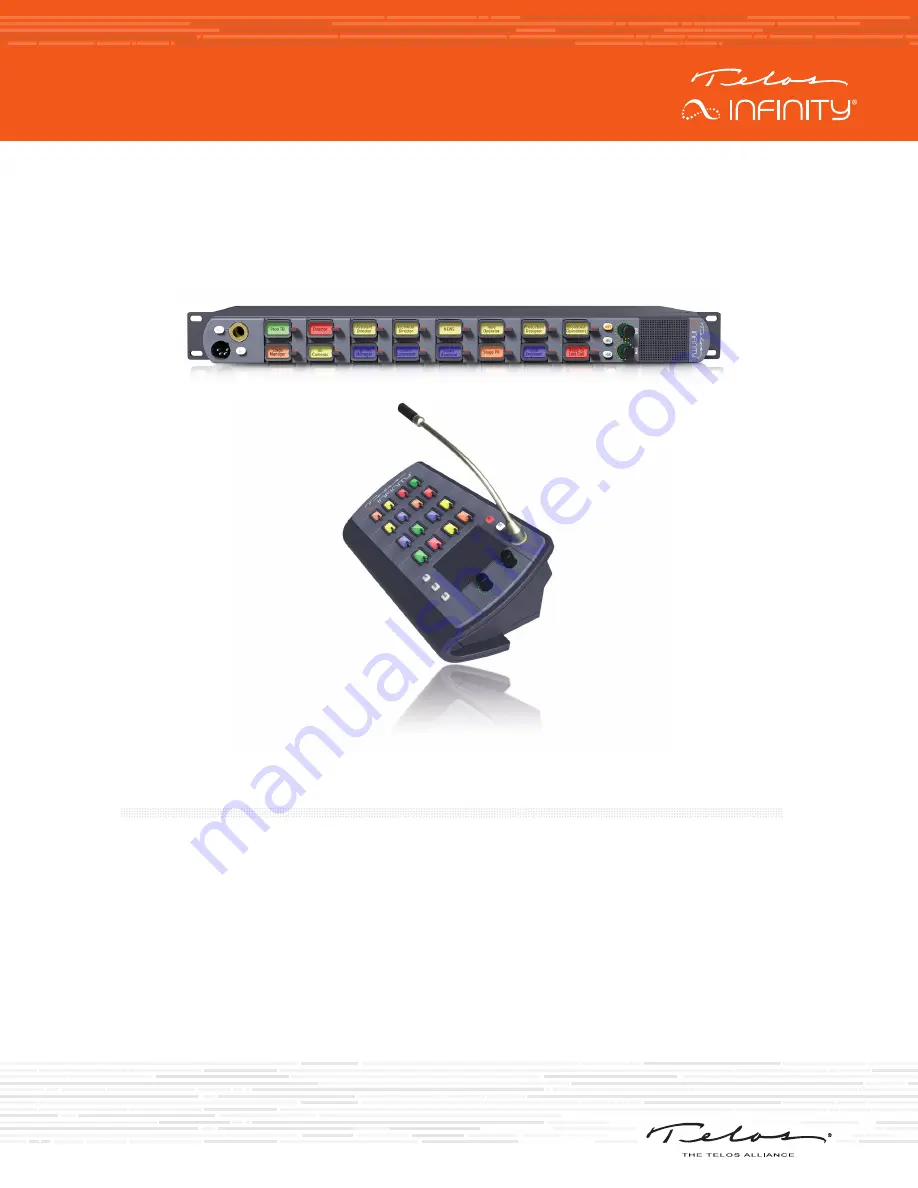
Digital Intercom Master Panel and Desk Station

INTRODUCTION 

The INF-MP-16 and DS-16  are digital intercom panels designed to work as part of the Telos Infinity 

‘matrix-free’ IP networked Intercom system. Telos Infinity supports all expected features such as point-

to-point communications, groups, partylines, and IFBs. 

The MP-16 and DS-16 connect over a supporting 1000Mbps Ethernet network with 24-bit/48 KHz 

uncompressed digital audio carried as Audio over IP (AoIP) using the L™ AES67 industry standard.

Both panels are powered by PoE (Power over Ethernet) either directly from the network switch or via 

an external PoE source. Additionally, a screw-lock 12VDC inlet is included on the rear panel, which may 

be used as primary power if PoE is not available, or as part of a redundant power design (recommended 

and encouraged).

Содержание DS-16

Страница 1: ...cations groups partylines and IFBs The MP 16 and DS 16 connect over a supporting 1000Mbps Ethernet network with 24 bit 48 KHz uncompressed digital audio carried as Audio over IP AoIP using the Livewire AES67 industry standard Both panels are powered by PoE Power over Ethernet either directly from the network switch or via an external PoE source Additionally a screw lock 12VDC inlet is included on ...

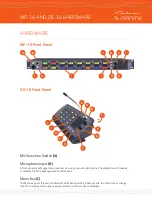
Страница 2: ... Microphone Input B A front panel socket supports an optional screw in gooseneck microphone The adjacent switch enables or disables the front panel gooseneck microphone Menu Key C The Menu Key puts the unit into Menu Mode When operating in Menu mode the Contact Keys change function to display menu options and parameters which are user adjustable ...

Страница 3: ...ol G The bottom rotary encoder provides the volume control function for the Auxiliary output on the rear panel This functions in the same manner as the Main Output Volume Control described above Home Key H The Home Key acts as an escape key and returns the unit to normal operating mode and to the 1st shift page from wherever the unit may be in the menu or shifted page structure Contact Keys J Each...

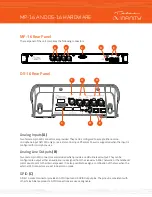
Страница 4: ...ut is configured for microphone use Analog Line Outputs B Two male 3 pin XLR connectors are included which provide a 4 dBu line level output They can be configured to output either an audio source assigned from the Livewire AES67 network or the talkback comms audio sent to the internal speaker It is also possible to assign a combination of the two when the external XLR connectors are set in dual m...

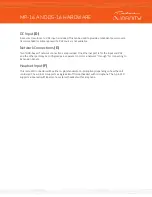
Страница 5: ...hernet port is for the input and PoE and the other port may be configured as a separate control or a network through for connecting to Expansion Panels Headset Input F This male XLR connector will be either 4 pin standard or 5 pin option depending on how the unit is ordered The 4 pin XLR supports a single earmuff mono headset with microphone The 5 pin XLR supports a dual earmuff dual mono or stere...

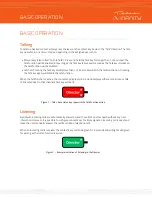
Страница 6: ...sable the talk function When the Talk function is active the contact key display turns red and displays either a talk arrow or Talk LED located next to that channel s Talk key will be lit Figure 1 Talk Auto Listen key type with the Talk Function active Listening By default incoming calls are automatically answered and the caller s audio is heard without any user interaction However it is possible ...

Страница 7: ...t The listening level for each individual contact may be adjusted in the overall mix of contacts that is listened to To adjust the listening level for an individual contact 1 Press and hold the contact key up in the listen up direction 2 Rotate the main volume encoder to the desired level while holding the contact key up in the listen direction 3 A volume indicator graphic will appear on the conta...

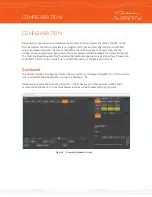
Страница 8: ...g this The most intuitive and quickest method using the Dashboard application is described here Please refer to the MP 16 DS 16 User Guide for an in depth description of the alternate methods Dashboard The easiest method of configuring Infinity Intercom systems and programming MP 16 DS 16 devices is to use the Dashboard application running on a Windows PC Dashboard automatically scans the network ...

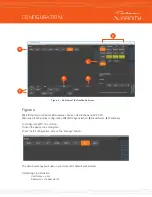
Страница 9: ... Partyline configuration D Shift Page Selection E Panel Name F Panel Keys To configure the MP 16 or DS 16 Click on the device to be configured To set the IP Configuration click on the Manage button The device s webpage will open in your computers default web browser Default login in details are User Name user Password no password CONFIGURATION ...

Страница 10: ...k for any updates that may have been made To program keys simply drag the device desired on to the appropriate Panel contact Keys in the bottom left portion of the Dashboard window Groups Partylines and IFBs can be assigned to keys as well simply by dragging and dropping them on to a key Creating Groups Partylines and IFBs is described below Panel Keys Key Allocation Panel Keys communicate to conn...

Страница 11: ...ey choose The Force Listener key is assigned to a Talker key when the use case seeks to prevent the listener from turning their key off and missing an important call Creating a Virtual Port A Virtual Port VP allows for other audio sources and destinations to be associated with a contact A couple of examples of where Virtual Ports may be used are RF microphone input via an xNode xNode output to fee...

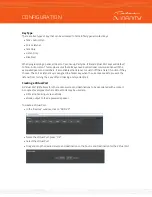
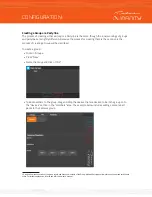
Страница 12: ...oup Click on Groups Press New Name the Group and click on OK To add members to the group drag and drop the devices that are desired to be in the group on to the devices section in the members area The example below includes adding 4 camera belt packs to the Cameras group 1 Groups allow those outside of the group to talk and listen to members of the Group whereas Partylines allow everyone to hear a...

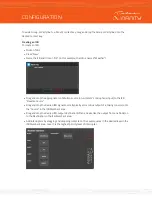
Страница 13: ...ent s microphone input to the IFB Reverse Source Drag and drop the desired IFB signal source typically a mix minus output of a mixing console on to the Source in the IFB Member s area Drag and drop the desired IFB output destination often a device like the output from an xNode on to the Destination in the IFB Member s area Add interrupters by dragging and dropping contacts on the Level squares in ...

Страница 14: ... attenuation level select the Edit in the zone where the IFB was initially created To use an adjustable dim level ensure that Dim Level is checked If unchecked the program source audio is completely muted when an interrupter is talking To add an IFB to a Panel s contact key drag and drop the IFB on to the desired contact key CONFIGURATION ...

Страница 15: ...This Page Intentionally Left Blank QUICK START INSTALLATION GUIDE ...

Страница 16: ...ION GUIDE Subscribe to DirectCurrent Weekly updates on all things broadcast via email TelosAlliance com directcurrent Social Media Facebook TelosAlliance Twitter TelosAlliance LinkedIn TelosAlliance YouTube TelosAllianceTV Google TelosAlliance Product Catalog TelosAlliance com now 24 7 Tech Support Radio 1 216 622 0247 TV 1 717 735 3611 Radio support telosalliance com TV support linearacoustic com...

Отзывы: