Chapter 7
Using the Tool Box Editor
244
Profile PRO Series
To subtract from a timecode, click inside a timecode indicator press – and the
timecode entry window appears. Enter the desired value in the form
00:00:00:00
and press Enter. The value is subtracted from the timecode. To
change the value of the timecode, click inside a timecode indicator press = and
the timecode entry window appears. Enter the desired value in the form
00:00:00:00
and press Enter. The value is changed to the desired timecode. If
an entry in the timecode entry window is out of bounds, it is ignored.
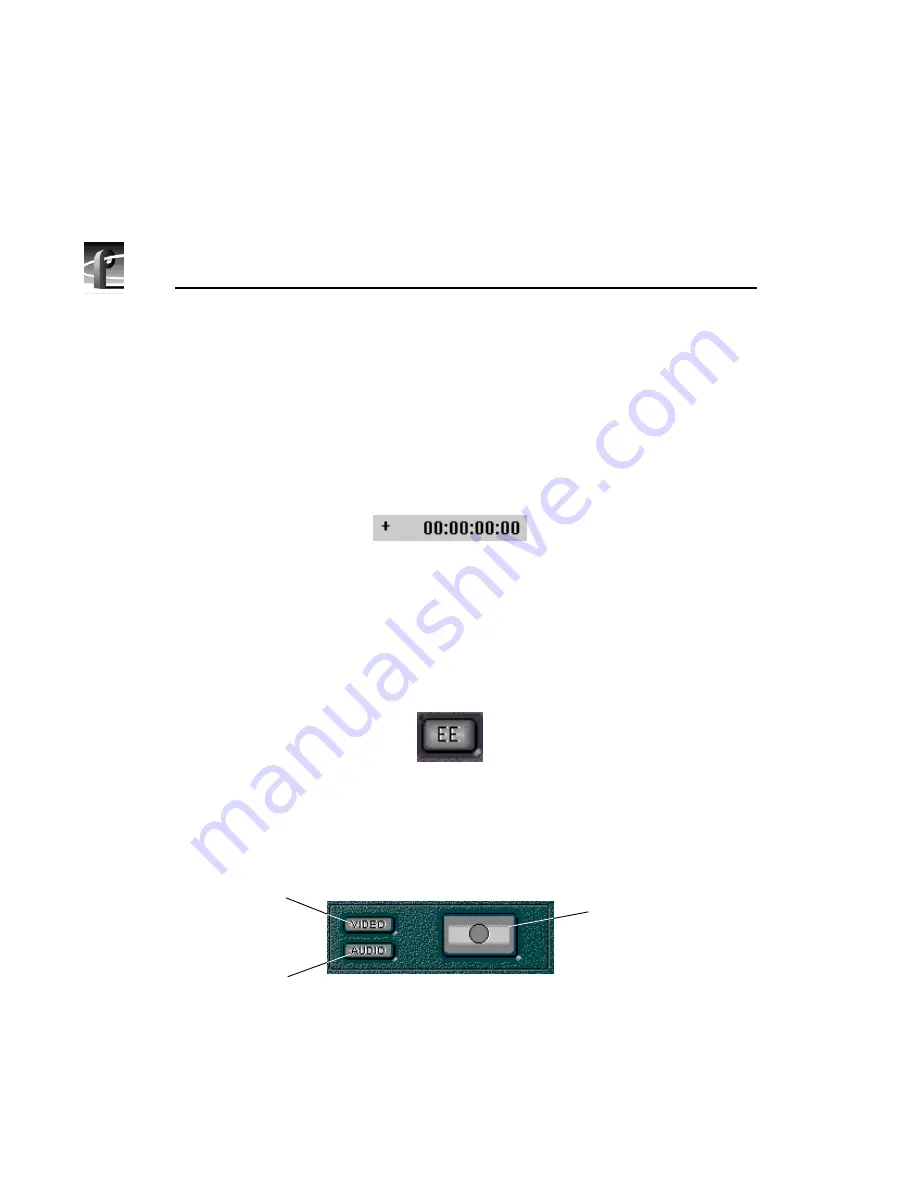
Figure 118. Timecode entry window
The
E to E
(Electronics to Electronics) button is to the right of the duration
timecode indicator. By default, E to E is off. If you click on this button, E to E
is activated. When E to E is off, the monitor shows the active timeline’s current
position. When it is on and no clips are playing or recording, the Profile
channel’s live video input bypasses the codec and is directly connected to the
outputs.
Figure 119. E to E button
Capturing a New Clip
Now you are ready to capture or record a new clip.
Figure 120. Record buttons
1. First, you need to enable video and/or audio for recording. To enable inputs
for recording, you can click on video or audio buttons. The buttons are lit
when activated.
Record Button
Video Enable Button
Audio Enable Button
Содержание Profile Pro II
Страница 18: ...Preface 18 Profile PRO Series...
Страница 34: ...Chapter 1 Introducing the Profile PRO Series 34 Profile PRO Series...
Страница 96: ...Chapter 2 Using the Profile Configuration Manager 96 Profile PRO Series...
Страница 115: ...Emptying the Recycle Bin Profile PRO Series 115 Figure 48 Recycle Bin properties dialog box...
Страница 119: ...Viewing Properties Profile PRO Series 119 Figure 51 The transcode history page...
Страница 128: ...Chapter 3 Using Media Manager 128 Profile PRO Series Figure 58 Transcode Utility dialog box Preview tab...
Страница 158: ...Chapter 4 Using VdrPanel 158 Profile PRO Series Figure 76 Profile Options dialog box...
Страница 159: ...Configuring a Controller Profile PRO Series 159 Figure 77 Profile Options dialog box BVW insert edit only...
Страница 183: ...Defining a New Clip Profile PRO Series 183 Figure 87 New Clip dialog box...
Страница 202: ...Chapter 5 Using the Profile Disk Utility 202 Profile PRO Series...
Страница 210: ...Chapter 6 Using Profile Utilities 210 Profile PRO Series Figure 106 The main Profile Protocol Resources window...
Страница 266: ...Chapter 8 Using the List Manager 266 Profile PRO Series Figure 131 A basic playback list...
Страница 299: ...Configuring Video Resources Profile PRO Series 299 Figure 148 MPEG video track settings...
Страница 300: ...Chapter 9 Using the Resource Manager 300 Profile PRO Series Figure 149 JPEG video track settings...
Страница 302: ...Chapter 9 Using the Resource Manager 302 Profile PRO Series Figure 151 JPEG codec check boxes...
Страница 304: ...Chapter 9 Using the Resource Manager 304 Profile PRO Series Figure 152 Field Frame Setup controls...
Страница 311: ...Configuring Timecode Resources Profile PRO Series 311 Figure 158 Timecode Codec check boxes...
Страница 316: ...Chapter 9 Using the Resource Manager 316 Profile PRO Series...
Страница 342: ...Chapter 10 Using TimeDelay 342 Profile PRO Series...
Страница 358: ...Glossary 358 Profile PRO Series...
Страница 370: ...Index 370 Profile PRO Series...


