PDE4L3WZ-I
Motorized 4MP IP Dome Security
Camera
Страница 1: ...PDE4L3WZ I Motorized 4MP IP Dome Security Camera...
Страница 2: ...by improper handling or installation Environment Do not aim the device at strong light to focus such as lamp light and sun light otherwise it might cause over brightness or light marks which are not t...
Страница 3: ...ned with grease or fingerprint use soft cloth to gently wipe the water drop or oil and wait till it is dry and then use oil free cotton cloth or lens cleaning paper soaked with alcohol or detergent to...
Страница 4: ...rmation 1 1 FCC conditions This device complies with part 15 of the FCC Rules Operation is subject to the following two conditions This device may not cause harmful interference This device must accep...
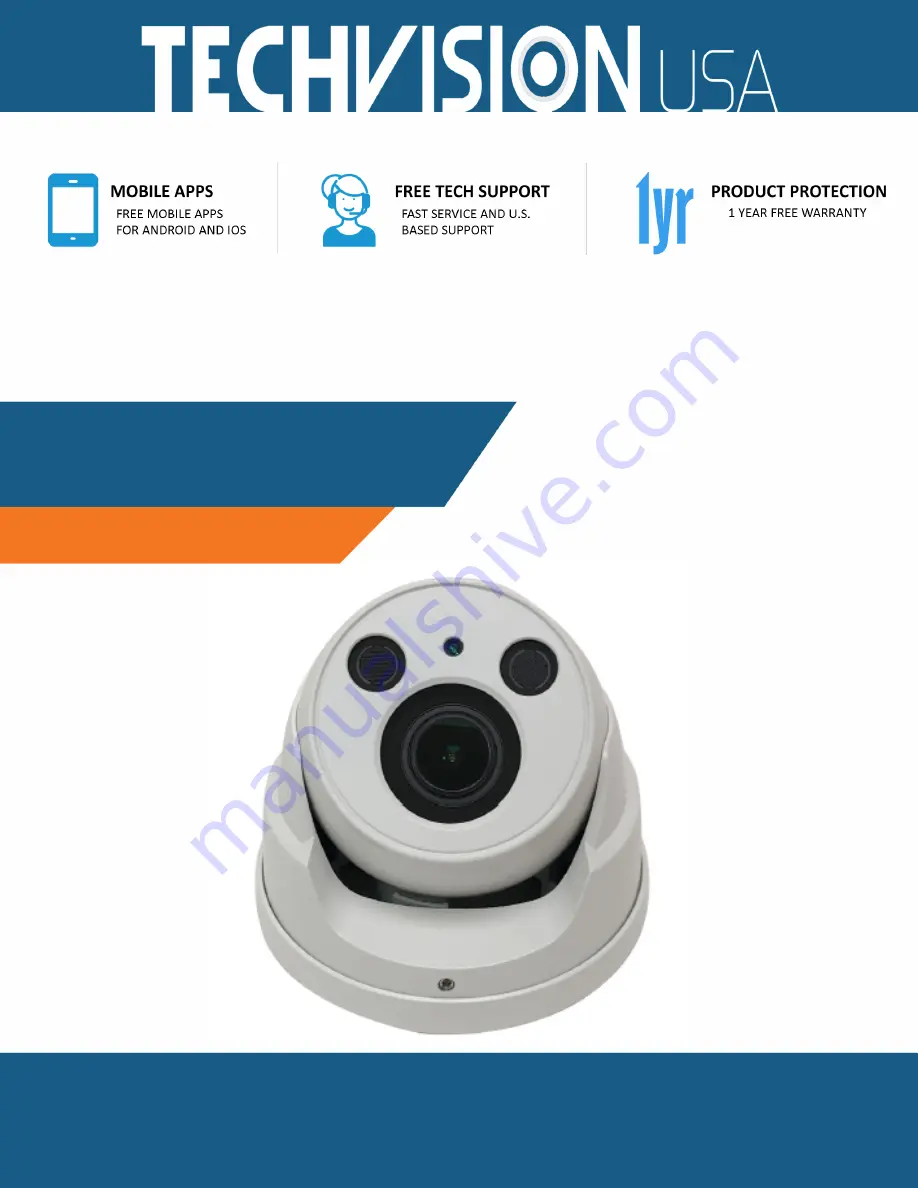
Страница 5: ...d tool Before installation please open the package and check all the components are included Contact your local retailer as soon as possible if something is broken in your package Accessory Name Amoun...
Страница 6: ...vice Structure 1 1 1 Structure Components 1 1 2 Framework and Dimension 1 2 Device Installation 3 2 1 Install SD Card 3 2 2 Fix Device 4 2 3 Connect Device Cable 6 3 Network Configuration 7 3 1 Device...
Страница 7: ...Port Name Connector Function Description 1 DC 12V Power input port Connect to DC 12V power please be sure to power the device according to the instruction of device label Caution It may cause damage t...
Страница 8: ...HD IR Network Dome Camera Quick Start Guide 2 Figure 1 2...
Страница 9: ...off the device power before installing SD card Step 1 Use cross screwdriver to remove the screw on the dome bottom take down the compression cover and take out the dome body Figure 2 1 Step 2 Use cro...
Страница 10: ...nd put the dome body back into the dome enclosure Step 5 Use cross screwdriver to tighten back screws on the dome body bottom and install the compression cover back to place 2 2Fix Device Note The ins...
Страница 11: ...and dismantle the device Note The range of the lens adjusting angle horizontal rotation direction 0 360 vertical rotation direction 0 67 image rotation direction 0 360 Step 3 It is to select whether i...
Страница 12: ...the pedestal on the mounting surface Step 5 Install the enclosure back to pedestal push the enclosure upward and use wrench to tighten locking screw firmly So far the device installation has been com...
Страница 13: ...ut crystal head through main body of waterproof connector fixing rubber ring and waterproof locking cover make the crystal head of network cable and then insert it into the network cable Step 3 Put th...
Страница 14: ...fault and the IP address of PC are in the same network segment In order to make the camera have access to network smoothly please plan available IP segment according to the actual network environment...
Страница 15: ...p 6 Click Initialization the system begins to initialize the device means initialization succeeded means initialization failed Click the icon to check more details Step 7 Click OK to complete device i...
Страница 16: ...acquire IP address from the DHCP server Step 6 Click OK to complete modification of device IP address 3 3 Login WEB Interface Step 1 Open IE browser enter the modified camera IP address into the addr...
Страница 17: ...HD IR Network Dome Camera Quick Start Guide 11 Figure 3 3...