16
Basic operation
5
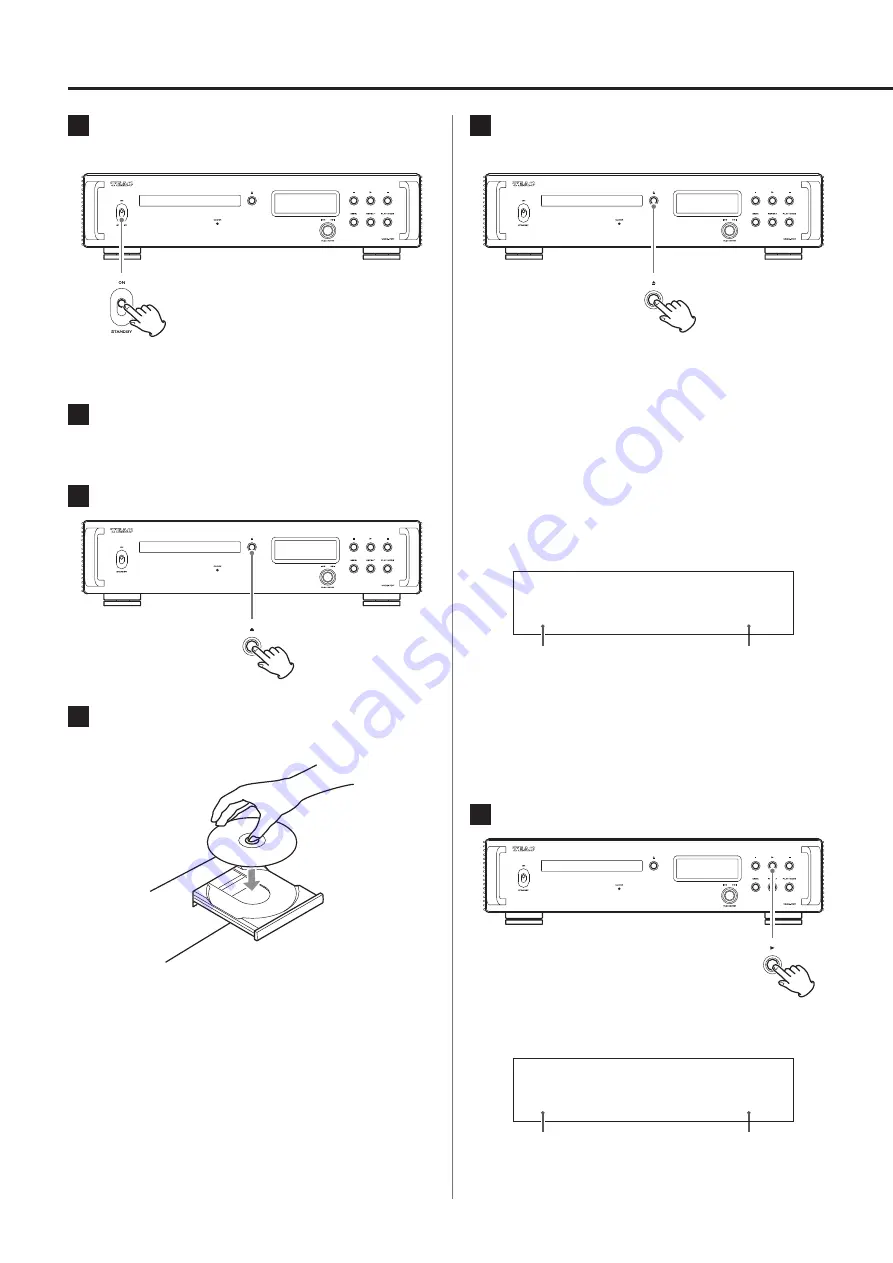
Press the tray open/close (
-
) button to close
it.
V
CAUTION
Be careful not to let your fingers be pinched when the
tray closes.
“READING” will appear on the display and the unit will start
loading the disc.
o
The unit takes some time to load the disc.
Wait until the total number of tracks and total playback time
appear on the display.
When loading completes, the display will appear as follows.
Display example
TRACK
8
22
68:25
Total number of
tracks on disc
Total playback time
(minutes: seconds)
o
When POWER ON PLAY is ON, playback will start immedi-
ately after the unit is turned on (page 22).
o
“NO DISC” appears if no disc has been loaded.
o
“No support” appears if a disc that cannot be played is
loaded.
6
Press the play (
7
) button.
Playback starts from the first track.
Display example
TRACK
7
1
0:02
Number of track
being played
Elapsed time of track
being played
(minutes: seconds)
1
Shift the STANDBY/ON switch to its ON posi-
tion to turn the unit on.
o
If a stereo amplifier is connected to this unit, always turn the
amplifier on very last.
2
Minimize the volume.
Minimize the volume on devices used to control the volume
(e.g., a stereo amplifier).
3
Press the tray open/close (
-
) button.
4
Place a disc on the tray with the labeled side
up.
o
Do not put more than one disc onto the tray at a time.
o
If the tray is closed while a disc is outside the center guides,
the disc might become stuck inside and the tray might not
open. Be sure to always place discs within the guides at the
center of the tray.
o
When the tray is opening or closing, do not force it by hand.


