9A10505400
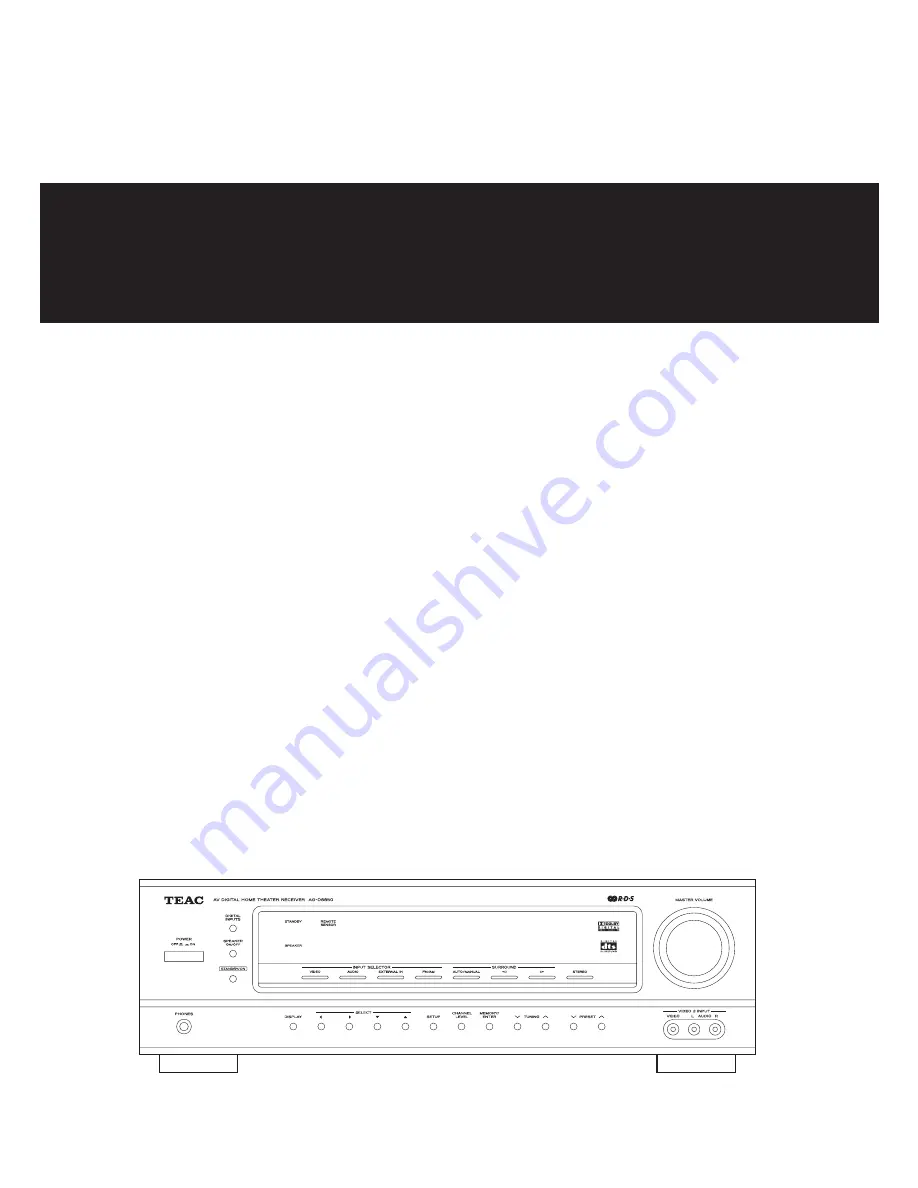
AV Digital Home Theater Receiver
OWNER’S MANUAL
Z
AG-D8850
Страница 1: ...9A10505400 AV Digital Home Theater Receiver OWNER S MANUAL Z AG D8850 ...
Страница 2: ...inal non operating power from the AC outlet with its STANDBY ON switch in the standby position The apparatus should be located close enough to the AC outlet so that you can easily grasp the power cord plug at any time An apparatus with Class construction shall be connected to an AC outlet with a protective grounding connection Batteries battery pack or batteries installed shall not be exposed to e...
Страница 3: ...urce of heat Also avoid locations subject to vibrations and excessive dust heat cold or moisture Do not place the unit on the amplifier receiver Do not open the cabinet as this might result in damage to the circuitry or electrical shock If a foreign object should get into the unit contact your dealer or service company When removing the power plug from the wall outlet always pull directly on the p...
Страница 4: ...tuner to your favorite FM station see page 24 Adjust the antenna in a suitable location like a window frame or wall until the reception is best and then affix the antenna in that position using thumb tacks push pins or any other suitable means FM Outdoor Antenna In an area where FM signals are weak it will be necessary to use an 75 ohm unbalanced type outdoor FM antenna Generally a 3 element anten...
Страница 5: ... in most areas To stand the loop antenna on a surface fix the claw to the slot in the antenna base AM Loop Antenna AM Outdoor Antenna AM Outdoor Antenna If the AM loop antenna provided does not deliver sufficient reception often due to being too far from the transmitter or in a concrete building etc it may be necessary to use an outdoor AM antenna Use either a high quality commercial AM antenna or...
Страница 6: ...CAUTION Turn off the power of all the equipment before making connections Read instructions of each component you intend to use with this unit Be sure to insert each plug securely To prevent hum and noise do not bundle the connection cords with the power cord or speaker cables DVD CD etc AC outlet DVD player or Decoder TV Monitor DVD CD etc ...
Страница 7: ...th commercially available RCA cables Make sure to connect white plug q white jack L left channel red plug q red jack R right channel EXTERNAL IN jacks If your DVD player or decoder has 6 channel analog audio outputs connect them with good quality RCA cables VIDEO jack Connect the component with a high quality RCA cable designed for video applications AC OUTLET switched Not available for Australian...
Страница 8: ...8 Example Connection to Audio Components LINE OUT L R LINE OUT LINE IN L L R R Connection CD player Cassette tape deck MD deck etc ...
Страница 9: ...9 Example Connection to Video Cassette Recorders VIDEO OUT LINE OUT L R LINE OUT LINE IN L L R R VIDEO OUT VIDEO IN VIDEO IN VIDEO 2 VIDEO 1 TV ...
Страница 10: ...much insulation may lead to a short circuit if the bared wires should come in contact with each other Twist the strands of the stripped wires tightly together Caution The metal portions of the two separate wires should not touch or an electrical short can occur Shorted wires can create a fire hazard or induce a failure in your equipment How to connect 1 Turn the terminal cap counterclockwise to lo...
Страница 11: ...n or below the TV This speaker stabilizes the sound image Rear Surround Left and Right speakers Install these speakers above the level of the listener s ears directly to the left and right or slightly behind of your listening position Subwoofer Reproduces powerful and deep bass sounds Use a subwoofer with built in amplifier referred to as a powered subwoofer Subwoofers are most effective when plac...
Страница 12: ...12 A B C E G N O L M D K I J H P Q R S U V W X T F F J I M R U C L H S T Q K B Front Panel Remote Control Unit Names of Each Control ...
Страница 13: ...he remote control unit to adjust the master volume VIDEO 3 INPUT jacks You can connect a component such as a portable CD game player etc to these jacks PRESET In the preset tuning mode use these buttons to select a preset channel O N M L K J I H G F E D C B The equipment draws nominal non operating power from the AC outlet with its POWER switch in the OFF position A TUNING In the manual tuning mod...
Страница 14: ...e these buttons to select a preset channel DIMMER Use this button to dim or turn off the display SURROUND PARAMETER Use this button to change parameters of DOLBY PRO LOGIC II MUSIC SLEEP Use this button to set sleep timer PRESET SCAN Use this button to scan preset channels MUTING Use this button to mute the sound temporarily TONE Use this button to output the test tone SEARCH MODE Use this button ...
Страница 15: ... generate infrared rays or if other remote control devices using infrared rays are used near the unit it may operate incorrectly Conversely the other products may operate incorrectly Battery Installation 1 Remove the battery compartment cover 2 Insert two AAA R03 or UM 4 dry batteries Make sure that the batteries are inserted with their positive and negative _ poles positioned correctly 3 Close th...
Страница 16: ... the EXTERNAL IN button and proceed to step When you selected VIDEO 1 or 2 or CD in step press the DIGITAL INPUTS button repeatedly to select the terminal 3 4 5 o1 Select this when the source is connected to DIGITAL IN OPTICAL terminal c1 Select this when the source is connected to DIGITAL IN COAXIAL 1 terminal c2 Select this when the source is connected to DIGITAL IN COAXIAL 2 terminal A Select t...
Страница 17: ...MASTER VOLUME knob If you want to cut off the sound from speakers press the SPEAKER ON OFF button to turn it off When the SPEAKER ON OFF button is set to OFF the multi channel sound is downmixed to 2 channel automatically CAUTION Always lower the volume level prior to plugging in your headphones TO AVOID DAMAGING YOUR HEARING Do not place your headphones on your head until after you have plugged t...
Страница 18: ...h is pressed When you set the sleep timer the display is dimmed automatically Sleep Timer The power can be switched off after a specified amount of time Press the SLEEP button repeatedly until desired time appears on the display SLEEP 10 20 30 40 50 60 70 80 90 The power will be switched off 10 20 30 40 50 60 70 80 or 90 minutes later Normal display The sleep timer is off When you set the sleep ti...
Страница 19: ...annot be recorded 2 Dubbing the audio and video signals separately While dubbing the video signal of VIDEO 2 or 3 you can replace the sound from VCR with the sound from an audio source such as CD Select the video source to be recorded using the VIDEO button or the VIDEO 2 or 3 button of the remote control unit 1 Select the audio source to be recorded CD TUNER or AUX using the AUDIO button or the c...
Страница 20: ...is set to DTS automatically The SURROUND buttons do not work When the source is PCM 2 channel stereo or when analog stereo signals are input you can select one of the following surround modes DOLBY PRO LOGIC II MOVIE DOLBY PRO LOGIC II MUSIC DOLBY PRO LOGIC MATRIX CHURCH THEATER HALL STADIUM When the SURROUND button or is pressed once the current surround mode is displayed Press the SURROUND butto...
Страница 21: ...ural limited bandwidth surround channel Pro Logic II can provide two full range surround channels DOLBY PRO LOGIC II will not work on monaural source DOLBY PRO LOGIC II MOVIE This mode is optimized for movies or Dolby Surround encoded materials This mode is also appropriate for use with video games DOLBY PRO LOGIC II MUSIC The Music mode creates a rich and enveloping surround ambience from stereo ...
Страница 22: ...atisfy these needs through the dynamic range controlling Select one of the followings to fit the individual listening situation of the audience 1 During playback of DVD press the SURROUND PARAMETER button of the remote control unit Press the STEREO button to select the stereo mode STEREO is scrolled and sound is output from front speakers and the subwoofer if connected To cancel the stereo mode se...
Страница 23: ...from 0 to 7 The default setting is 3 DIMEN dimension This adjusts the sound field either towards the front or towards the rear The adjustable range is from 3 to 3 The default setting is 0 Repeat step and to adjust other parameters When all the configurations have been finished leave the unit idle for 5 seconds to exit 3 2 You can adjust the parameters for DOLBY PRO LOGIC II MUSIC Select DOLBY PRO ...
Страница 24: ...a broadcast is correctly tuned in Select the station you want to listen to auto selection 2 Tuner Make sure the antennas have been connected see page 4 and 5 Select TUNER by pressing the FM AM button 1 Each time the FM AM button is pressed the mode is changed as follows AM FM ST FM MONO FM ST FM stereo broadcasts are received in stereo and the ST indicator lights in the display If the sound is dis...
Страница 25: ...3 As an example to select number 3 press 0 and 3 Optionally you may press just the number 3 and then wait a few seconds To select channel No 4 through 9 simply press the appropriate button 4 through 9 When using the numeric buttons the station is stored automatically without pressing the MEMORY ENTER button To store more stations repeat steps to 3 1 You can store up to 30 stations Presetting Stati...
Страница 26: ...ill be displayed PTY Program Type displays the program type If there is no PTY data NO PTY will be displayed CT Clock Time displays the information about times provided from the station If there is no time data NO TIME will be displayed RT Radio Text displays the news of stations composed of up to 64 symbols If there is no RT data NO TEXT will be displayed Clock Time CT Program Service name PS Pro...
Страница 27: ...ses its view by phone TRAVEL travel reports LEISURE programs concerning recreational activities JAZZ jazz music COUNTRY country music NATION M national music OLDIES music from the so called golden of popular music FOLK M folk music DOCUMENT documentaries TEST ALARM a program notifying an emergency or a natural disaster NONE No program type or undefined RDS search Select RDS SRCH by pressing the SE...
Страница 28: ...enus Turn on the main unit during standby 1 Press the ENTER button to confirm the entry 4 Press the SETUP button to enter the setup menu 2 SYSTEM appears on the front panel display To exit the setup menu press the SETUP button again Use the SELECT buttons 5 b g t to navigate the menus 3 When a numerical value such as speaker distance is changed the value is confirmed without pressing the ENTER but...
Страница 29: ...dB 15 15 FL dB 15 15 FL dB 15 15 C dB 15 15 C dB 15 15 C dB 15 15 FR dB 15 15 FR dB 15 15 FR dB 15 15 SR dB 15 15 SR dB 15 15 SR dB 15 15 SL dB 15 15 SL dB 15 15 SL dB 15 15 SW dB 15 15 SW dB 15 15 SW dB 15 15 DD dB 10 0 DD dB 10 0 DD dB 10 0 DTS dB 10 0 DTS dB 10 0 DTS dB 10 0 RETURN RETURN RETURN PARAMTR NIGHT M NIGHT 0 0 1 0 RETURN PLII MSC PANO ON RETURN C WIDTH 0 7 DIMEN 3 3 RETURN EXIT 0 0 O...
Страница 30: ...e adjusted to 0 dB flat level Extreme settings at high volume may damage your speakers Press the SELECT button 5 or b to select the desired input source then press the ENTER button Press the SELECT button 5 or b to select the desired item then press the SELECT button g or t to set the selected item as desired D IN DIGITAL IN You can select from OPT optical COX 1 coaxial 1 default COX 2 coaxial 2 a...
Страница 31: ...termine the proper setting Speaker distance DISTANCE You should enter the distance between the listening position and each speaker to set the delay time automatically for optimum surround playback When enjoying multi channel surround playback with Dolby Digital and DTS sources etc it is ideal that the center surround and subwoofer speakers should be the same distance from the main listening positi...
Страница 32: ...nnel levels Press the SELECT button 5 or b to select MODE then press the SELECT button g or t to select REF 1 or REF 2 The channel levels memorized into the selected preset memory are recalled NIGHT Mode Press the SELECT button 5 or b to select NIGHT M then press the ENTER button Adjust the dynamic range compression between 0 0 and 1 0 This function compresses the dynamic range of previously speci...
Страница 33: ... IN or STEREO is selected Press the TONE button 1 The test tone is emitted from each speaker in the following order at 2 second intervals If certain speakers are not being used for example no center speaker the noise sequencer will automatically skip over that channel Adjust the master volume to the normal listening level 2 Front Left Front Right Rear Right Rear Left Center Subwoofer Adjust the vo...
Страница 34: ... Low bass response e Speaker polarity is reversed Check all speakers for correct polarity Severe hum or noise is heard e Check that the speakers are connected securely e Make sure the line cords and speaker cables are as far away from the AC supply as possible The DIGITAL indicator blinks e The unit cannot perceive the digital signal see page 16 e Select the proper decoding mode by pressing the AU...
Страница 35: ... Tuning Range 87 5 MHz 108 0 MHz 50 kHz steps Total Harmonic Distortion 1 kHz Mono 0 5 Stereo 1 0 Frequency Response 30 Hz 15 kHz 3 dB Stereo Separation 1 kHz 30 dB Signal to Noise Ratio Mono 55 dB Stereo 50 dB AM Tuner Section Tuning Range 522 kHz 1 611 kHz 9 kHz steps Usable Sensitivity 500 µV m Total Harmonic Distortion 1 5 at 100 dB m Signal to Noise Ratio 40 dB at 100 dB m General Power Requi...
Страница 36: ... TEAC CANADA LTD 5939 Wallace Street Mississauga Ontario L4Z 1Z8 Canada Phone 905 890 8008 TEAC MEXICO S A De C V Campesinos N 184 Colonia Granjas Esmeralda Delegacion Iztapalapa CP 09810 México DF Phone 525 581 5500 TEAC UK LIMITED Unit 19 20 The Courtyards Hatters Lane Watford Hertfordshire WD18 8TE U K Phone 0845 130 2511 TEAC EUROPE GmbH Bahnstrasse 12 65205 Wiesbaden Erbenheim Germany Phone 0...