


45
This user is now configured to use the lift reader.
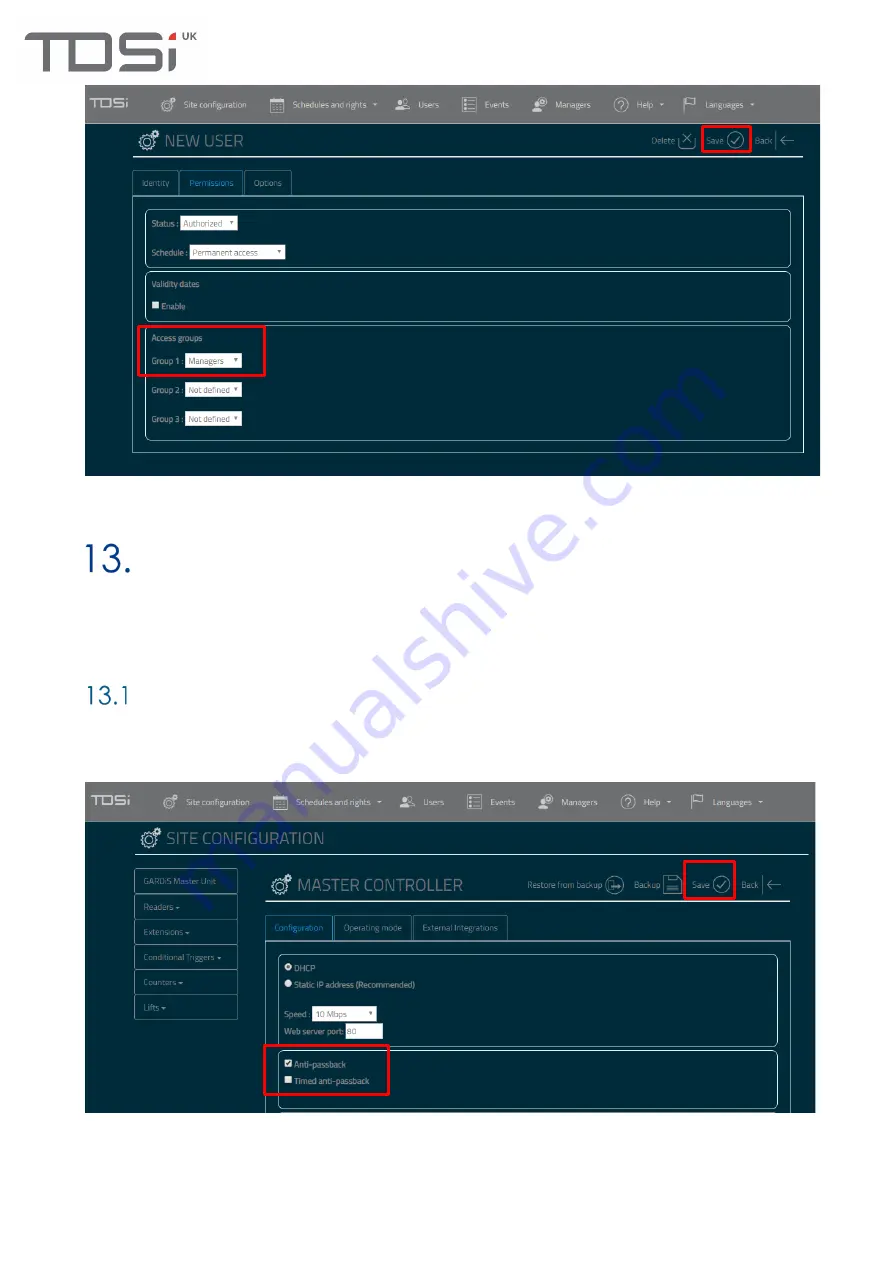
Anti-passback
There a number of anti-passback options available, true anti-passback and timed anti-passback. It is
also possible to update the anti-passback value when the person opens the door, not when only
present the card to the reader. This requires the setting of the door sense property within Door
properties.
True Anti-passback
Step 1
Enable anti-passback on the unit.
Click
Site configuration
from the top menu, then
click
GARDiS Master Unit
from the left hand menu.
Tick
Anti-passback
checkbox.
Click Save
.
Step 2 Configure the readers for anti-passback
Click Readers
and
select the required reader
from the menu. In the
Configuration tab
navigate to the
Anti-passback section. Select the required option for the reader. The options available are:
Disabled
(default): Not enforcing anti-passback
Entry
: Set reader as entry reader
Содержание GARDiS Series
Страница 1: ...GARDiS Controller Embedded Web Server User Manual UM0121 Issue 3...
Страница 4: ...Timed Anti passback 46 Troubleshooting 47 Restoring from backup 47...
Страница 8: ...8 Step 3 Click GARDiS Master Unit from menu Step 4 Enter the required IP settings Step 5 Click Save...
Страница 14: ...14 Step 14 Enter details for the new user i e last name...
Страница 19: ...19 Once selected click open This will initiate the restore process A message box will display once completed...
Страница 25: ...25...
Страница 30: ...30 This will set the selected schedule within the dropdown...
Страница 34: ...34 Step 1 Step 2 Step 3 Step 4...
Страница 49: ...49 Because everyone deserves peace of mind...


