OPERATING PROCEDURES
6-7
Model C723
Operating Procedures
6
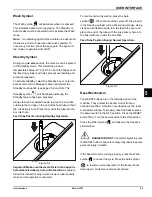
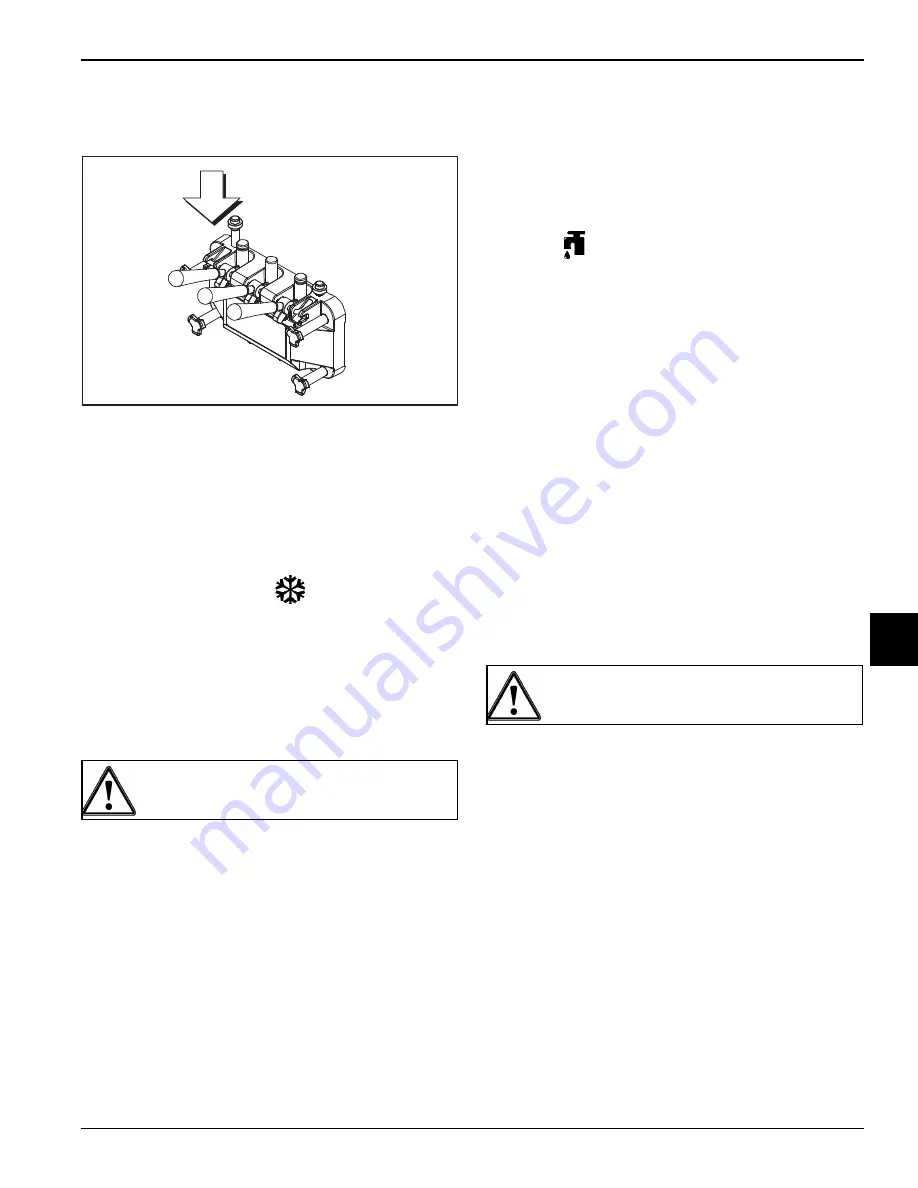
3. Once a steady stream of mix starts to flow from the
prime plug opening in the bottom of the freezer door,
push the prime plug down.
Figure 6-25
Note:
Make sure your hands are clean and sanitized
before proceeding to the next step.
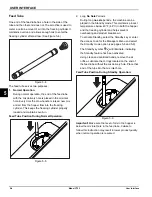
4. When mix stops bubbling down into the freezing
cylinder, install the end of the feed tube with the hole
in it
into the mix inlet hole in the mix hopper. Make
sure the air orifice is installed in the feed tube.
5. Select the AUTO symbol
.
6. Fill the hopper with fresh mix and place the mix
hopper cover in position.
7. Repeat these steps for the other side of the machine.
Closing Procedure
These procedures must be performed daily.
To disassemble the Model C723, the following items will
be needed:
•
Two cleaning and sanitizing pails
•
Sanitizer/cleaner
•
Cleaning brushes (provided with freezer)
•
Single-service towels
Draining Product From the Freezing
Cylinder
1. Remove the hopper cover, feed tube, and agitator
(factory-equipped agitator machines, only). Take
them to the sink for cleaning.
2. With a pail beneath the door spouts, press the Wash
symbol
and open the draw valve.
3.
If local health codes permit the use of rerun,
place
a sanitized, NSF-approved stainless-steel rerun
container beneath the door spout. Press the Wash
key and open the draw valve. Drain the remaining
product from the freezing cylinder and mix hopper.
When the flow of product stops, press the Wash key
and close the draw valve. Place the sanitized lid on
the rerun container and place it in the walk-in cooler.
Important!
The bacteria cycle must be broken every
7 days. On a designated day of the week, run the mix
as low as feasible and discard it after closing. This
will break the rerun cycle and reduce the possibility of
high bacteria and coliform counts.
Note:
If local health codes
do not
permit the use of
rerun, the product must be discarded. Follow the
instructions in the previous step, with one exception.
Drain the product into a pail and properly discard the
mix.
4. Repeat these steps for the other side of the machine.
101429
ALWAYS FOLLOW LOCAL HEALTH CODES.
ALWAYS FOLLOW LOCAL HEALTH CODES.
Содержание C723
Страница 14: ...3 4 SAFETY Model C723 Safety 3 Notes ...
Страница 42: ...6 10 OPERATING PROCEDURES Model C723 Operating Procedures 6 Notes ...
Страница 48: ...9 2 PARTS REPLACEMENT SCHEDULE Model C723 Parts Replacement Schedule 9 Notes ...
Страница 52: ...10 4 LIMITED WARRANTY ON EQUIPMENT Model C723 Limited Warranty on Equipment 10 Notes ...
Страница 56: ...11 4 LIMITED WARRANTY ON PARTS Model C723 Limited Warranty on Parts 11 Notes ...

