User Guide
Portable Document Camera
www.tamtus.co.kr
UVC-500AF
The information and specifications herein are subject to change without prior notice.
Страница 1: ...User Guide Portable Document Camera www tamtus co kr UVC 500AF The information and specifications herein are subject to change without prior notice...
Страница 2: ...ion 6 3 Hardware Installation 9 4 Precautions for Installation 10 III_Using MagicView UVC 11 1 Getting Started 11 2 Using Real time Mode 19 3 Using Teaching Mode 22 IV_Software Features 24 1 Name of E...
Страница 3: ...ed USB 2 0 Minimum Specifications Pentium IV 1 8 GHz 256MB RAM 10GB HDD or higher Operating Systems Windows XP Windows Vista Windows 7 Software Supplied MagicView software viewer capture video record...
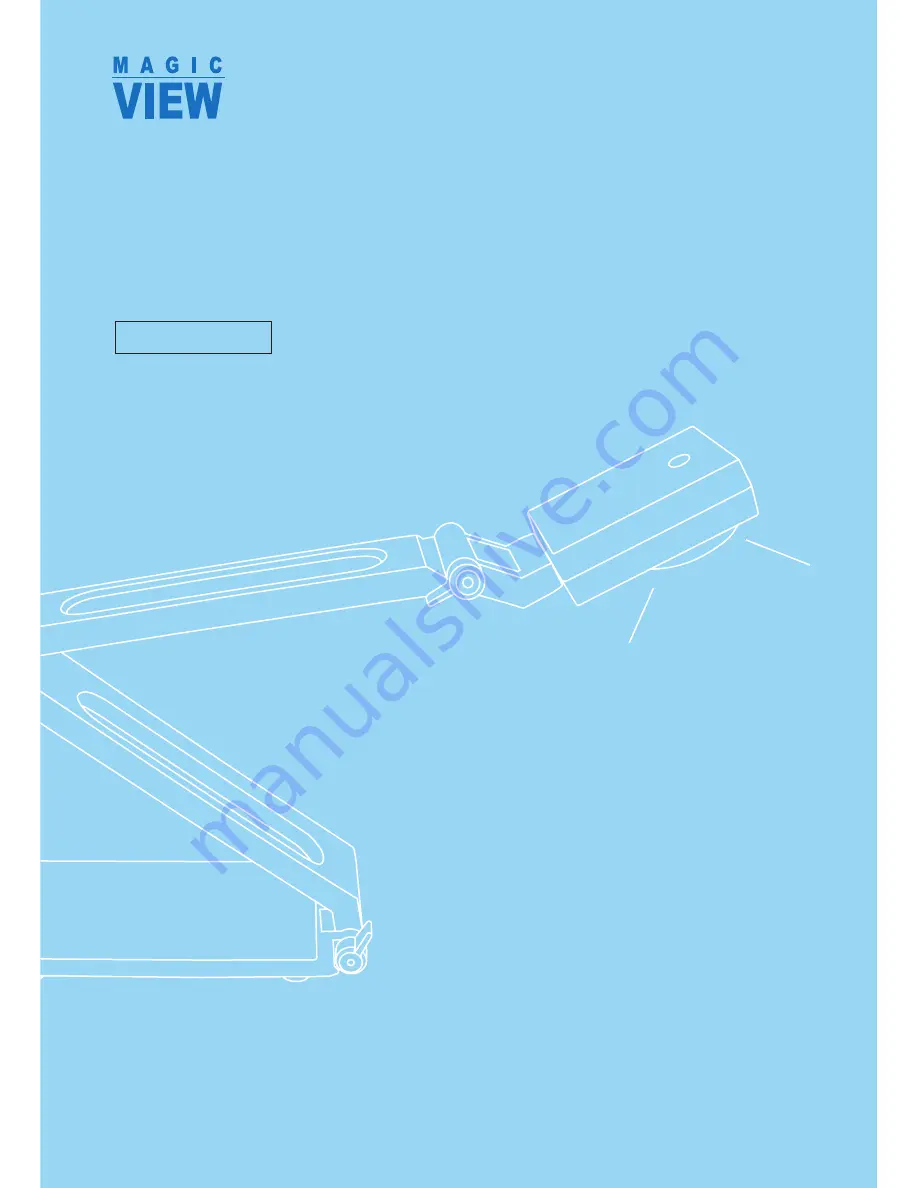
Страница 4: ...Set up CD Aluminum Carrying Case 3 Using Hardware 1 How to use the arm By using the rotary head and 3 axis articulated arm of MagicView UVC as shown in this picture the height and angle can be easily...
Страница 5: ...veniently used on a computer monitor or an interactive whiteboard in the classroom 3 How to use the carrying case The aluminum case which comes with MagicView document camera can protect from damage t...
Страница 6: ...tically when connecting the MagicView UVC camera to a PC s USB port There is no need to install any special drivers Install the MagicView UVC program Install Motion JPEG Codec Execute the MagicView UV...
Страница 7: ...ree Choose a folder to install the software in an Install to continue the installation Do not connect the MagicView UVC 500 to the PC before driver and program are installed Otherwise there may be no...
Страница 8: ...re installation process is complete click Finish 2 MJPEG Codec installation Click MJPEG Codec Setup Click OK Click Next MagicView UVC 500AF Setup MJPEG Codec Setup Exit Choose I accept the terms of th...
Страница 9: ...MagicView UVC 500 v1 03 User Guide 9 Click Next Click Next Click Install Click Finish to complete the installation Choose No I want to evaluate the product and click Next II_Installation...
Страница 10: ...nt or the rear of your PC 2 There is no need to install any special drivers to use MagicView UVC 500 After connecting the USB cable of MagicView UVC 500 to a PC s USB port wait a few seconds a message...
Страница 11: ...Wizard is required to install the driver the operation of which can be run either manually or automatically For Windows Vista and Windows 7 they recognize the USB automatically Connecting the device T...
Страница 12: ...computer for the first time you need to wait a while for the hardware to be installed correctly Double click the MagicView UVC icon on the desktop or on the startup programs menu 2 Set default config...
Страница 13: ...ce processing speeds are too slow for convenient use in which case the resolution should be lowered by a notch to obtain sharper detail Recording Resolution The resolution to be used in image recordin...
Страница 14: ...oo Path for Teaching Mode The folder is storing images in Teaching Mode You can call up images from Annotation Mode or can save images including annotations you have made on them Image Save Format The...
Страница 15: ...on the taskbar To restore it select the MagicView UVC program on the task bar Minimizing the menu panel Click Minimize into icon at the bottom of the menu panel and the menu panel is turned into an ic...
Страница 16: ...played in real time Teaching Mode You can annotated directly over the image displayed and save it including your annotations for later use Changing to Teaching Mode Click Teaching Mode in Real time Mo...
Страница 17: ...display by moving the selection box with the mouse Enlarging Reducing rate displays the rate of image enlarging and reducing You can use the mouse wheel or the button Camera resolution displays the cu...
Страница 18: ...place the MagicView UVC camera on the aluminum case The strong magnet on the top of the case allows the MagicView UVC camera to be fixed Adjusting focus Automatic focus MagicView UVC 500 features aut...
Страница 19: ...80 horizontal images is recommended Determination of a basic rotation at the Configuration will save you the inconvenience of setting rotational angles at each use Illumination Click LED Off to turn o...
Страница 20: ...ing the entire image in jpg image file Click Capture in the menu panel to save the entire images displayed in the navigation window Saving Location Format Click Custom Setting to set or change a save...
Страница 21: ...part to save the selected part If you want to copy the selected part to clipboard click Copy in the submenu Paste it into editable formats including Microsoft Office files such as XLS DOC and PPT 3 Sa...
Страница 22: ...click Select Area to select the part of the image you want to save and then click Save to save the selected part Save Location You can change the save location in Path for Teaching Mode under Custom S...
Страница 23: ...d images as teaching materials 1 Execute the Teaching Mode Switching to Teaching Mode from Real time Mode First set the preferred image size in Real time mode by using Enlarge Reduce feature Click Tea...
Страница 24: ...e Double click the image 2 Annotating in the Teaching Mode To annotate click Annotation and move the mouse cursor with the right mouse button held down To move the background click Move and move the m...
Страница 25: ...set in the Custom Settings menu Autofocus LED Off Image Rotate Negative Image Enlarge Reduce Comparative Screen Area Select Email Picasa Image Edit Teaching Mode Minimize into Icon Custom Setting Mini...
Страница 26: ...o the captured image Image Open Enlarge Reduce Exit Comparative Screen Submenu Continuous Capture Submenu Record Play Stop Exit Video Record Submenu Save Copy Crop Exit Area Select Submenu Teaching Mo...
Страница 27: ...r the program to recognize the MagicView UVC camera Drive Select If multiple camera drivers are installed you need to select the MagicView UVC camera driver The driver name may appear differently depe...
Страница 28: ...roma adjusts the chroma of an image The further the bar goes to right the darker the colors Clarity adjusts the clarity of an image The further the bar moves to right the higher its clarity but the co...
Страница 29: ...es the resolution displayed Real time in the Camera Mode When it is set too high images may not be displayed on a low performance computer Reduce the resolution to a lower output until images become v...
Страница 30: ...here a frequently used presenter is situated Path for Captured This function determines the path for the storage of teaching files to be used in the Teaching Mode You can open and save files in this M...
Страница 31: ...ormat To choose a file format to use for saving images or videos captured in Real time mode Menu Window Size To set the menu window size It is recommended to choose Enlarge if the resolution is no hig...
Страница 32: ...ntly running Navigation The Navigation displays the whole image being projected at once As shown in the picture below the white rectangular box indicates the area of the projected image which is curre...
Страница 33: ...era settings You can easily adjust the brightness and contrast of the projected image in the menu panel You can also adjust the image quality of MagicView at Custom Setting Adjust the brightness of th...
Страница 34: ...ce versa Capture You can capture the projected image and automatically save in a selected folder Continuous Capture You can shoot time lapse You can set time interval and the number of pictures to be...
Страница 35: ...a canvas 1 Click and drag the cut image to where you want to place it 2 Resize the cut image by clicking and dragging ay of the 4 corner points of the image 3 Double click the image to fix it and make...
Страница 36: ...played Shape Draws shapes such as a straight line rectangle color filled rectangle In the submenu you can choose a shape Erase Removes annotations you have made on the image General Eraser Erases mous...
Страница 37: ...ops the selected area and paste onto a canvas 1 Click and drag the cut image to where you want to place it 2 Resize the cut image by clicking and dragging ay of the 4 corner points of the image 3 Doub...
Страница 38: ...mera 2 What to do if the Digital Presenter screen does not appear while you shoot video or you get an error message saying Error 80040154 What to do if you cannot initialize Video Mixing Renderer9 or...
Страница 39: ...nimum or update the graphics card Precautions Here are some care tips for when using this product Use a clean soft cloth to remove any dust from around the body of your camera Do not use a cloth that...
Страница 40: ...Tamtus co Ltd Tel 82 32 328 0244 Fax 82 32 328 0242 Web www tamtus co kr...