


SwyxPhone L64 Configuration
Lines
116
12.5
Lines
The least number of lines is always two, even if you have only one or no
configured Line buttons; i. e. you can recieve at least two incoming calls.
To increase the number of lines, you must add Line buttons. You can
configure up to a total of nine lines (line keys) for SwyxPhone.
To add a Line button, you must configure a configurable function key as
a Line button (see
This is how you configure a function key
Configuration of the Individual Line Buttons
calls”, you can specify the telephone number to be used for making out-
going calls from this line.
Examples:
Incoming call (you are being called):
You have assigned the extension number 100 to Line 1 and the extension
number 101 to Line 2. Now, if a subscriber dials the number 101, you
will receive the call on Line 2.
Outgoing call (you are calling someone):
You have assigned the extension number 101 to Line 2. If you now call a
subscriber using Line 2, extension 101 will be used. The subscriber you
have called will see on his display that he is being called by a subscriber
with the number 101.
For each configured Line, you can define whether this line should be
blocked for specific period of time after an incoming call is received.
(see Chapter 12.6,
Disabling Lines (Wrap-up Time)
Due to the fact that both SwyxPhone and SwyxIt! access the same user
settings, any changes you make on SwyxPhone will always effect the set-
tings in SwyxIt! and vice versa. Above all, you should keep in mind that if
you delete lines or Speed Dials, the data will be lost!
12.5.1 Configure Line buttons
Every configurable function key can be set with the "Line key" function
This is how you configure a function key
This is how you configure a Line button
1.
Select “Main menu" with the arrow buttons, and press the "OK"
button.
2.
Choose "Configuration" and press the "OK" button.
The Settings menu will appear.
3.
Select "Lines".
4.
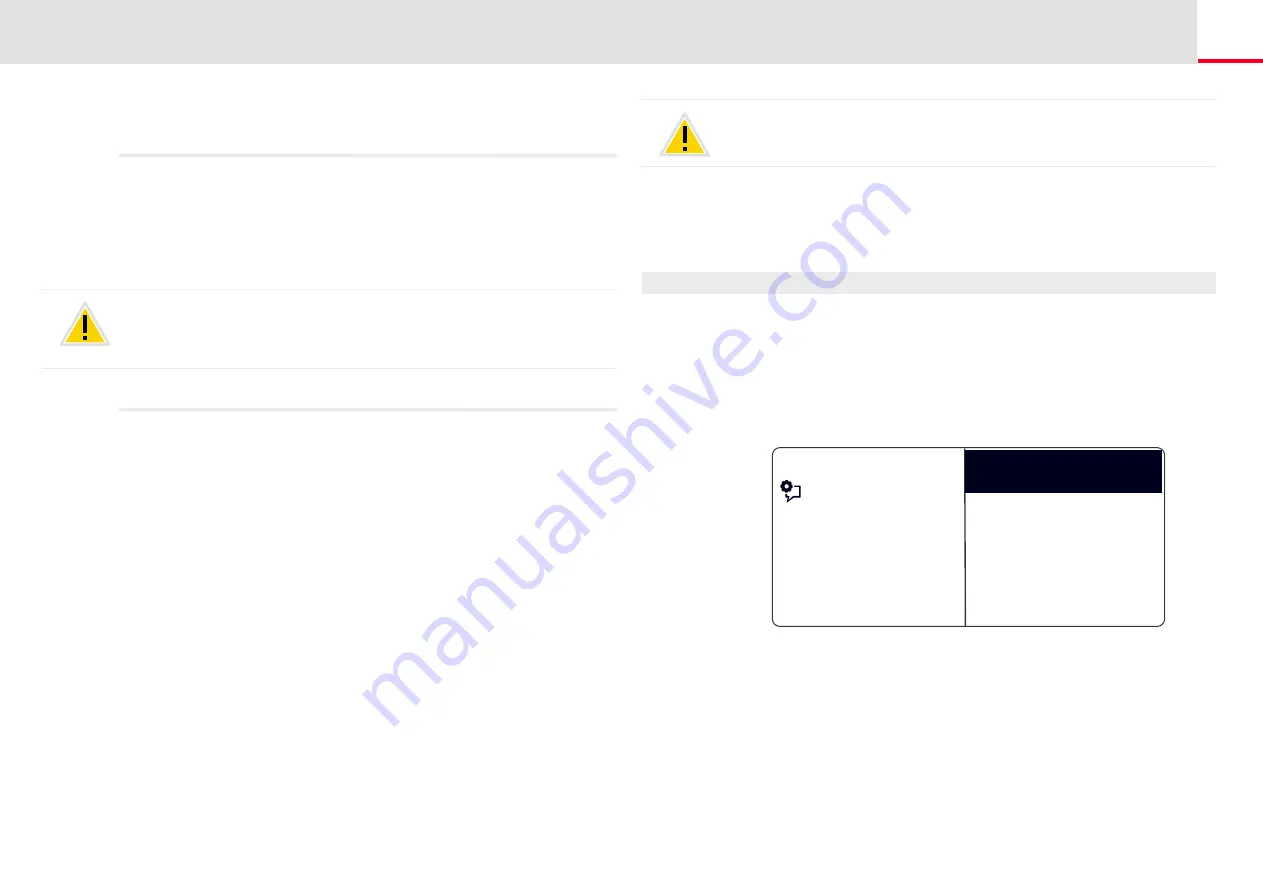
Select the line you want to configure, and press OK
Feature dialogue
Line 02
Lines (amount: 02)
Line 01
Back


