background image

Page32of50

IAM02 Time Clock User Manual

Version 1.00

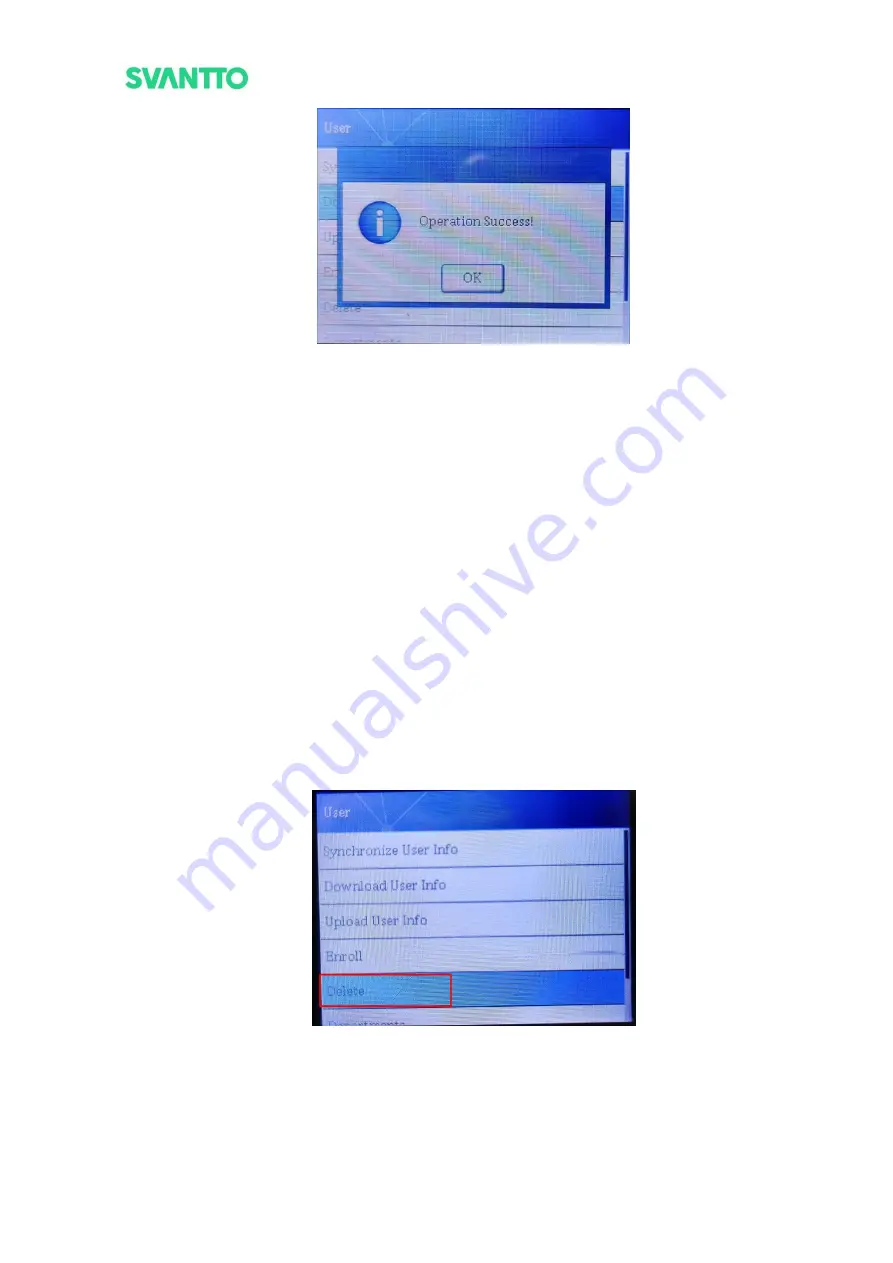
Figure 4- 6 Operation Success

4.1.4.Enroll

Add and modify user information.

Note:

If the user level is set to administrator or manager when pressing the menu key, "Verify Manager…" will

be prompted. At this time, you need to enter the fingerprint of the administrator or manager/ press [0] key, input

the User ID and password of the administrator or manager/ use the ID card of the administrator or manager.

4.1.4.1. Add User

Please refer to section 3.2.1 for detailed usage off.

4.1.4.2. Modify user information

Enter [Enroll] interface, input [User ID], you can modify the user's [Department], [Name], [Level], [Fingerprint],

[Card], [Password].

Note:

You can switch numbers, letters, and symbols by pressing the power key.

4.1.5.Delete

Delete user information

1) Enter the user interface, select [Delete], and press the [OK] key.

Figure 4- 7 Delete

2) Input the [User ID] and select [OK].

Содержание IAM02

Страница 1: ...User Manual IAM02 Time Clock 1 10...

Страница 2: ...ctures Modify the USB Flash Drive Expression Modify Overview Image Modify Display Interface Image Add Video Links Correct the Wrong Words 1 01 2022 3 25 Chuy Modify Display Interface Image Modify Gram...

Страница 3: ...the computer 25 3 5 Attendance Punch 27 3 5 1 Punch by Fingerprint 27 3 5 2 Punch by ID Card 27 3 5 3 Punch by Password 27 3 6 Download the Attendance Report 28 4 0 Menu Setting 30 4 1 User 30 4 1 1 S...

Страница 4: ...ment 43 4 5 1 View Time Log 43 4 5 2 Management Log Warning 45 4 5 3 Time Log Warning 45 4 5 4 Clear All Log 45 4 5 5 Management Log Download 46 4 5 6 Download Time Log txt 46 4 5 7 Download Managemen...

Страница 5: ...tors such as recognition and speed of the product are at the leading level in the industry Fully meet your safe and efficient work requirements All pictures shown are for illustration purposes only Ac...

Страница 6: ...n the input box Press the 1 key to switch the TR schedule to AM In Press the 2 key to switch the TR schedule to AM Out Press the 3 key to switch the TR schedule to PM In Press the 4 key to switch the...

Страница 7: ...tch numbers letters and symbols 5 0 key 1 Input 0 in the input box 2 Enter spaces in the input box 3 Pressthe 0 key in the main interface to clock in the password 6 OK Key 1 Confirm that the option is...

Страница 8: ...ching Remove the two screws at the bottom of the attendance machine and the wall panel at the back of the attendance machine 3 Fixing the wall panel Put the expansion screw into the hole place the wal...

Страница 9: ...chine Charge 3 2 Set User Information There are two settings and you can choose either one 3 2 1 Set User Information on the Machine 1 Press the MENU key to enter the menu interface 1 Press the Down k...

Страница 10: ...Set the user ID in the order of 1 2 3 Figure 3 4 Set User ID 4 Select the Depart select the user department Figure 3 5 Select Depart 5 Select Name press the OK key to enter the name setting interface...

Страница 11: ...Administrator Figure 3 8 Set User Level Note If the user level is set to administrator or manager when pressing the menu key Verify Manager will be prompted At this time you need to enter the fingerpr...

Страница 12: ...added Note If the ID number you entered is not available you may have missed some settings please re operate from step 1 a Choose Fingerprint Select the Fingerprint press the OK key enter the fingerp...

Страница 13: ...ss the OK key to enter the card recording interface put the user s ID card into the card recording area display the card number in the card recording interface and select OK Note You must use an ID ca...

Страница 14: ...ct OK Note You can switch numbers letters and symbols by pressing the power key Figure 3 16 Choose Password Figure 3 17 Input Password Demo video https bit ly IAM02enroll 3 2 2 Set User Information on...

Страница 15: ...conds and the screen displays Operation Success And the user information table template is successfully downloaded Figure 3 19 Download User Info Figure 3 20 Operation Success 4 Insert the USB flash d...

Страница 16: ...er information Please fill in the for the FP Card Pwd option which can only be set by the user on the machine Figure 3 21 User Information Table Figure 3 22 User Information Table 5 Unplug the USB fla...

Страница 17: ...the Machine 1 Press the MEUN key to enter the menu interface 2 Press the Down key to select the Attendance Settings press the OK key to confirm to enter the attendance setting interface Figure 3 25 A...

Страница 18: ...1 Plug the USB flash drive into the attendance machine Figure 3 28 Plug the USB Flash Drive 2 Press the Down key to select the Attendance Settings press the OK key to confirm to enter the shift time i...

Страница 19: ...rotect Sheet input the password g4gIOA2i or 7b5b3b1b3b1b3 click OK and then start editing the form click Save after editing Note a Shift Time Zone Set shift time you can set a maximum of 24 shift time...

Страница 20: ...ce Table 4 Unplug the USB flash drive from the computer plug it into the attendance machine again select AttendSetting Upload wait for 10 seconds and the screen shows Operation Success and the shift t...

Страница 21: ...terface 2 Press the Down key to select the Shift Settings press the OK key to confirm to enter the shift setting interface Figure 3 35 Shift Settings 3 Select Per Person Per Dept at Shift Arrangement...

Страница 22: ...rangement 4 Set the shift a Select Per Person Select User Shift press the OK key to enter the User Shift interface input the User ID select OK and set the shift Note The numeric shift is the shift tim...

Страница 23: ...er Dept Select Dept Shift press the OK key to enter the User Shift interface enter the Depart No select OK and set the shift Note The numeric shift is the shift time zone you set in Section 3 3 You ca...

Страница 24: ...Page24of50 IAM02 Time Clock User Manual Version 1 00 Figure 3 43 Department Figure 3 44 Dept Shift Figure 3 45 Shift Time Zone Demo video https bit ly IAM02S...

Страница 25: ...terface Select the ShiftSettingTable Download press the OK key wait for 10 seconds the screen displays Operation Success And the attendance table template is successfully downloaded Figure 3 47 ShiftS...

Страница 26: ...USB flash drive from the computer plug it into the attendance machine again select ShiftSettingTable Upload wait for 10 seconds and the screen displays Operation Success And the shift time informatio...

Страница 27: ...nted 3 Please wipe your finger with a wet paper towel before taking fingerprints Figure 3 52 Use Fingerprint 3 5 2 Punch by ID Card Put the ID card in the ID card detection area the screen displays th...

Страница 28: ...IAM02 Time Clock User Manual Version 1 00 Figure 3 54 Use Password Figure 3 55 Input User ID Figure 3 56 Input Password 3 6 Download the Attendance Report 1 Plug the USB flash drive into the attendan...

Страница 29: ...00 Figure 3 57 Plug the USB Flash Drive 2 Press the MEUN key to enter the menu interface 3 Select the Report press OK to confirm to enter the shift time interface Figure 3 58 Report 4 Select the repor...

Страница 30: ...o section 3 2 2 step 5 4 1 2 Download User Information Please refer to section 3 2 2 step 3 4 1 3 Upload User Information Import the data of the old attendance machine into the new attendance machine...

Страница 31: ...USB flash drive into the new attendance machine Press the Down key to select the User press the OK key to confirm to enter the user interface Select the Upload User Info press the OK key wait for 10 s...

Страница 32: ...he User ID and password of the administrator or manager use the ID card of the administrator or manager 4 1 4 1 Add User Please refer to section 3 2 1 for detailed usage off 4 1 4 2 Modify user inform...

Страница 33: ...lete this user please select Delete All Figure 4 9 Fingerprint 4 1 6 Departments You can enter this interface to modify the department name The department name of the department user will be modified...

Страница 34: ...he power key Figure 4 11 Departments Figure 4 12 Departments 4 1 7 View User List You can view the user information of a particular user 1 Enter the user interface select View User List and press the...

Страница 35: ...2 Attendance Settings 4 2 1 AttendSetting Upload Please refer to section 3 3 2 step 4 4 2 2 AttendSetting Download Please refer to section 3 3 2 step 2 4 2 3 Shift Time Zone Please refer to section 3...

Страница 36: ...gs interface select TR Schedule and press the OK key Figure 4 17 TR Schedule 2 Select the option you want to modify and press OK key Figure 4 18 TR Schedule 3 Select the status mode you want to modify...

Страница 37: ...punch combinations Choose FP CD PWD You can choose to clock in by fingerprint ID card or password Choose CD FP You must use both the ID card and fingerprint to clock in Choose FP PWD You must use bot...

Страница 38: ...me the attendance machine will ring at the set time 1 Enter the attendsettings interface select Bell Time and press the OK key Figure 4 22 Bell Time 2 Select the option you want to modify and press th...

Страница 39: ...Morning Early Tolerance Set a time when you can clock out early in the morning If the early time is set to 3 minutes the time of attendance is 12 00 and the user clocks in after 11 57 including 11 57...

Страница 40: ...00 Figure 4 26 Attendance Rules Figure 4 27 Attendance Rules 4 3 Shift Settings Please refer to section 3 4 4 4 Setting 4 4 1 Device ID Enter the setting interface select Device ID and press the OK ke...

Страница 41: ...e volume level 0 10 Figure 4 29 Volume 4 4 3 Calibrate Sensor When there is a problem with fingerprint recognition please choose to calibrate the sensor to restore Figure 4 30 Calibration Sensor 4 4 4...

Страница 42: ...hine If you set the time to 10 00 00 the machine will automatically shut down at 10 00 in the morning Power Off After Set the machine to automatically shut down after N minutes Lock Power Key Turn on...

Страница 43: ...8 Backup All Data Use by SVANTTO engineer only 4 4 9 Restore All Data Use by SVANTTO engineer only 4 5 Log Management 4 5 1 View Time Log Check the clock in information of users 1 Enter the log manag...

Страница 44: ...Page44of50 IAM02 Time Clock User Manual Version 1 00 Figure 4 36 User ID 3 Select Date click Search Figure 4 37 Date 4 Display user clock in information Figure 4 38 Clock in Information...

Страница 45: ...gure 4 39 Management Log Warning 4 5 3 Time Log Warning To prevent the machine memory from being occupied you can set the attendance time After the attendance times recorded by the machine reach the s...

Страница 46: ...gement Log Download Press OK key and wait about 10 seconds for the download to complete Figure 4 42 Management Log Download 4 5 6 Download Time Log txt Download punch in record data Plug the USB flash...

Страница 47: ...ey and wait about 10 seconds for the download to complete and use the computer to open it in txt format Figure 4 44 Download Management Log txt 4 6 System Info 4 6 1 Enroll Info Enter the system info...

Страница 48: ...Page48of50 IAM02 Time Clock User Manual Version 1 00 Figure 4 46 Device Info 4 6 3 Test To test the machine function please use it under the guidance of the SVANTTO technical engineer Figure 4 47 Test...

Страница 49: ...CPU CPU 32 bit ARM9 RISC CPU ID card reading module 125K Hz ID card reading supported LCD 2 4 TFT LCD LED 2 Red Green Keyboard 16 Keys With backlight Communication interface USB flash drive Power Sup...

Страница 50: ...provides 18 months warranty and lifetime free service If you encounter any issues with the product please contact the SVANTTO team to promptly receive troubleshooting tips or a replacement Email supp...

Отзывы: