


Objet260 User Guide
6 Operating and Maintaining the Objet260 3D Printer
DOC-37004 Rev. E
6-42
13. Continue as follows:
❒
To make the alignment changes in the printer, make sure that
Update
system with new parameters
is selected, and click
Next
.
❒
To recheck the alignment test results before making the alignment
changes in the printer, click
Previous
.
❒
If you do not want to make alignment changes in the printer at this
time, select
Keep previous parameters
and click
Next
.
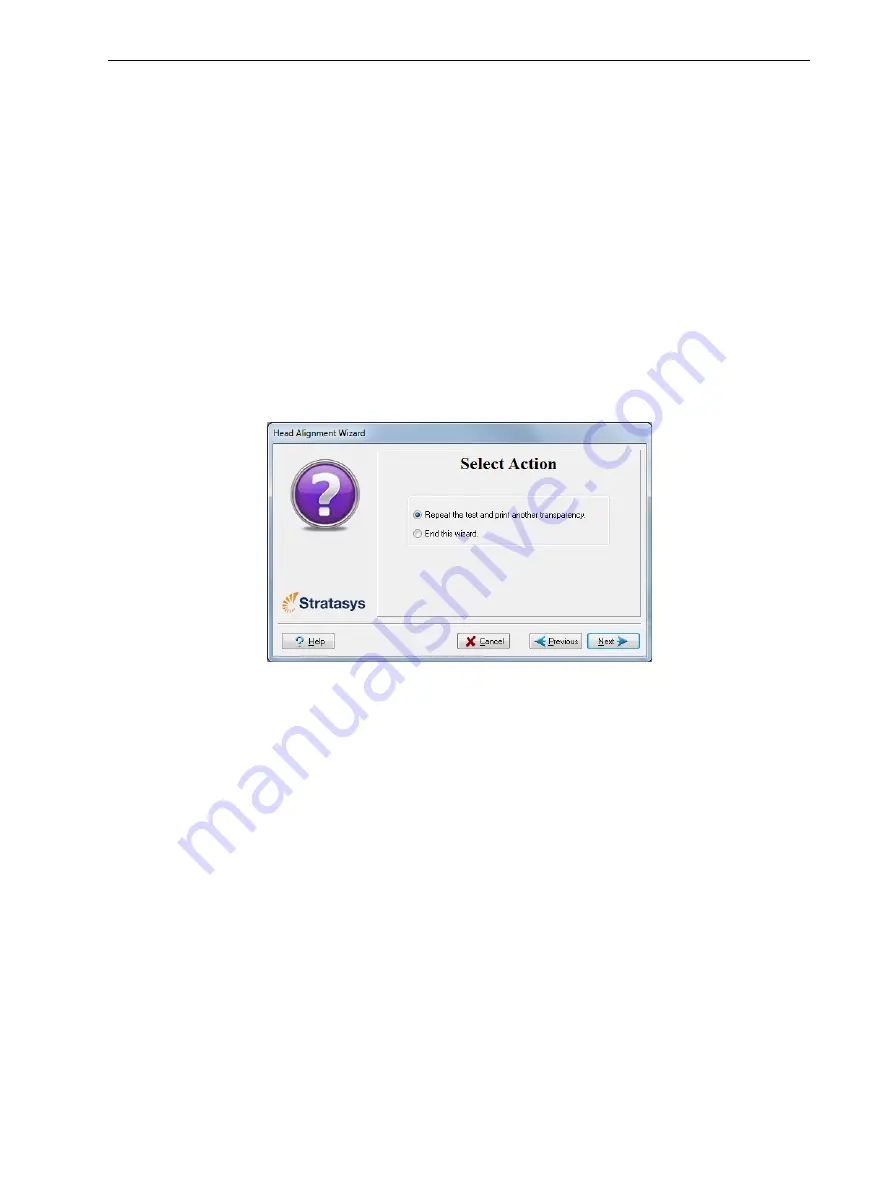
14. In the following screen, you can choose to either repeat the head
alignment procedure or close the wizard.
❒
If the most closely aligned vertical lines for a print head were at either
extreme, choose
Repeat the test
, then click
Next
.
The transparency test will show if the heads are now properly aligned,
and—if not—the wizard will allow you to “fine tune” the alignment.
❒
If the vertical lines for the print heads were not aligned at either
extreme, choose
End the wizard
, then click
Next
.
Figure 6-54
Repeat head alignment
option
Optimizing
(Calibrating)
Print Heads
The condition of the print heads directly affects the quality of printed models.
To maintain optimum printing, you should routinely test the print heads, and
calibrate them to the best working configuration possible by running the
Head Optimization wizard every 300 hours of printing.
During this procedure, you place a scale on the build tray and connect it to
the printer. Printing material (resin) is jetted from each head and its weight is
automatically recorded and the wizard determines how to optimize the print
heads.
If, during the optimization process, the wizard determines that a print head is
faulty—or that it is negatively affecting layer uniformity with the current head
configuration—the wizard instructs you to replace it. If this happens, you can
continue the wizard to replace the print head, or abort the wizard, to replace
the head at another time.


