


5
2.4 INSTALLING PERMANENT WIRING
If permanent wiring is required by local codes, the following
procedure must be performed.
WARNING
Hazardous voltage
High voltage will shock, burn or cause death. Turn off
and lock out main power disconnect before installing
wiring. Do not operate machine with cabinet panels
removed.
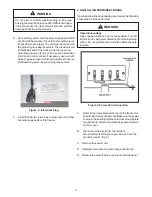
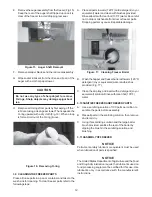
Figure 5. Power Cord Connection
A.
Refer to the nameplate at the rear of the freezer for
specific electrical requirements. Make sure the power
source in the building matches the freezer nameplate
requirements. Remove the left side panel and electri
cal box cover.
B.
Disconnect the wires from the terminal
block. Disconnect the green ground wire from the
grounding stud. (Fig. 5).
C. Remove the power cord.
D. Install permanent wiring according to local code.
E. Replace the electrical box cover and left side panel.
WARNING
Do not alter or deform electrical plug in any way.
Altering the plug to fit into an outlet of different configu-
ration may cause fire, risk of electrical shock, product
damage and will void the warranty.
E. Connect the power cord. The plug is designed for 208
or 230 volt/20 amp duty. Check the nameplate on your
freezer for proper supply. The unit must be connected
to a properly grounded receptacle. The electrical cord
furnished as part of the freezer has a three prong
grounding type plug (Fig. 4). The use of an extension
cord is not recommended, if necessary use one with
a size 12 gauge or heavier with ground wire. Do not use
an adapter to get around grounding requirement.
F. Install the drip tray, drain tray, hopper cover and other
miscellaneous parts on the freezer.
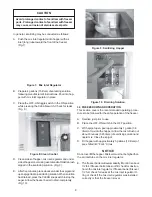
Figure 4. Electrical Plug